Genuine Chrysler 300 Battery Cable
Car Battery CableEnter your vehicle info to find more parts and verify fitment
- Select Vehicle by VIN
- Select Vehicle by Model
Select by VIN
orEnter your VIN for the most accurate results.Enter your VIN for the most accurate results.
Select by Model
-- Select Make --
-- Select Model --
-- Select Year --
16 Battery Cables found
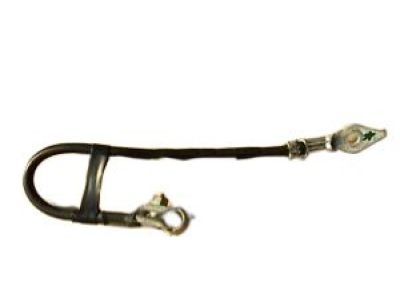

Chrysler 300 Battery Cable
Part Number: 68066100AC- Other Name: Wiring-Battery Negative; Negative Cable
$24.63 MSRP: $36.35You Save: $11.72 (33%)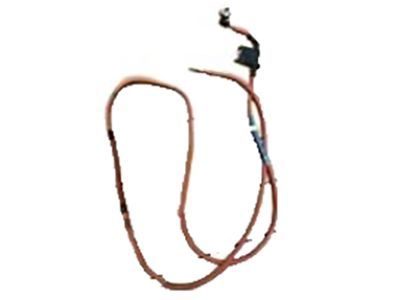

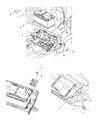
Chrysler 300 Battery Positive Wiring
Part Number: 4759976AD- Other Name: Wiring-Battery Positive
- Replaced by: 4759976AG
$632.70 MSRP: $928.00You Save: $295.30 (32%)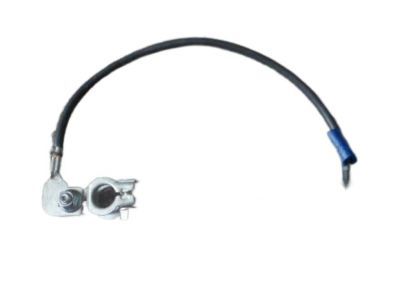
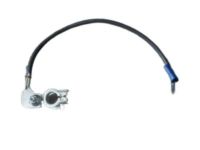
Chrysler 300 Battery Negative Wiring
Part Number: 4607550AA- Other Name: Wiring-Battery Negative; Negative Cable
- Replaces: 4759975AC, 4759975AB
$71.05 MSRP: $107.00You Save: $35.95 (34%)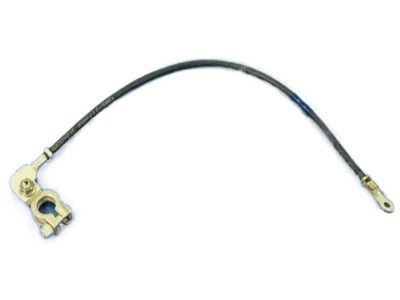
Chrysler 300 Battery Negative Wiring
Part Number: 4759975AC- Other Name: Wiring-Battery Negative
- Replaced by: 4607550AA
$71.05 MSRP: $107.00You Save: $35.95 (34%)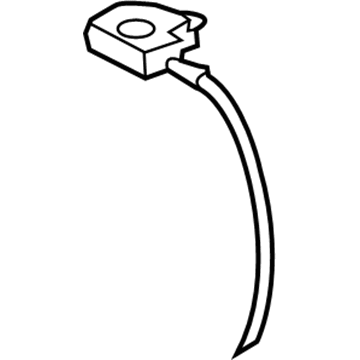
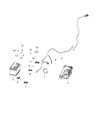
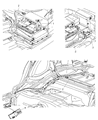
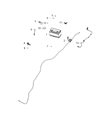
Chrysler 300 Battery Cable Harness
Part Number: 68306895AA- Other Name: Wiring-Battery Negative; Negative Cable
$19.86 MSRP: $29.35You Save: $9.49 (33%)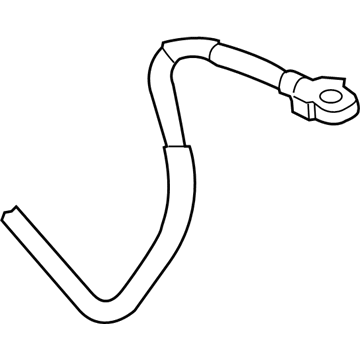
Chrysler 300 Battery Positive Wiring
Part Number: 68207018AE- Other Name: Wiring-Battery Positive; Positive Cable
- Replaces: 68207018AB, 68207018AC, 68207018AD
$174.41 MSRP: $264.00You Save: $89.59 (34%)Chrysler 300 Battery Positive Wiring
Part Number: 68207018AC- Other Name: Wiring-Battery Positive
- Replaced by: 68207018AE
$174.41 MSRP: $264.00You Save: $89.59 (34%)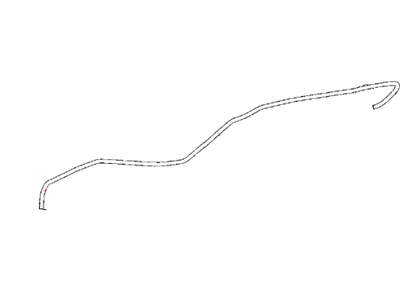

Chrysler 300 Battery Positive Wiring
Part Number: 68066102AD- Other Name: Wiring-Battery Positive; Positive Cable
$19.15 MSRP: $857.00You Save: $837.85 (98%)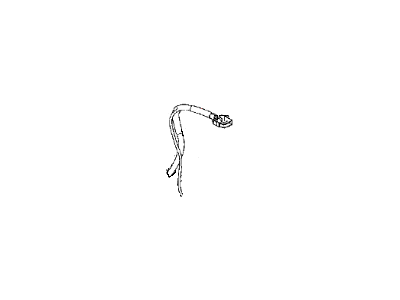
Chrysler 300 Battery Positive Wiring
Part Number: 68087183AB- Other Name: Wiring-Battery Positive
$18.02 MSRP: $284.00You Save: $265.98 (94%)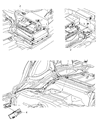
Chrysler 300 Battery Positive Wiring
Part Number: 68087183AA- Other Name: Wiring-Battery Positive
$67.24 MSRP: $295.00You Save: $227.76 (78%)

Chrysler 300 Battery Positive Wiring
Part Number: 68066102AB- Other Name: Wiring-Battery Positive
- Replaced by: 68066102AC
$74.08 MSRP: $322.00You Save: $247.92 (77%)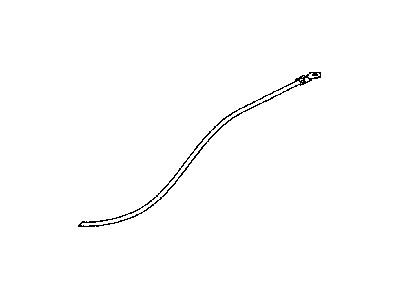

Chrysler 300 Battery Positive Wiring
Part Number: 4759976AE- Other Name: Wiring-Battery Positive
- Replaced by: 4759976AG
$632.70 MSRP: $928.00You Save: $295.30 (32%)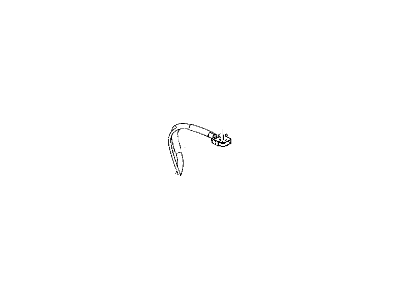
Chrysler 300 Battery Positive Wiring
Part Number: 4607503AB- Other Name: Wiring-Battery Positive
- Replaced by: 4607503AD
$328.33 MSRP: $477.00You Save: $148.67 (32%)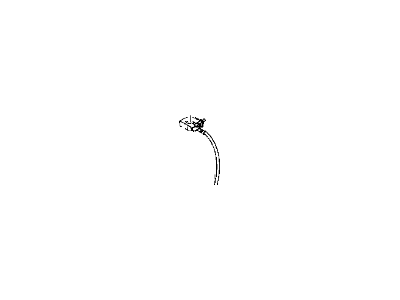
Chrysler 300 Negative Battery Cable
Part Number: 4607107AA- Other Name: Wiring-Battery Negative
- Replaced by: 4607107AC
$23.55 MSRP: $34.60You Save: $11.05 (32%)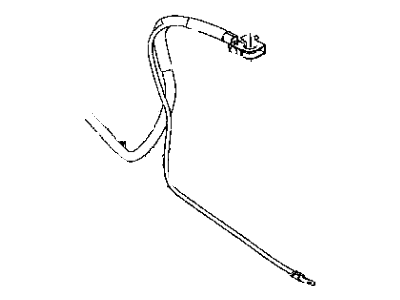

Chrysler 300 Battery Positive Wiring
Part Number: 4759976AC- Other Name: Wiring-Battery Positive
- Replaced by: 4759976AG
$632.70 MSRP: $928.00You Save: $295.30 (32%)
Chrysler 300 Battery Cable Parts Questions & Answers
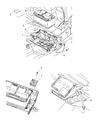
- Q: How Should I Inspect and Replace Battery Cables?A: Periodically inspect the entire length of each battery cable for damage, cracked or burned insulation, and corrosion. Check the cable-to-terminal connections for cracks, loose wire strands, and corrosion. Look for white, fluffy deposits under the insulation, which indicate cable corrosion and necessitate replacement. Also, inspect the terminals for distortion, missing mounting bolts, and corrosion. When removing the cables, always disconnect the cable from the negative battery terminal first and hook it up last to avoid accidental shorting. Take the old cables when buying new ones to ensure identical replacements. Clean the solenoid terminals and ground terminals' threads with a wire brush and apply a light coat of battery terminal corrosion inhibitor or petroleum jelly to prevent future corrosion. Attach and tighten the cable to the solenoid or ground connection securely. Before connecting a new cable to the battery, ensure it reaches the battery post without stretching. Connect the positive cable first, followed by the negative cable. For replacement of positive battery cables, the interior cable's longer length necessitates removing several components in the trunk, including seats, trim plates, and carpeting. The engine compartment cable requires removing the right front wheel, wheel well splash shield, and disconnecting it from the starter solenoid terminal. For ground cables, there is one short cable in the trunk connected behind the battery tray. In the engine compartment, two ground cables exist, but only one is separately replaceable, with its upper end connected to the right strut tower and lower end to the upper right part of the transmission bellhousing. The other ground cable, if damaged, may require splicing a new section or cable end.
Related Chrysler 300 Parts


Browse by Year
2020 Battery Cable 2019 Battery Cable 2018 Battery Cable 2017 Battery Cable 2016 Battery Cable 2015 Battery Cable 2014 Battery Cable 2013 Battery Cable 2012 Battery Cable 2011 Battery Cable 2010 Battery Cable 2009 Battery Cable 2008 Battery Cable 2007 Battery Cable 2006 Battery Cable 2005 Battery Cable