Genuine Dodge Charger Differential
Front DifferentialEnter your vehicle info to find more parts and verify fitment
- Select Vehicle by VIN
- Select Vehicle by Model
Select by VIN
orEnter your VIN for the most accurate results.Enter your VIN for the most accurate results.
Select by Model
-- Select Make --
-- Select Model --
-- Select Year --
36 Differentials found
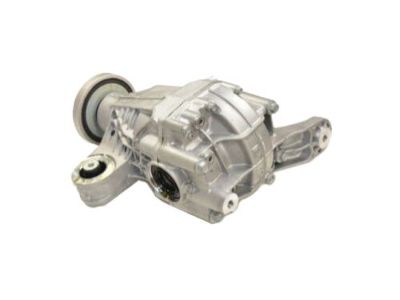

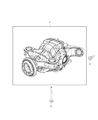
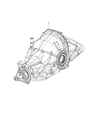
Dodge Charger Differential-Rear Axle
Part Number: 68159834AD- Other Name: Differential Rear Axle
- Position: Rear
- Replaced by: 68159834AH
$962.94 MSRP: $1410.00You Save: $447.06 (32%)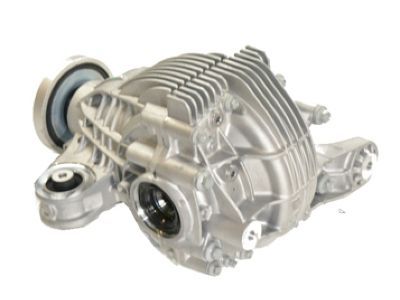

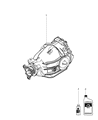
Dodge Charger Differential-Rear Axle
Part Number: 68269917AG- Other Name: Different-Rear Axle
- Position: Rear
- Replaced by: 68427796AA
$1531.80 MSRP: $2250.00You Save: $718.20 (32%)
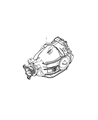
Dodge Charger Differential-Rear Axle
Part Number: 68085306AA- Other Name: Differential Rear Axle; Axle, Differential, Differential Assembly
- Position: Rear
- Replaced by: 68085306AC
$2156.25 MSRP: $2900.00You Save: $743.75 (26%)Dodge Charger Differential-Rear Axle
Part Number: 68085391AA- Other Name: Differential Rear Axle; Differential
- Position: Rear
- Replaced by: 68085391AB
$3093.75 MSRP: $4150.00You Save: $1056.25 (26%)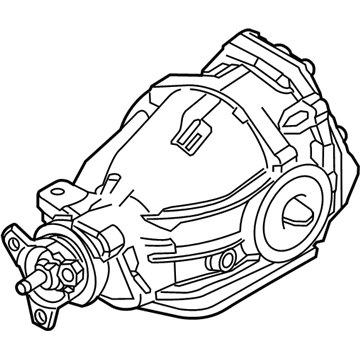

Dodge Charger Differential-Rear Axle
Part Number: 68185924AG- Other Name: Different-Rear Axle; Axle, Carrier, Differential Assembly
- Position: Rear
- Replaces: 68185924AE, 68185924AF, 68185924AD
$1527.70 MSRP: $2325.00You Save: $797.30 (35%)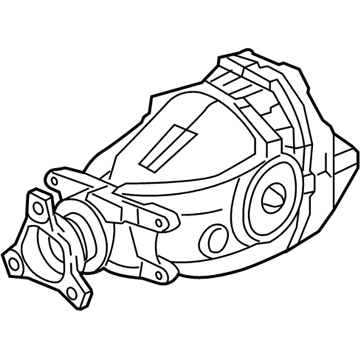
Dodge Charger Differential-Rear Axle
Part Number: 68159834AC- Other Name: Differential Rear Axle
- Position: Rear
- Replaced by: 68159834AH
$962.94 MSRP: $1410.00You Save: $447.06 (32%)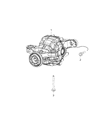
Dodge Charger Differential-Rear Axle
Part Number: 68159834AE- Other Name: Differential Rear Axle
- Position: Rear
- Replaced by: 68159834AH
$962.94 MSRP: $1410.00You Save: $447.06 (32%)
Dodge Charger Differential-Rear Axle
Part Number: 68185924AF- Other Name: Differential Rear Axle
- Position: Rear
- Replaced by: 68185924AG
$1527.70 MSRP: $2325.00You Save: $797.30 (35%)Dodge Charger Differential-Rear Axle
Part Number: 68185924AD- Other Name: Differential Rear Axle
- Position: Rear
- Replaced by: 68185924AG
$1527.70 MSRP: $2325.00You Save: $797.30 (35%)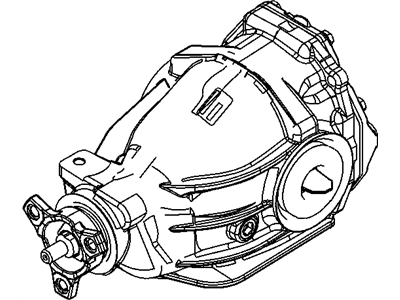
Dodge Charger Differential-Rear Axle
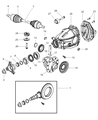
Part Number: 68041031AA- Other Name: Differential Rear Axle; Axle, Carrier, Differential, Differential Assembly
- Position: Rear
- Replaces: 68087980AA
$6649.50 MSRP: $10075.00You Save: $3425.50 (34%)
Dodge Charger Differential-Rear Axle
Part Number: 68185924AE- Other Name: Differential Rear Axle
- Position: Rear
- Replaced by: 68185924AG
$1527.70 MSRP: $2325.00You Save: $797.30 (35%)
Dodge Charger Differential-Rear Axle
Part Number: 4593844AA- Other Name: Differential Rear Axle; Axle, Carrier, Differential Assembly
- Position: Rear
$6440.50 MSRP: $9780.00You Save: $3339.50 (35%)
Dodge Charger Differential-Rear Axle
Part Number: 68159836AE- Other Name: Differential Rear Axle
- Position: Rear
- Replaced by: 68159836AH
$1314.50 MSRP: $2005.00You Save: $690.50 (35%)Dodge Charger Differential-Rear Axle
Part Number: 68159836AD- Other Name: Differential Rear Axle
- Position: Rear
- Replaced by: 68159836AH
$1314.50 MSRP: $2005.00You Save: $690.50 (35%)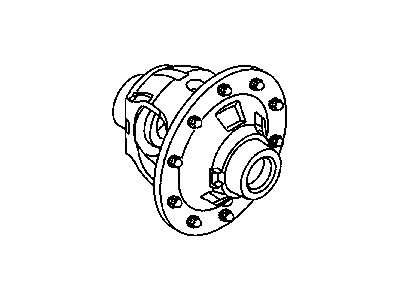
Dodge Charger Housing-Differential
Part Number: 52114397AA- Other Name: Case Differential
- Replaced by: 52114397AC
$199.00 MSRP: $297.00You Save: $98.00 (33%)
Dodge Charger Housing-Differential
Part Number: 52114397AC- Other Name: Case Differential; Case, Differential Case
- Replaces: 52114397AB, 52114397AA
$199.00 MSRP: $297.00You Save: $98.00 (33%)Dodge Charger Differential-Rear Axle
Part Number: 68269917AC- Other Name: Differential Rear Axle
- Position: Rear
- Replaced by: 68427796AA
$1531.80 MSRP: $2250.00You Save: $718.20 (32%)Dodge Charger Differential-Rear Axle
Part Number: 68269917AD- Other Name: Differential Rear Axle
- Position: Rear
- Replaced by: 68427796AA
$1531.80 MSRP: $2250.00You Save: $718.20 (32%)Dodge Charger Differential-Rear Axle
Part Number: 68269917AA- Other Name: Differential Rear Axle
- Position: Rear
- Replaced by: 68427796AA
$1531.80 MSRP: $2250.00You Save: $718.20 (32%)
Dodge Charger Differential-Rear Axle
Part Number: 68159834AF- Other Name: Different-Rear Axle
- Position: Rear
- Replaced by: 68159834AH
$962.94 MSRP: $1410.00You Save: $447.06 (32%)
| Page 1 of 2 |Next >
1-20 of 36 Results
Dodge Charger Differential Parts Questions & Answers
- Q: How to remove and install a differential in a Dodge Charger?A: Raise the rear of the vehicle and support it securely on jack stands. Drain the lubricant from the differential. Disconnect the driveshaft from the rear differential. Remove the rear exhaust pipe and muffler. Pry the inner CV joint out to the differential just far enough to release the snap-ring. Note: The drive axes can't be removed from the differential until the differential has been lowered from the vehicle. Support the differential with a floor jack. Remove the mounting fasteners that attach the differential to their cross member. Lower the differential enough to separate the drive axles from the differential. Carefully lower the differential and remove it from under the vehicle. With the differential removed from the vehicle, now would be a good time to check or replace the rubber mounts for the differential mounting brackets and/or the rear cross member. Place the differential on the jack head and position it directly underneath the mounting bracket and cross member. Raise the differential enough to install the drive axles into the differential. Raise the differential into position and install the rear mounting fasteners loosely. Then install the front mounting fastener. Tighten the mounting fasteners to the torque. Install the driveshaft. Fill the differential with the type and amount of lubricant specified. Install the wheels remove the back and lower the vehicle to the ground. Tighten the wheel lug nuts to the torque.

Related Dodge Charger Parts
 Dodge Charger Drive Shaft
 Dodge Charger Drain Plug
 Dodge Charger Intermediate Shaft
 Dodge Charger Differential Cover
 Dodge Charger Oil Pan Gasket
 Dodge Charger EGR Valve
 Dodge Charger Differential Bearing
 Dodge Charger Differential Cover Gasket
 Dodge Charger Drain Plug Washer
 Dodge Charger Driveshaft Yokes
 Dodge Charger Hood Hinge
 Dodge Charger Manual Transmission Extension Housing Seal