
My Garage
My Account
Cart
Genuine 1996 Jeep Cherokee Intake Manifold
Engine Intake Manifold- Select Vehicle by Model
- Select Vehicle by VIN
Select Vehicle by Model
orMake
Model
Year
Select Vehicle by VIN
For the most accurate results, select vehicle by your VIN (Vehicle Identification Number).
2 Intake Manifolds found
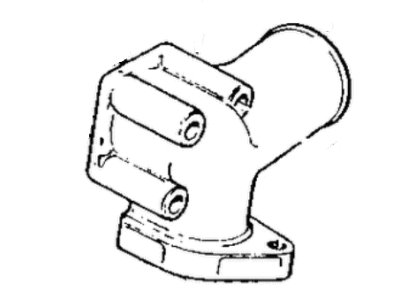
 Product Specifications
- Other Name: Manifold-Intake Manifold Vacuum
- Condition: New
- SKU: 4778963
- Warranty: This genuine part is guaranteed by Mopar's factory warranty.
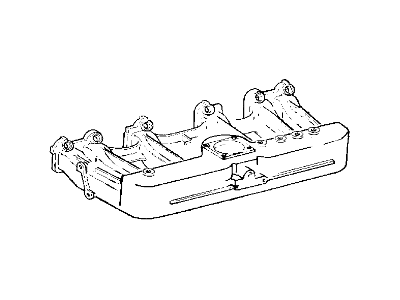
 Product Specifications
- Other Name: Manifold, Intake
- Item Weight: 12.70 Pounds
- Item Dimensions: 25.5 x 13.9 x 8.2 inches
- Condition: New
- SKU: 53010237
- Warranty: This genuine part is guaranteed by Mopar's factory warranty.
1996 Jeep Cherokee Intake Manifold
On our website, we proudly offer genuine 1996 Jeep Cherokee Intake Manifold at the market's great competitive prices. We are confident that choosing brand new OEM 1996 Jeep Cherokee Intake Manifold from our site will save you both trouble and money.
1996 Jeep Cherokee Intake Manifold Parts Questions & Experts Answers
- Q:How to install an intake manifold in V6 engine on 1996 Jeep Cherokee?A:Disconnect the negative cable from the battery. Drain the coolant from the radiator. Remove the carburetor. Label and disconnect all wires and hoses connecting the intake manifold to the vehicle. Unbolt the air conditioning compressor and set it aside without disconnecting the hoses. Label and then disconnect the spark plug wires from the plugs, then remove the distributor cap. Remove the distributor. Remove the EGR and diverter valves. Remove the rocker arm covers. Disconnect the upper radiator and heater hoses. Unbolt the intake manifold and lift it off the engine. Thoroughly clean all sealing surfaces, removing all traces of oil and old gasket material. Clean the intake manifold bolt holes in the cylinder head by chasing them with a tap. Compressed air can be used to remove the debris after chasing. Inspect the underside of the rear of the intake manifold to see if a machined groove is present. You may add this groove to early models yourself or take the manifold to a dealer or automotive machine shop to have it done. Place tape over the intake manifold ports to keep out metal chips. Scribe marks on the intake manifold rear flange to outline the area to be ground out. Obtain a die grinder or electric drill and a spherical cutter with a 3/16-inch diameter ball. Cut a groove 3/16-inch wide by 1/16 to 1/8-inch deep. This provides a groove to hold RTV sealant when the manifold is installed on the engine. Thoroughly clean the intake manifold, removing all chips and tape. Apply a 3/16-inch bead of RTV to each of the ridges between the heads. Install new intake manifold gaskets, noting that they are marked Right and Left. Be sure to install them as indicated. Hold the gaskets in place by extending the RTV sealant bead up 1/4-inch onto the gasket ends. The intake manifold gaskets will have to be cut to position the tops behind the pushrods. Cut only those areas necessary to deaf the pushrods. Install the intake manifold on the engine and hand tighten the bolts. Ensure the areas between the block ridges and intake manifold are completely sealed. Tighten the manifold bolts, in several steps, to the specified torque. Reinstall the remaining parts in the reverse order of removal. Run the engine, adjust the ignition timing and check for oil and vacuum leaks.
