
My Garage
My Account
Cart
Genuine Chrysler Sebring Coil Springs
Strut Spring- Select Vehicle by Model
- Select Vehicle by VIN
Select Vehicle by Model
orMake
Model
Year
Select Vehicle by VIN
For the most accurate results, select vehicle by your VIN (Vehicle Identification Number).
125 Coil Springs found
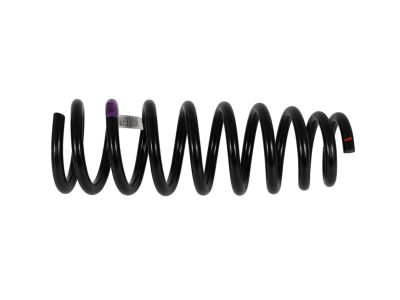
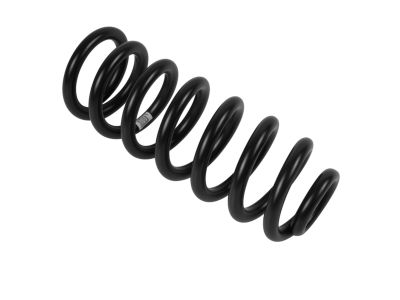
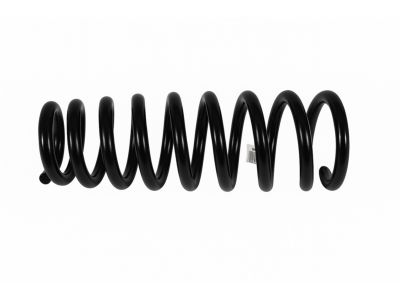
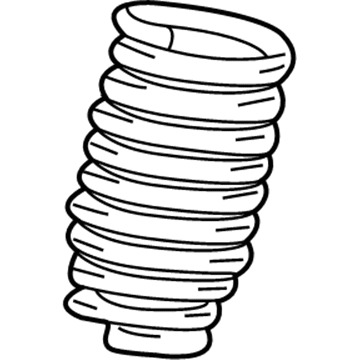
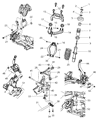
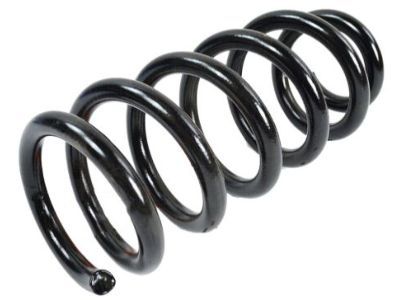
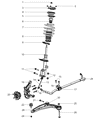

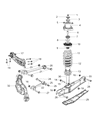
| Page 1 of 7 |Next >
1-20 of 125 Results
Chrysler Sebring Coil Springs
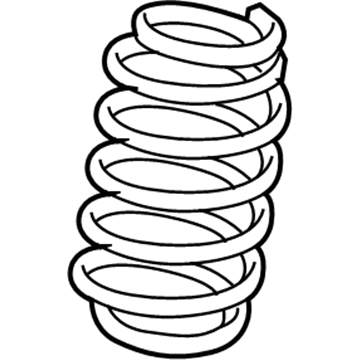
Coil springs are important parts of automobile suspensions, these parts enter the construction of Chrysler Sebring vehicles and their role is to provide support for the vehicle and take the general weight that is present on it during operation, while having to endure the forces that come from road Sections that are irregular. These coil springs are used to ensure that holders of these cars maintain their standard heights and qualities of their car's suspension system whereby cases of saggings, abnormally worn tires, and misaligned chassis caused by the standard coil springs may occur. If there is any wear or breakage of the coil spring, replacement can also be done, new genuine OEM versions are available for relatively newer models while restored genuine reproductions of those used in the early models of the Sebring are also available. Chrysler Sebring in the course of the years has used the linear rate, progressive, and dual rate coil springs. Linear rate springs are viewed as having a fixed stiffness while the progressive spring can be looked at as having a varying rate in order to optimize comfort and control of the vehicle. Furthermore, there are coil spring which is adjustable with threads on the perches are used to alter the ride height depending on the wheel and tire installed. Altogether, utilizing coil springs in Chrysler Sebring vehicles has great significance as they contribute to the improvement of the relative performance and comfort of the car.
Looking for affordable and high-quality auto parts? Then you have already arrived at the proper online shop. We offer all Chrysler Sebring Coil Springs at great affordable prices. Moreover, all genuine Chrysler Sebring Coil Springs come with a manufacturer's warranty. In the long run, you would realize you have saved a lot of trouble and money with OEM parts from here.
Chrysler Sebring Coil Springs Parts Questions & Experts Answers
- Q:How to replace rear shock absorbers and coil springs on Chrysler Sebring?A:Before lifting the car, remove the lug nuts from the rear wheels, raise the vehicle, and put it on stable jackstands. Take away the shock absorber and spring combination from the back of the vehicle. It's important to mark which side of each shock you're working on when you take down both of them for repair. This helps you put them back together correctly. Read and follow the user guide when using the spring compressor to squeeze the coil spring onto the hooks. Take hold of the damper shaft with a wrench while you unscrew the damper shaft nut by hand - using air or power tools isn't safe to do this work. Hold down the spring, then take the shock unit from underneath to examine every part for signs of damage. Change any broken elements. To put in the new shock, line up the brackets, lower spring socket cup, spring shelf, upper spring holder, dust plug, cushion piece, bearing, tube sleeve, upper mount support, bushing, washer, and bolt. Make sure the upper mount goes into its proper port. Tighten the washer and damper shaft nut while using a wrench to hold the damper shaft in place. Starting from a tight condition, carefully remove tension created on the spring compressor. When finished, check that the spring is properly situated in the locator holes and that none of the mounting brackets are twisted or placed unevenly before installing the full shock and spring assembly.
Related Chrysler Sebring Parts
 Chrysler Sebring Coil Spring Insulator
 Chrysler Sebring Rear Crossmember
 Chrysler Sebring Front Cross-Member
 Chrysler Sebring Leaf Spring Bushing
 Chrysler Sebring Bump Stop