
My Garage
My Account
Cart
Genuine Dodge Dakota Hood Latch
Engine Hood Latch- Select Vehicle by Model
- Select Vehicle by VIN
Select Vehicle by Model
orMake
Model
Year
Select Vehicle by VIN
For the most accurate results, select vehicle by your VIN (Vehicle Identification Number).
7 Hood Latches found
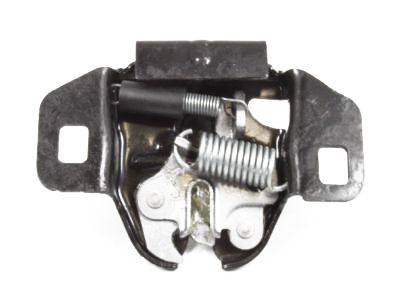

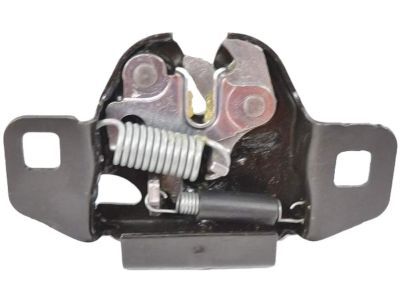
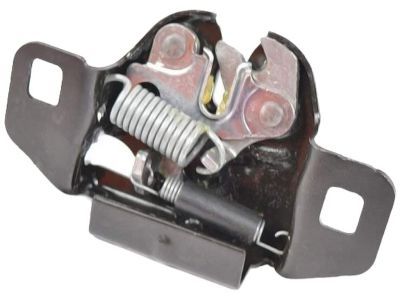
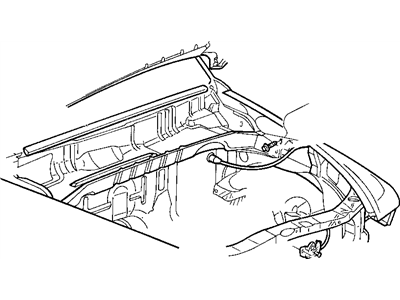
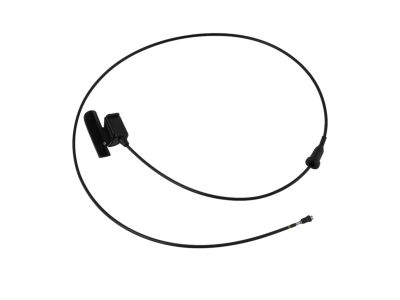
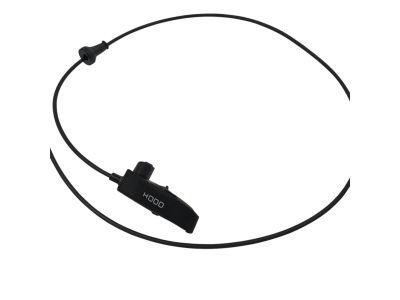
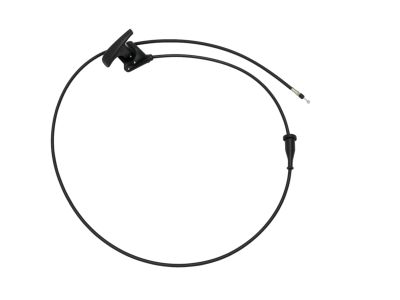
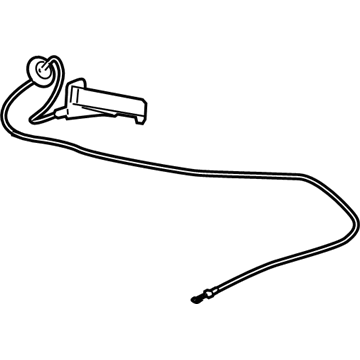
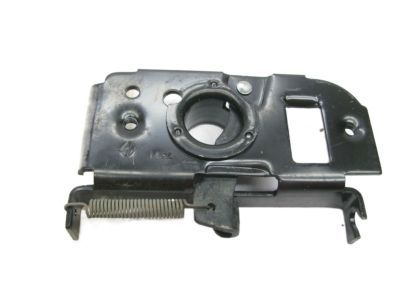
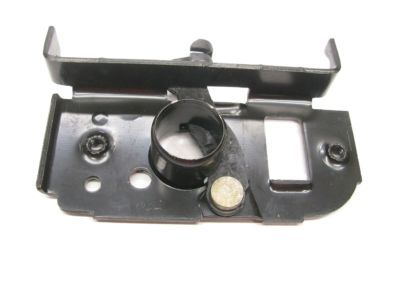
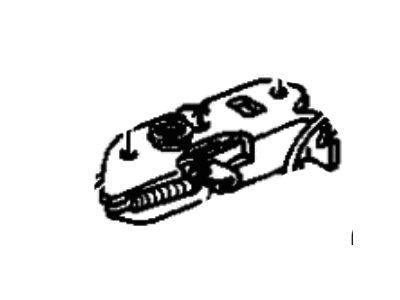
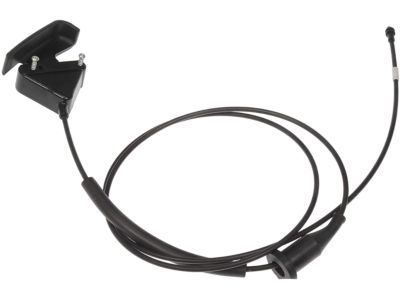
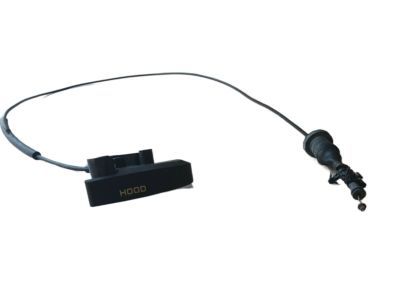
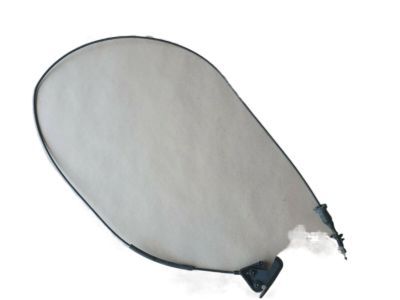
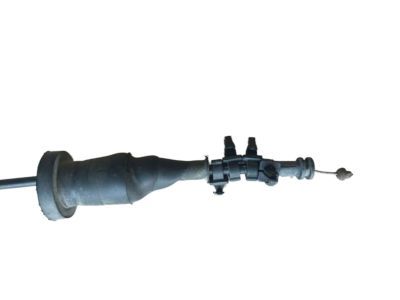
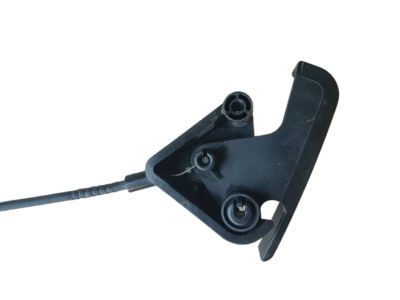
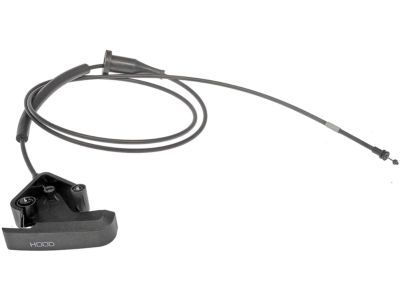
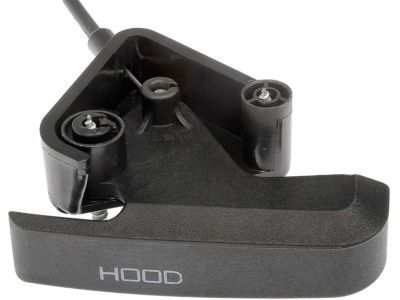
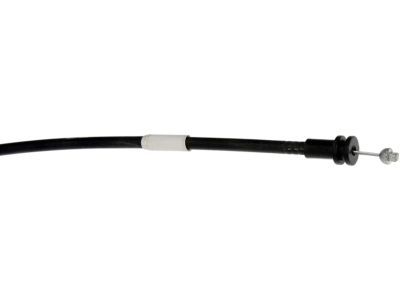
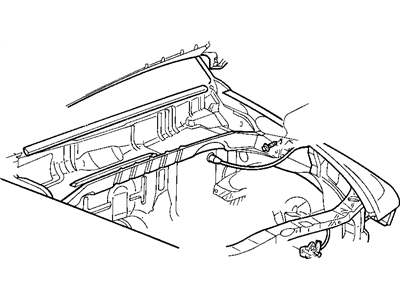
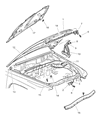
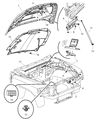
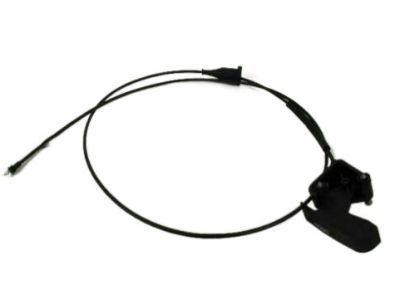
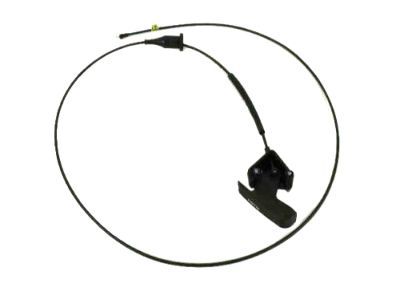
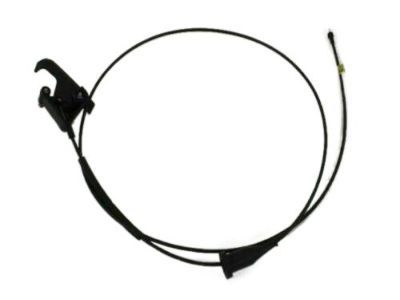

Dodge Dakota Hood Latch
The Hood Latch in Dodge Dakota vehicles plays a very important role and that is to lock and hold the hood in place to avoid opening while in operation. This component is deliberately placed at the underpart of the front of the hood, which makes the engine, the radiator and the battery safe. During the years, Dodge Dakota's car model has incorporated different styles of Hood Latch that are aimed at providing more safety and reliability. While specific differences between these types are not detailed, the primary goal remains consistent: as a way of preserving the look of the vehicle's hood as well as protect some of the vital components. For a real life example, the Dodge Dakota Hood Latch describes the importance of such mechanism in automotive industry.
Looking for affordable and high-quality auto parts? Then you have already arrived at the proper online shop. We offer all Dodge Dakota Hood Latch at great affordable prices. Moreover, all genuine Dodge Dakota Hood Latch come with a manufacturer's warranty. In the long run, you would realize you have saved a lot of trouble and money with OEM parts from here.
Dodge Dakota Hood Latch Parts Questions & Experts Answers
- Q:How to remove and install Hood Cable and Hood latch on Dodge Dakota?A:Draw an ink line around the latch for help aligning and reinstalling the latch assembly. Also remove the attaching bolts that connect the latch to the radiator support, so you can use the marks as a reference. To change the Hood latch position, first loosen the bolts holding it in place. Slide the latch where needed, and retighten the bolts. Try opening and closing the hood again to make sure it fits well. Start by unscrewing the hood release from its connector on the back of the latch assembly. Installation is just the reverse of these steps. When you remove the hood latch, disconnect the cable from it and pull the sliding connection into the car engine. Keep the loose cable end intact, and attach it later while pulling a long metal rod from the engine bay back through. To replace the cable, first disconnect it from every clamp in the engine area. If needed, you'll have to cut through some clamps. Once you're under the instrument panel, unscrew and remove the hood release handle, pushing the grommet loose as you go. Pull the cable through the firewall opening into the cab space. Unplug the old wiring from the old cable. When connecting the new cable's ends, remember to place a grommet on it. Keep pulling the cable inside the firewall while driving through the engine box. Then, insert the new grommet into the firewall. The final steps match what was done when taking out the curtain (installation: step 1.
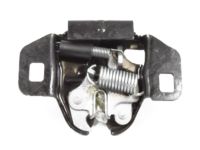
Related Dodge Dakota Parts
 Dodge Dakota Grille
 Dodge Dakota Hood
 Dodge Dakota Hood Hinge
 Dodge Dakota Air Deflector
 Dodge Dakota Hood Cable