My Garage
My Account
Cart
Genuine Jeep Comanche Pitman Arm
Steering Pitman Arm- Select Vehicle by Model
- Select Vehicle by VIN
Select Vehicle by Model
orMake
Model
Year
Select Vehicle by VIN
For the most accurate results, select vehicle by your VIN (Vehicle Identification Number).
3 Pitman Arms found
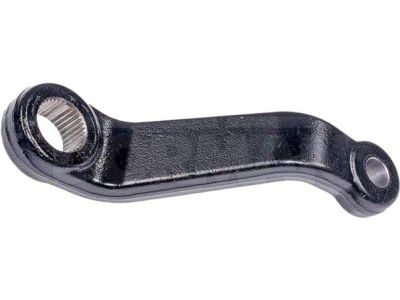
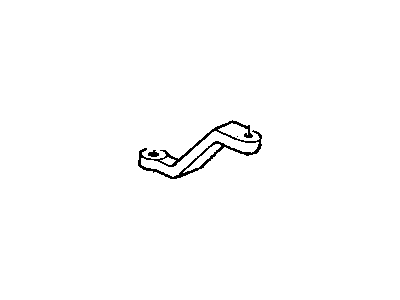
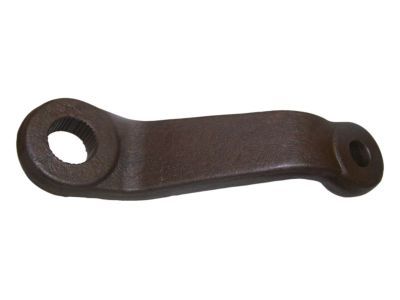
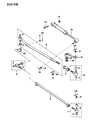
Jeep Comanche Pitman Arm
Pitman Arm found in Jeep Comanche automobiles is an important component in the steering assembly since it transforms rotary motion from the steering wheel into their linear motion in order to give the automobile driver full control on the wheels of the automobile. This component transfers the required motion for steering between the steering box and sector shaft to the drag link. Through the passing of time, specific styles of Pitman Arm have been used in Jeep Comanche and changes have been made, for instance, with regard to the material used and the design. Initial mnemonics could have been less elaborate structures, with subsequent versions possessing more complex elements including ball joints as well as bearings which provided better performance. The Pitman Arm must be of high quality as wear of the parts results to increased play in Jeep Comanche steering thus affecting its safety and handling.
Looking for affordable and high-quality auto parts? Then you have already arrived at the proper online shop. We offer all Jeep Comanche Pitman Arm at great affordable prices. Moreover, all genuine Jeep Comanche Pitman Arm come with a manufacturer's warranty. In the long run, you would realize you have saved a lot of trouble and money with OEM parts from here.
Jeep Comanche Pitman Arm Parts Questions & Experts Answers
- Q:How to inspect and replace the Center Link,Idler Arm and Pitman Arm on Jeep Comanche?A:The steering linkage, comprising the Pitman arm, center link, tie-rod assembly, and steering damper, plays a pivotal role in maintaining proper wheel alignment and facilitating steering motion. To inspect it, ensure the wheels are straight and immobilized, then elevate one side of the vehicle and mount a dial indicator on the wheel's outer edge to check for play, with readings below 0.108-inch deemed acceptable. Lift the vehicle, support it on jack stands, and inspect for torn ball stud boots, frozen joints, or damaged components. For removal and installation of the tie-rod, start by loosening wheel lug nuts, elevating the vehicle, and removing the wheel. Release cotter pins and slightly loosen the castellated nuts from the ball studs, then use a two-jaw puller to disconnect the tie-rod ends from the steering knuckle and center link. Should replacement of tie-rod ends be necessary, lubricate the new ends, adjust them to match the previous measurement, then install them. Securely fasten nuts, add new cotter pins, and tighten the clamp nuts. Reinstall the wheel, lower the vehicle, and torque the lug nuts to specifications, followed by a visit to an alignment shop if needed. For the center link, raise and support the vehicle, release but do not remove the nuts from the ball studs, separate the joints with a two-jaw puller, and then remove the nuts. Installation follows the reverse procedure, ensuring the nuts are adequately tightened. Lastly, for the steering damper, raise the front of the vehicle, separate it from the center link using the same method as in Step 16, unbolt it from the frame, remove it, and reinstall it following the reverse of the removal process.