
My Garage
My Account
Cart
Genuine Jeep Grand Cherokee Transfer Case Seal
Transfer Case Output Shaft Seal- Select Vehicle by Model
- Select Vehicle by VIN
Select Vehicle by Model
orMake
Model
Year
Select Vehicle by VIN
For the most accurate results, select vehicle by your VIN (Vehicle Identification Number).
25 Transfer Case Seals found
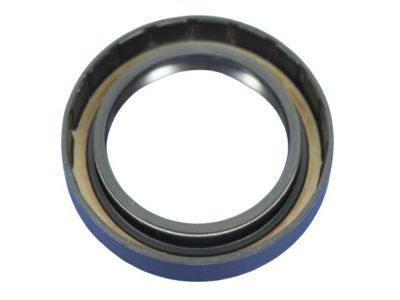
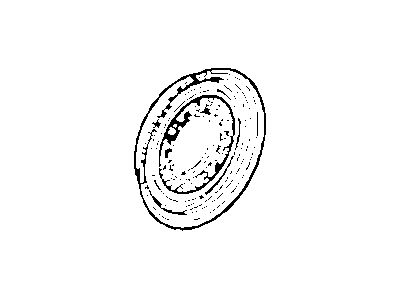
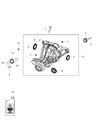
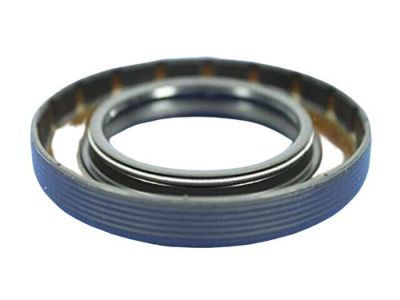
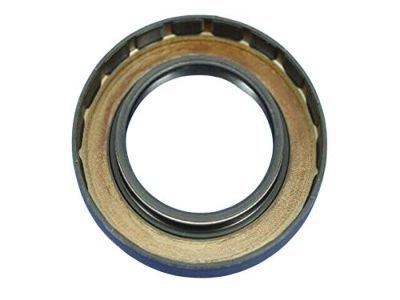
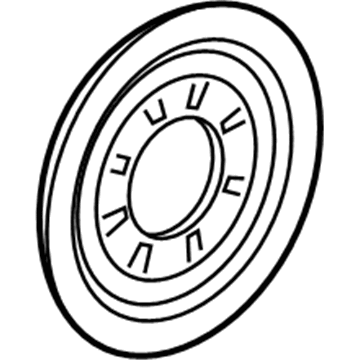
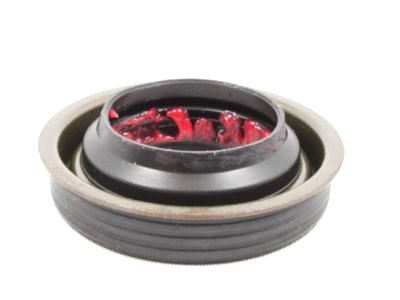
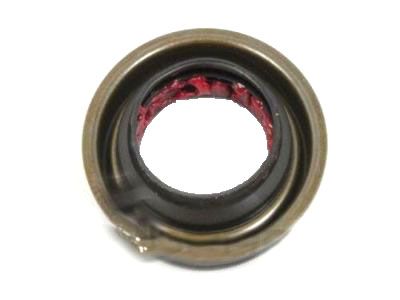
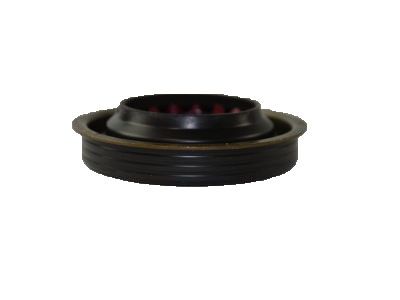

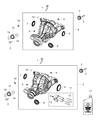
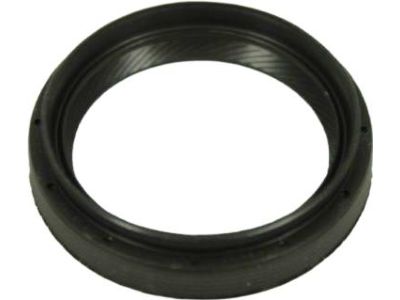
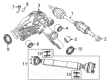
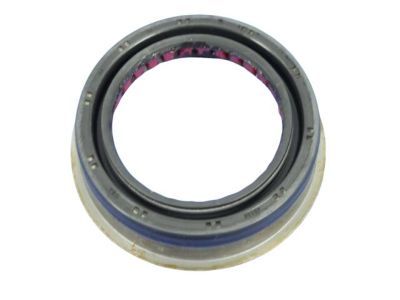
Jeep Grand Cherokee Axle Drive Shaft Seal
Part Number: 52069706AB$17.48 MSRP: $25.00You Save: $7.52 (31%)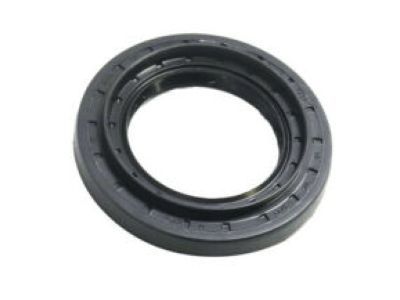
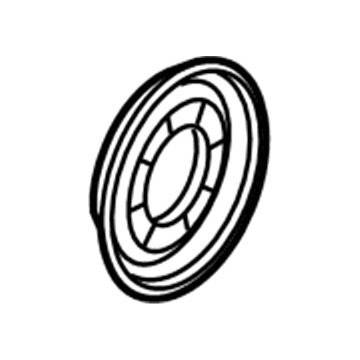
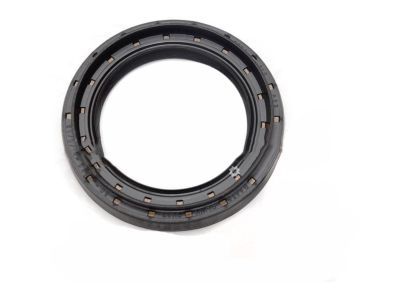
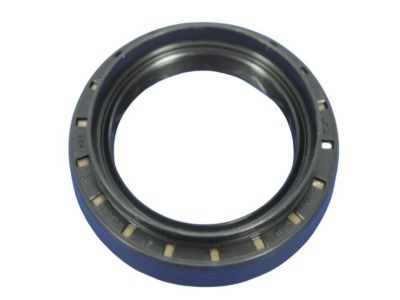
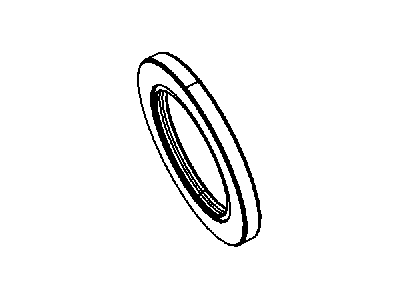
Jeep Grand Cherokee Drive Pinion Seal
Part Number: 68084189AA$8.33 MSRP: $12.15You Save: $3.82 (32%)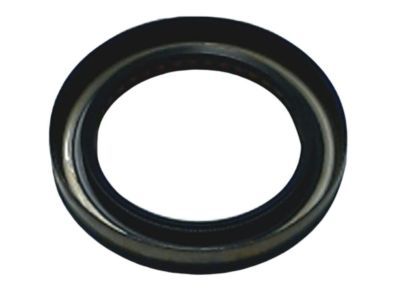
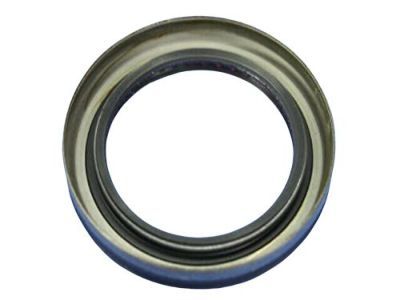
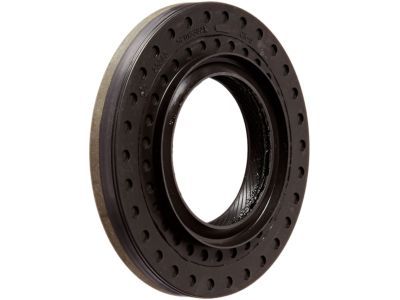
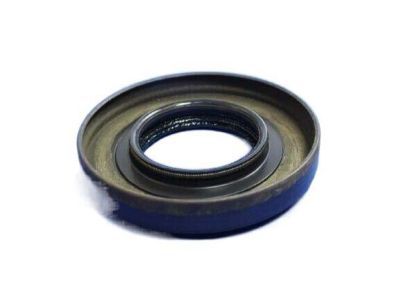
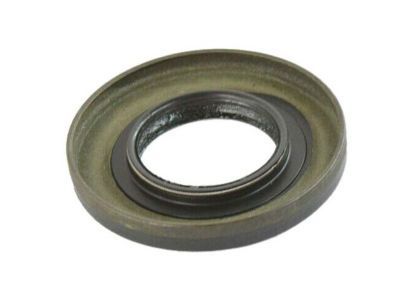
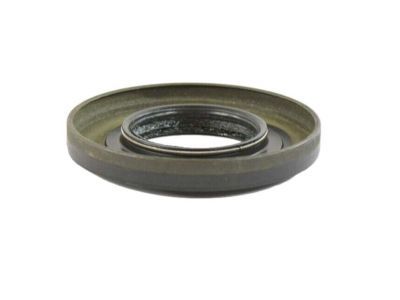
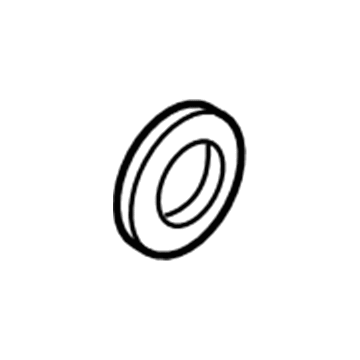
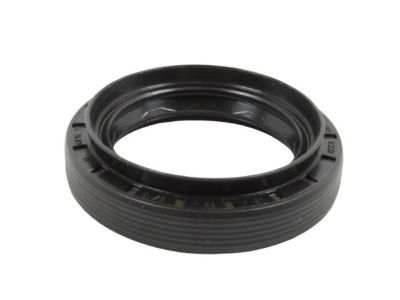
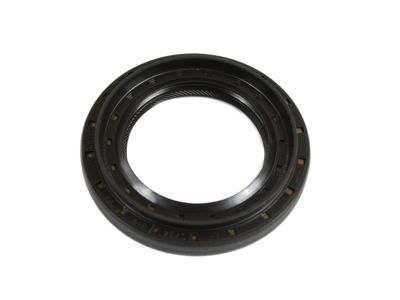
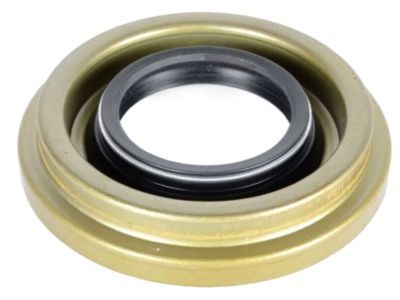
Jeep Grand Cherokee Axle Drive Shaft Seal
Part Number: 52111338AC$35.82 MSRP: $51.55You Save: $15.73 (31%)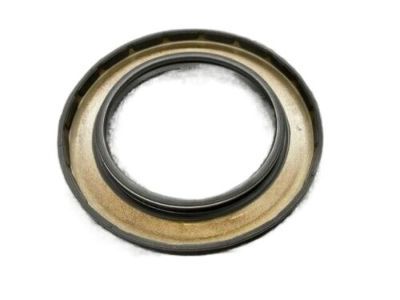
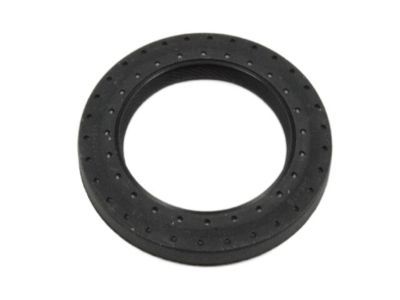
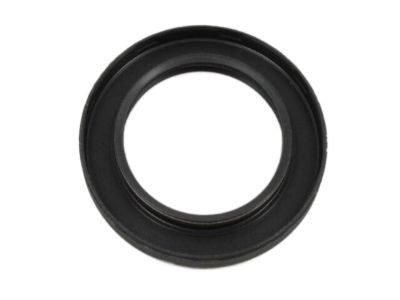
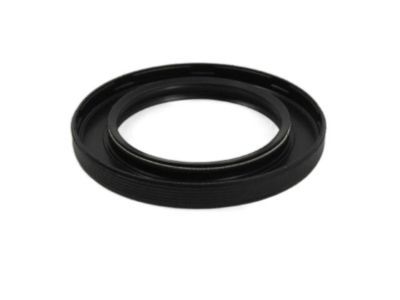
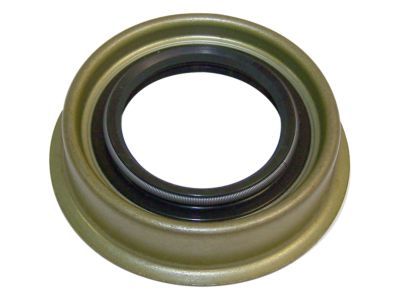
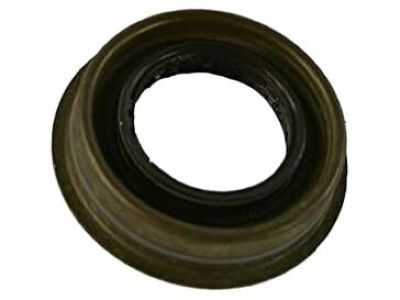
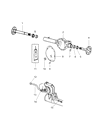
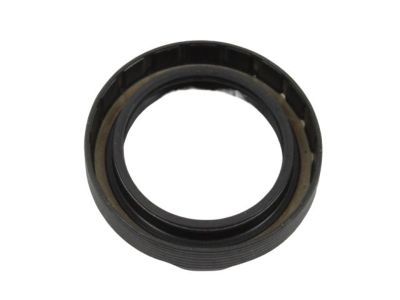
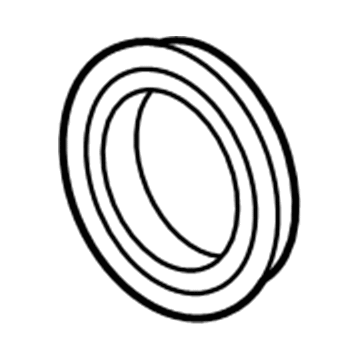
Jeep Grand Cherokee Axle Drive Shaft Seal
Part Number: 4856336$29.47 MSRP: $42.50You Save: $13.03 (31%)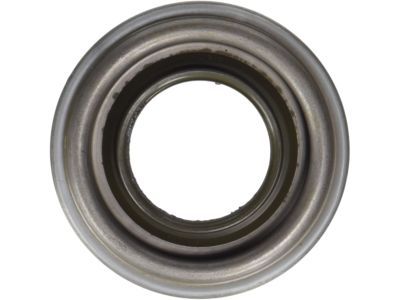
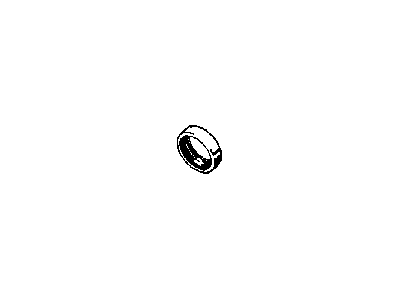
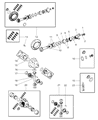
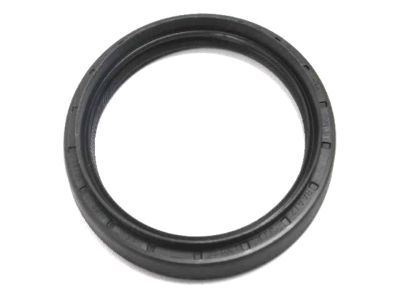
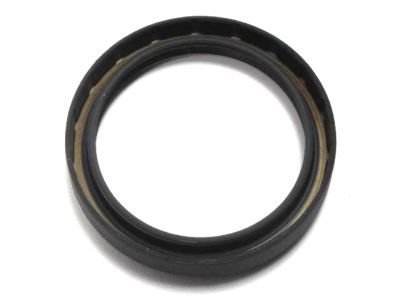
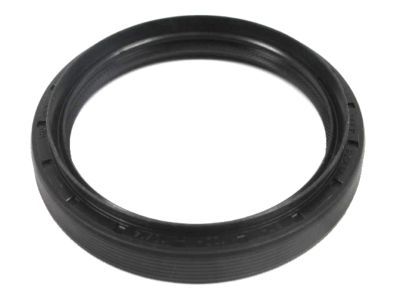
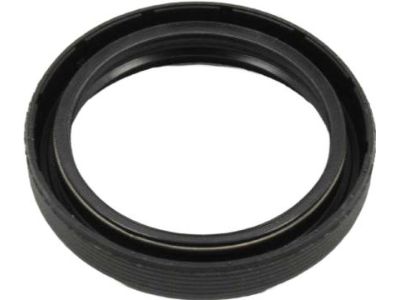
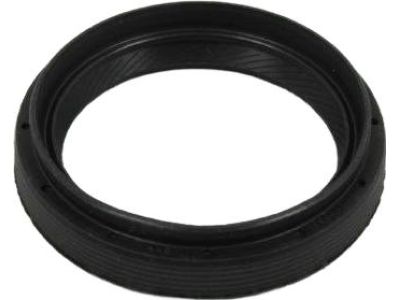
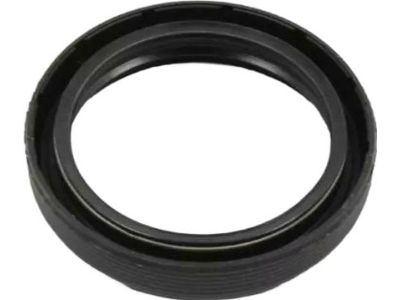
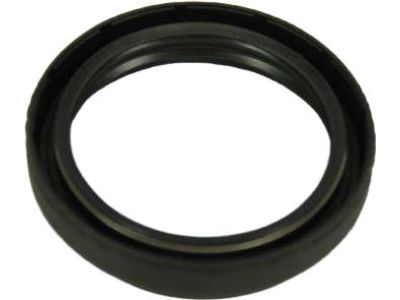
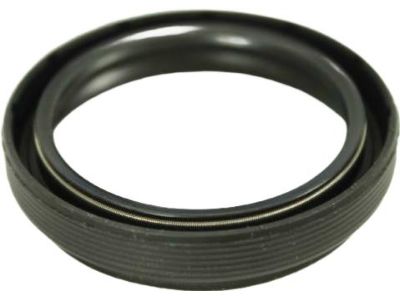
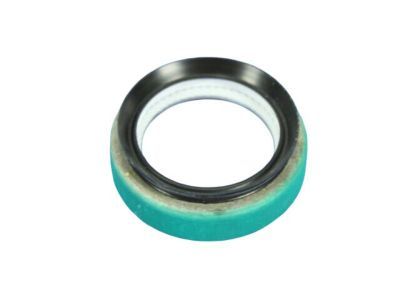
Jeep Grand Cherokee Output Shaft Seal
Part Number: 52854800AA$18.00 MSRP: $26.10You Save: $8.10 (32%)
Jeep Grand Cherokee Drive Pinion Seal
Part Number: 68084183AB$28.25 MSRP: $40.60You Save: $12.35 (31%)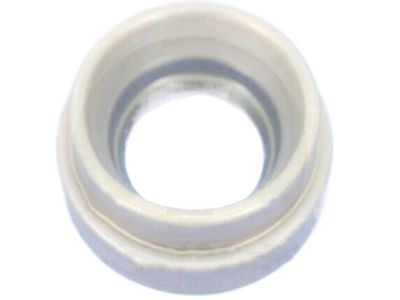

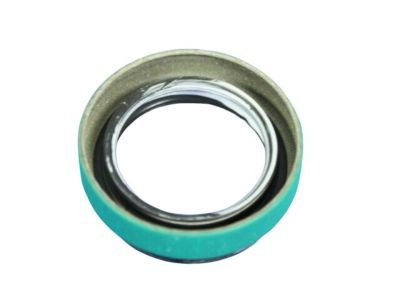
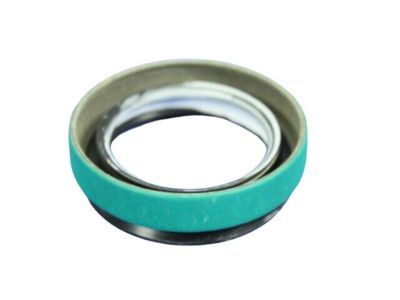
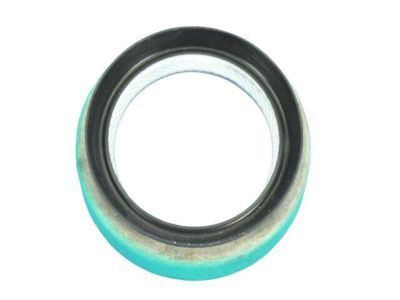
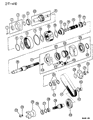
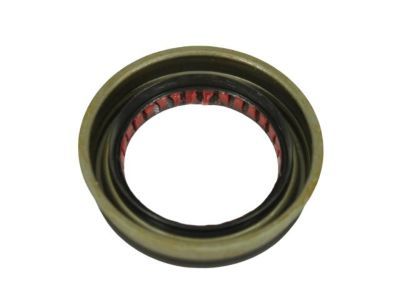
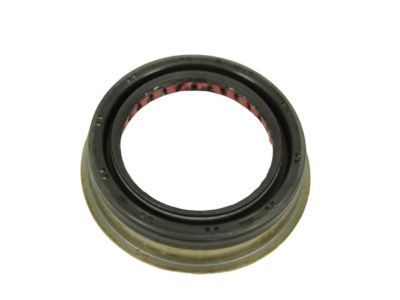
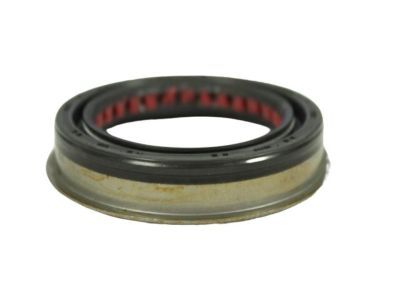
| Page 1 of 2 |Next >
1-20 of 25 Results
Jeep Grand Cherokee Transfer Case Seal
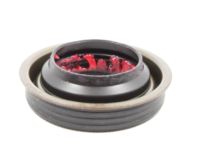
The Jeep Grand Cherokee Transfer Case Seal is essential to prevent debris and dirt from damaging transfer gears. This damage is caused by low lubricant levels and excessive heat. The ring that prevents leaks and ensures that the gears stay cool to enable dependable four-wheel drive action is installed at the rear output shaft where the driveshaft enters the case. Common design applied in all Jeep models is a single lip rubber edged Transfer Case Seal pressed into the housing, although there are some years that have a support bushing. If that bushing wears, a fresh Transfer Case Seal may still weep. Puddles or streaks that you can see on the shaft indicate a failing Transfer Case Seal, which needs to be replaced immediately to avoid costly gear wear. Jeep owners can restore factory tightness by lifting the vehicle, unbolting the driveshaft, pulling the worn ring, and then seating the new Transfer Case Seal. Owners can stop leaks on their Grand Cherokee drivetrain. Moreover, it keeps every Jeep Grand Cherokee poised for miles of confident travel, which shapes the Grand Cherokee legend.
Looking for affordable and high-quality auto parts? Then you have already arrived at the proper online shop. We offer all Jeep Grand Cherokee Transfer Case Seal at great affordable prices. Moreover, all genuine Jeep Grand Cherokee Transfer Case Seal come with a manufacturer's warranty. In the long run, you would realize you have saved a lot of trouble and money with OEM parts from here.
Jeep Grand Cherokee Transfer Case Seal Parts Questions & Experts Answers
- Q:How to replace the Transfer Case Seal for the front output shaft on Jeep Grand Cherokee?A:Disconnect the cable from the negative battery terminal. Raise the vehicle and support it securely on jackstands. Remove the skid plate, if equipped. Drain the Transfer Case lubricant. For the front output shaft seal, note that on some models, this seal is located inside the transfer case and cannot be replaced at home. Remove the front driveshaft. On models equipped with a companion flange, remove the companion flange nut and flange from the transfer case, then tap the companion flange off the output shaft with a brass or plastic hammer. For models without the companion flange, remove the front driveshaft seal boot clamp and slide the boot from the transfer case slinger. Carefully bend the slinger away from the transfer case and remove it from the shaft, using a punch and hammer if necessary to jar it loose. Pry out the old seal with a screwdriver or seal removal tool, taking care not to scratch or gouge the seal bore. Lubricate the lips and outer diameter of the new seal with multi-purpose grease, then place the seal in position, ensuring the garter spring faces toward the inside of the transfer case. Use a seal driver or a suitable equivalent to drive the seal into place, starting with light hammer taps and continuing until it is recessed the correct amount. Install the seal slinger and driveshaft seal boot, securing the boot with a new clamp. If equipped, install the companion flange onto the transfer case output shaft, then install and tighten the flange nut to the specified torque. Finally, install the front driveshaft, remove the jackstands, and lower the vehicle. The procedure for replacing the extension housing seal is identical to that for the transmission.
Related Jeep Grand Cherokee Parts
 Jeep Grand Cherokee Transfer Case
 Jeep Grand Cherokee Transfer Case Shim
 Jeep Grand Cherokee Transfer Case Cover
 Jeep Grand Cherokee Transfer Case Output Shaft Snap Ring
Browse by Year
2025 Transfer Case Seal 2024 Transfer Case Seal 2023 Transfer Case Seal 2022 Transfer Case Seal 2021 Transfer Case Seal 2020 Transfer Case Seal 2019 Transfer Case Seal 2018 Transfer Case Seal 2017 Transfer Case Seal 2016 Transfer Case Seal 2015 Transfer Case Seal 2014 Transfer Case Seal 2013 Transfer Case Seal 2012 Transfer Case Seal 2011 Transfer Case Seal 2010 Transfer Case Seal 2009 Transfer Case Seal 2008 Transfer Case Seal 2007 Transfer Case Seal 2006 Transfer Case Seal 2005 Transfer Case Seal 2004 Transfer Case Seal 2003 Transfer Case Seal 2002 Transfer Case Seal 2001 Transfer Case Seal 2000 Transfer Case Seal 1999 Transfer Case Seal 1998 Transfer Case Seal 1997 Transfer Case Seal 1996 Transfer Case Seal 1995 Transfer Case Seal 1994 Transfer Case Seal 1993 Transfer Case Seal