My Garage
My Account
Cart
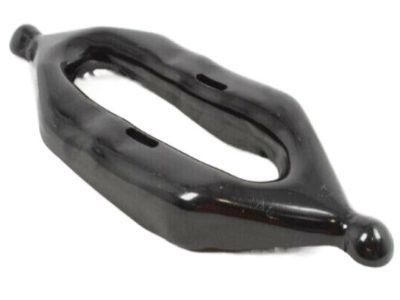
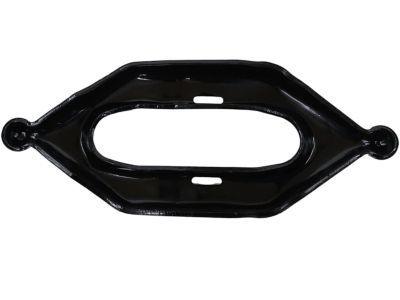
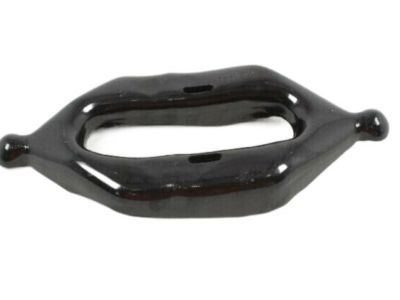
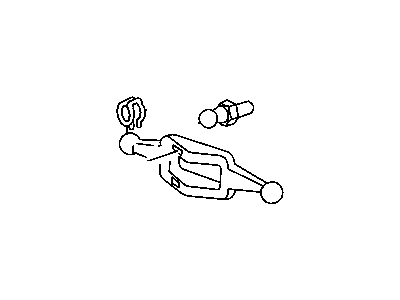
Genuine Ram 3500 Clutch Fork
Release Fork- Select Vehicle by Model
- Select Vehicle by VIN
Select Vehicle by Model
orMake
Model
Year
Select Vehicle by VIN
For the most accurate results, select vehicle by your VIN (Vehicle Identification Number).
1 Clutch Fork found
Ram 3500 Clutch Fork
A Ram 3500 vehicle uses the Clutch Fork as a vital lever for manual transmission operations to activate and release the clutch. The Clutch Fork regulates the movement of the release bearing against the pressure plate through clutch pedal pressure for controlling smooth gear shifting operations. The two standard clutch linkage systems in use today consist of hydraulic and mechanical types where hydraulic solutions have surpassed mechanical solutions because of their automatic adjustment capabilities and adaptability. The simpler mechanical cable and pushrod linkages need manual adjustment work although they are less complicated than hydraulic systems. Different versions of Ram Clutch Forks exist in relation to linkage types because hydraulic systems can combine slave cylinder and release bearing features into a concentric slave cylinder (CSC) which eliminates standalone 3500 Clutch Fork requirements. The vehicle operation depends heavily on an operating Ram 3500 Clutch Fork because its deterioration can cause both shifting complications and complete clutch failure.
Looking for affordable and high-quality auto parts? Then you have already arrived at the proper online shop. We offer all Ram 3500 Clutch Fork at great affordable prices. Moreover, all genuine Ram 3500 Clutch Fork come with a manufacturer's warranty. In the long run, you would realize you have saved a lot of trouble and money with OEM parts from here.
Ram 3500 Clutch Fork Parts Questions & Experts Answers
- Q: How to remove Pressure Plate,Release Bearing and Clutch Fork on Ram 3500?A:To remove the clutch components, begin by raising and securely supporting the vehicle on jack stands. Disconnect the clutch release cylinder from the clutch housing without disconnecting the hydraulic fluid line. Proceed to remove the transmission, leaving the clutch fork and release bearing attached to the clutch housing. To support the clutch disc during removal, insert a clutch alignment tool through the clutch disc hub. Inspect the flywheel and pressure plate for indexing marks; if absent, create your own to ensure proper alignment during installation. Gradually loosen the pressure plate-to-flywheel bolts in a criss-cross pattern and remove them along with the pressure plate and clutch disc. Inspect all components, including the flywheel for defects, clutch disc for wear or damage, release bearing for replacement, and pressure plate for wear or damage. Clean the surfaces thoroughly and reinstall the flywheel. Align the clutch disc and pressure plate with an alignment tool and finger-tighten the pressure plate-to-flywheel bolts. Center the clutch disc using the alignment tool, then gradually tighten the bolts in a criss-cross pattern to the specified torque. Remove the alignment tool, lubricate the release bearing and related parts with high-temperature grease, reinstall the clutch release bearing if removed, and proceed to reinstall the transmission and all previously removed components. Finally, lower the vehicle.


