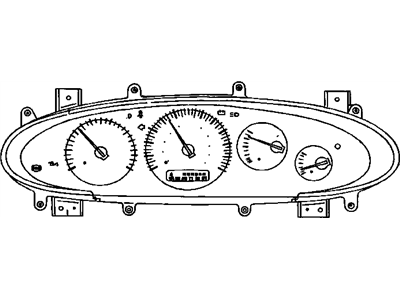
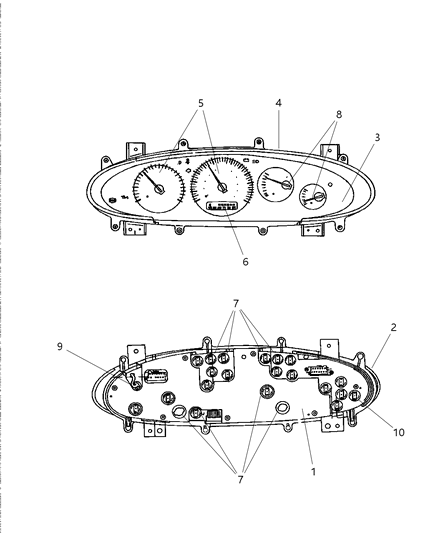
It is not necessary, but suggested to remove both front seats to allow additional working space and lessen the chance of damage to the seats during this procedure. Begin by disconnecting the negative battery cable from the ground stud on the left shock tower. Remove the dashboard right and left end trim panels, followed by the floor console. Disconnect the Airbag Control Module (ACM) and remove the instrument cluster hood. Next, remove the two screws securing the cubby bin and withdraw it from the forward console, then take out the five knee bolster mounting screws and remove the knee bolster. Open the glove box, squeeze the sidewalls in, and hinge the glove box door all the way down to remove the passenger airbag module, ensuring to carry it with the trim cover side facing away from your body to minimize injury if it accidentally deploys. Store the airbag module aside in a safe, isolated location with the trim cover side facing up. Remove the nine forward floor console attaching screws and one push-in fastener at the forward driver's side, then take out the forward floor console. Pull the driver's side under panel silencer outboard off the distribution duct and remove the instrument panel top cover. Remove the heating and air conditioning control module and the radio, then take out the center distribution duct screws from behind the radio and duct. Locate and remove the three heating and air conditioning unit attaching screws securing the duct and instrument panel, followed by the three screws securing the heating and air conditioning unit to the cross-car beam. Remove the five screws attaching the instrument panel frame to the air distribution duct and the two fasteners at the air duct below the steering column. Lower the steering column, ensuring to lock the tilt mechanism on models equipped with a tilt steering wheel by inserting two drill bits into the locking pin holes before loosening the steering column mounting nuts. After loosening the nuts, remove them and lower the column securely. Disconnect the engine and body wiring harness from the junction block/Body Control Module located behind the instrument panel on the driver's side. Remove the seven fasteners securing the instrument panel to the cross-car beam, the fastener at the glove box hinge to cowl area, the two fasteners at the center support-to-floor pan bracket, and the screw attaching the rear of the heating and air conditioning unit to the center support bracket. Finally, lift up the instrument panel and pull it rearward to withdraw it from the vehicle. For installation, reverse the removal steps while ensuring that the two upper mounting studs of the steering column are centered before tightening the nuts. Raise the steering column onto the support bracket and loosely install the four nuts, snugly tighten the lower nuts, and ensure the plastic capsules are seated in the slots in the upper mounting bracket. Tighten the upper mounting nuts until the upper mounting bracket is seated, then tighten the four steering column mounting nuts to 105 in-lbs. On models equipped with a tilt steering wheel, remove the drill bits from the locking pin holes. Turn the ignition switch to the Off position, then to the On position, checking that the instrument cluster AIRBAG lamp illuminates for six to eight seconds and then goes out, indicating the airbag system is functioning properly. If the lamp fails to light, blinks on and off, or stays on, there is a malfunction in the airbag system, and the vehicle should be diagnosed by a dealer service department or other qualified repair shop.