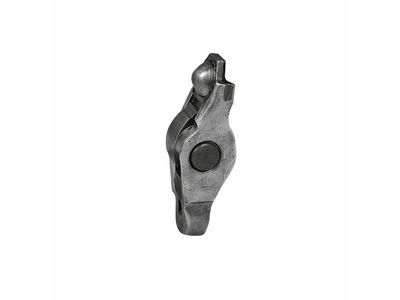
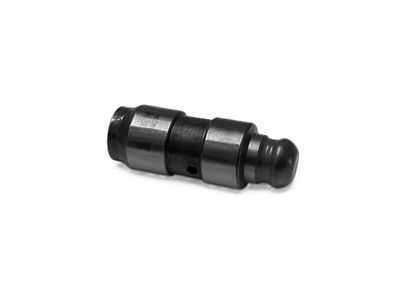
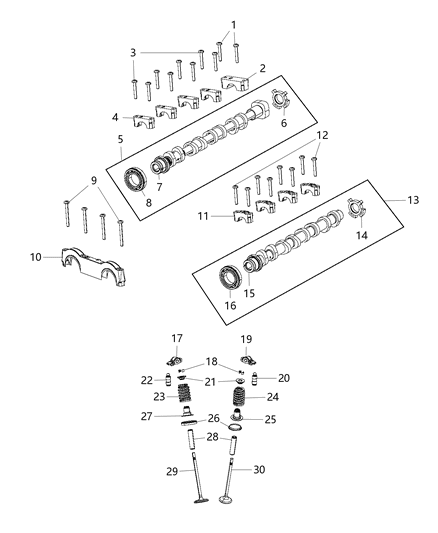
In order to avoid swallowing of air into the lash adjusters one should; Ensure that the rocker arm assemblies stay upright and avoid placing the rocker arm on the lash adjusters when on the bench. Begin by removing the valve cover(s) and marking the rocker arms and pedestals for identification, noting that there are four per cylinder: The AL variants have two intake and two exhaust and the AR variants also have two intake two exhausts but in a reverse manner. Start with every thrower arm shaft bolt and completely undo them to when they can be taken out by the hands; followed by a pattern which is the exact opposite of the tightening pattern. Check all rocker arms for signs of wear, cracks, and damage as well as the roller and make sure that the lash adjuster contact surfaces are still there. Never perform the removal of the lash adjusters from the rocker arms as it would lead to damage. First of all, check the pivot area as well as the shaft and if the elements are worn then they should be replaced. Rocker arms and pedestals: To remove rocker arm, loosen dowel pin by using a 4 mm screw and nut which will pull dowel pin with washer and spacer; new dowel pin to be used during assembly work. In case of rocker arms or pedestals removal, the shafts should be lubricated and these rocker arms should be fitted in such a way that intake rockers are fitted to the intake shaft while the exhaust rockers are fitted to the exhaust shaft in the manner that those side where the notches are situated in the rocker arm shaft are upward in order to avoid being damaged. Replace new dowel pins on each pedestal, the rocker arm assemblies with the valve train in the "no load" condition with camshaft sprocket and crank sprocket on number TDC number 1. Torque the right side rocker arm assembly bolts to the specified magnitude in the particular order as are illustrated while bringing the notches on the latter to the right directions different from the left side to prevent oiling problem. At last, the completion of the installation begins with the sequence in which the parts were removed and one must check whether the engine emits oil after turning the car's engine on.