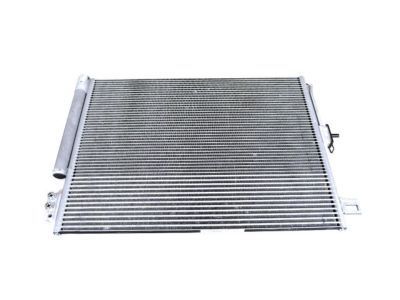
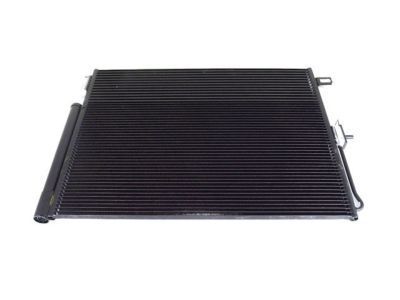
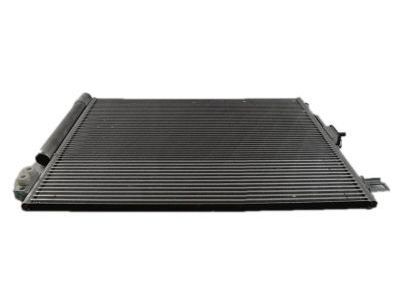
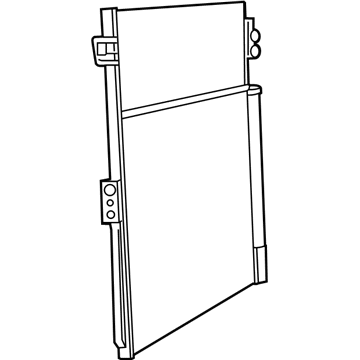
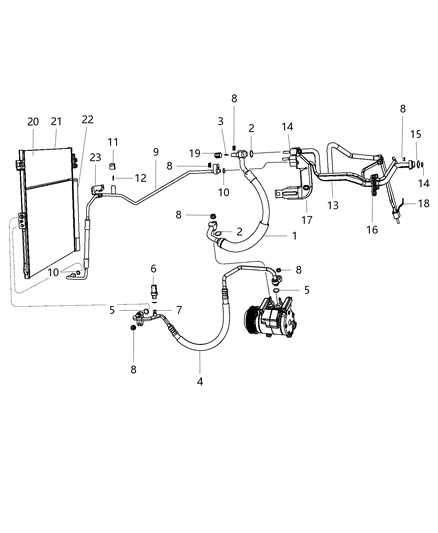
The accumulator should be replaced whenever the condenser is replaced. To begin, have the air conditioning system discharged by an automotive air conditioning technician. Then, disconnect the cable from the negative terminal of the battery (for 2010 and earlier models). Remove the plastic cover over the radiator and the radiator mounting fasteners, then remove the radiator support and move it aside. Remove the mounting fasteners for the power steering cooler and move the cooler aside. Disconnect the automatic transmission cooler lines from the transmission fluid cooler. Disconnect the refrigerant lines from the condenser and plug the lines and fittings to prevent the entry of moisture and contaminants. Remove the fasteners that mount the condenser to the radiator. Carefully move the radiator back, then remove the condenser by lifting it up and out of the engine compartment (for 2010 and earlier models). Remove the air intake tube and filter housing (for 2011 and later models). Remove the front bumper cover. Remove the bolt from the a/c line bracket above the radiator, on the left side of the engine compartment. Disconnect the a/c lines from the left side of the condenser and tape or plug the exposed ports. Remove the hood latch and position it aside. Disconnect the left and right side plastic fins from the engine and position them aside. Move the supports for the radiator crossmember aside. Disconnect the automatic transmission cooler lines from a/t fluid cooler fitting and tape or plug the exposed ports. On models equipped with a power steering fluid cooler, disconnect the fluid cooler from the condenser and place it aside. Depress the two retaining tabs on the left and right side of the condenser, tilt the condenser forward, and carefully pull it up and out of the engine compartment. If the original condenser will be reinstalled, store it with the line fittings on top to prevent oil from draining out. If a new condenser is being installed, pour 1 oz (30 ml) of refrigerant oil into it prior to installation (an oil designated as compatible with refrigerant R-134a). Install new O-rings onto the refrigerant lines. Reinstall the components in the reverse order of removal. Finally, have the system evacuated, recharged, and leak-tested by the shop that discharged it.