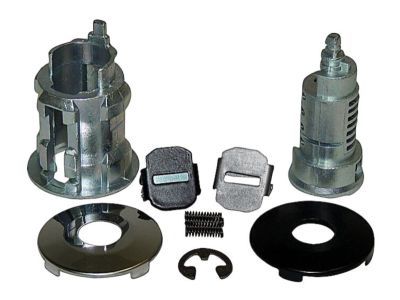
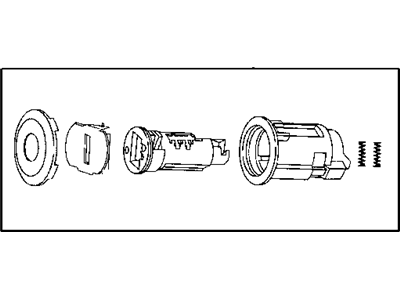
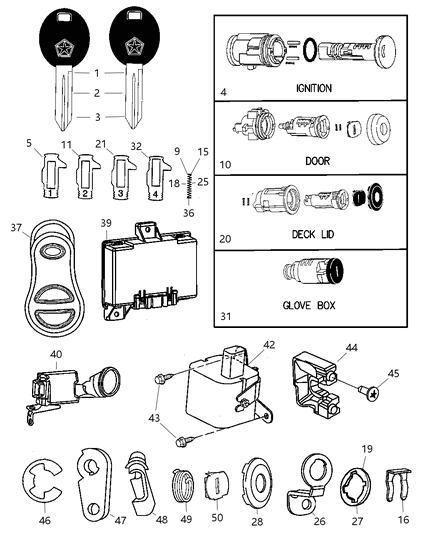
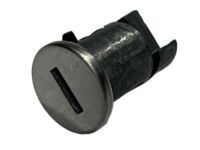
To remove the latch, first take off the door trim panel, ensuring that on vehicles with electric windows, the window is closed before disconnecting the electrical connectors. For manual windows, install the window crank without the retaining clip and roll up the window. If removing a rear door latch, also remove the window glass lower rear run channel. Disconnect the lock cylinder, lock button, and latch release operating rods from the door latch, and for vehicles with central door locks, disconnect the electrical connector. Remove the three mounting screws from the end of the door and take out the door latch. For installation, position the latch, install and securely tighten the screws, then connect the operating rods to the latch and secure them with retaining clips. It is important not to close the door until the latch has been properly adjusted. To adjust, insert a Torx-head wrench through the elongated hole near the latch, engage it with the Torx-head screw inside the door latch linkage, and loosen it a couple of turns. Push the outside door handle all the way in and release it, then tighten the socket head screw on the door latch linkage and check the door operation. For the outside handle, remove the door trim panel, ensuring the window is closed for electric windows or rolling it up for manual ones. Disconnect the central locking electrical connector if equipped, detach the operating rod retaining clip and operating rod from the lock cylinder, remove the mounting nuts, and withdraw the handle from the door. Installation is the reverse of removal. For the lock cylinder, first remove the outside door handle, then detach the operating rod retaining clip and operating rod from the lock cylinder, disconnect the electrical connector if equipped, and pry off the lock cylinder retainer with a screwdriver to withdraw it from the door or handle. Installation is the reverse of removal.
Posted by MoparPartsGiant Specialist 
