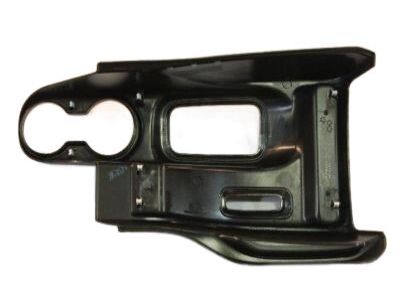
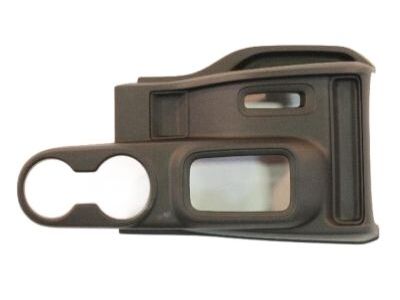
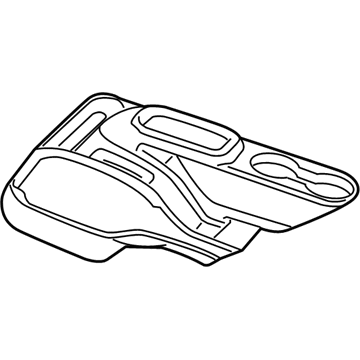
For models through 1995, start by disconnecting the negative cable at the battery, then open the console door for access, remove the retaining screws, detach the console, and lift it from the vehicle, with installation being the reverse of removal. For models from 1997 to 2017, move the seats to the full rearward position and recline the passenger seat fully. On vehicles with an automatic transmission, grasp the shift handle firmly and yank it upward to remove it from the shift lever; for 4WD models, remove the transfer case shift knob in the same manner. Use a plastic trim tool to remove the trim panel from the rear of the center console and disconnect any electrical connectors on later models. For automatic transmission vehicles, pry up the gear position indicator trim panel with a small flat-bladed screwdriver, and for manual transmission vehicles, pry up the shift boot, remove the shifter handle mounting bolt, and take off the shift handle. If equipped with a mini console, remove the trim disc from the bottom of the cup holder. For models from 2007 to 2017, pry up the console top trim piece with a plastic trim tool, remove the console retaining bolts, and note that these consoles are retained by four bolts accessed from the front and rear sides. Shift the transfer case to the 4L position and engage the parking brake, then disconnect any electrical connectors if equipped, lift up the console, rotate it if necessary, and remove it through the passenger door. For the instrument panel center bezel, remove the instrument panel top cover, take out the ash tray and the screw in the back that attaches the center bezel to the lower instrument panel, and remove the two screws that attach the center bezel to the top of the instrument panel. Carefully pry the lower edge of the center bezel away from the instrument panel using a wide, flat-bladed tool, lift up the lower edge to release the four snap clip retainers, and then remove the center bezel, with installation being the reverse of removal.