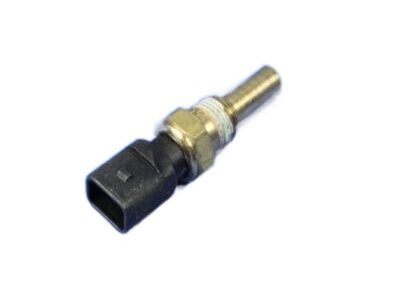
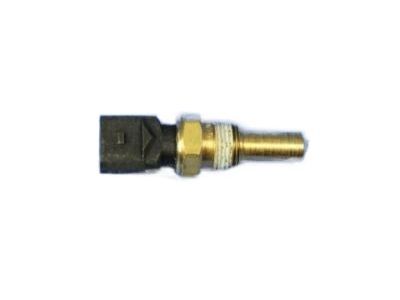
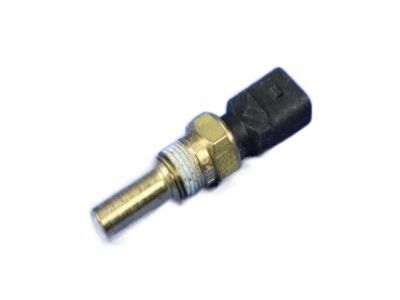
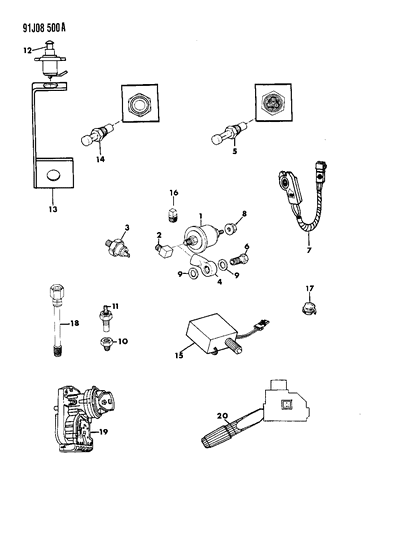
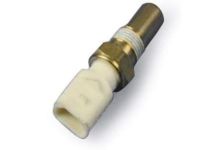
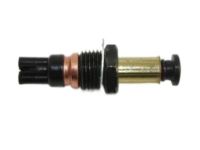
The coolant temperature indicating system consists of a sending unit which is screwed into the cylinder head or manifold and a corresponding temperature gauge mounted in the instrument panel. When the coolant temperature of the engine is low the resistance of the sending unit is high and restricts the flow of current to the gauge. This causes the pointer to move only a short distance. As the temperature of the coolant increases, the resistance at the sending unit decreases and causes an increased flow of current and movement at the gauge. Do not apply 12 volt current directly to the temperature sender terminal at any time, as the voltage will damage the unit. Start the engine and allow it to run with a thermometer placed in the radiator neck until a minimum temperature of 180°F is read. The gauge in the instrument panel should indicate within the normal band of the reading scale. If the gauge does not indicate correctly, disconnect the gauge lead from the terminal at the sender unit. Connect the lead of a 12-volt test light or the positive lead of a voltmeter to the gauge lead that was disconnected. Connect the other test lead to an engine ground. With the ignition switch set to the On or Accessory position, a flashing light or fluctuating voltage should indicate that the instrument voltage regulator is operating and the gauge circuit is not grounded. If the light stays on or the voltage reading is steady, the instrument voltage regulator is bad. If no voltage is indicated by the voltmeter or test light, check for an open circuit in the system. If all of the above readings check out correctly yet the gauge does not work properly, the gauge sender needs replacement. The engine must be completely cool when this procedure is performed. Disconnect the wire from the unit. Use a wrench to remove the old unit and immediately install the new one. Because the unit threads into a coolant passage, there will be some coolant spillage. Check the level after the replacement has been installed.