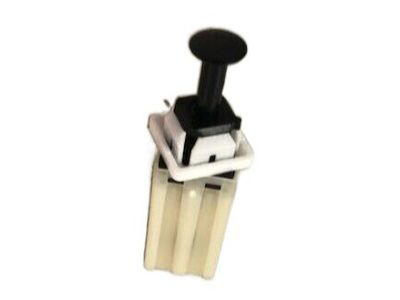
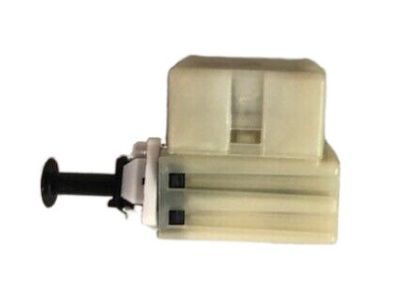
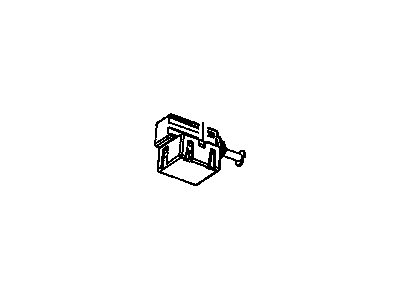
Disconnect the cable from the negative terminal of the battery. For models from 2001 and earlier, unplug the brake light switch electrical connector from under the dash and remove the pushrod bolt or retaining clip, then take out the brake light switch while noting the positions of the bushings, spacers, and sleeves. Lubricate these components with a light coat of multi-purpose grease, position the switch against the brake pedal, and install the pushrod bolt and nuts or retaining clip, ensuring to tighten the nuts to the specified torque for pre-1991 models. Plug in the electrical connector and reconnect the battery. The switch is not adjustable on pre-1991 models, while it is adjustable on 1991 and later models. To check the adjustment on 1991 and later models, move the brake pedal forward by hand and observe the switch plunger, which should be fully extended when the pedal freeplay is taken up, with a clearance of about 1/8-inch between the plunger and the pedal. If the clearance is correct and the brake lights are functioning, no adjustment is needed; otherwise, adjust the switch if the plunger does not fully extend. Note that for models from 2007 and later, if the brake light switch is removed, it cannot be reused and a new switch must be installed. To adjust the switch, pull the brake pedal to the rear as far as possible, allowing the switch plunger barrel to ratchet to the correct position, then measure the plunger-to-pedal clearance and verify the brake lights are operating correctly. For models from 2012 and later, disconnect the negative battery cable, remove the steering column covers, and disconnect the electrical connector to the brake light switch. While pressing the brake switch with your foot, rotate it counterclockwise about 30 degrees until the locking tabs align, then pull the switch out of the bracket. To install, ensure the brake light switch lever arm is fully extended, push the brake pedal down, align the tabs, and rotate the switch 30 degrees clockwise to lock it in place before reconnecting the electrical connector and reinstalling the steering wheel covers.