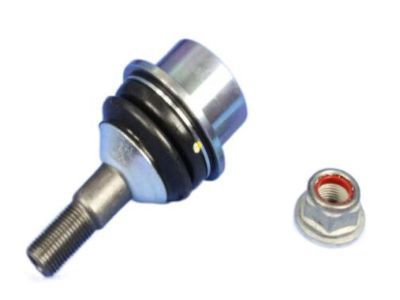
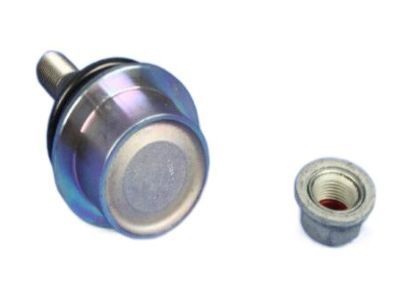
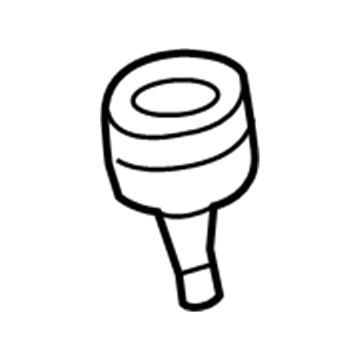
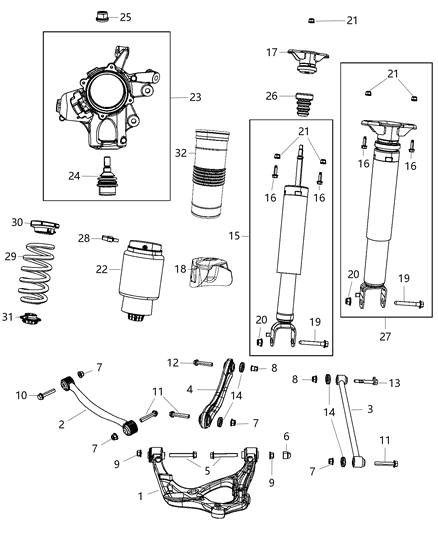
Inspect the control arm balljoints for looseness whenever either is separated from the steering knuckle by attempting to turn the ballstud in its socket with your fingers; if it is loose or can be turned, replace the balljoint. To check the upper balljoint with the suspension assembled, first loosen the front wheel lug nuts, raise the front of the vehicle, and support it securely on jackstands before removing the wheel. Then, raise the lower control arm with a floor jack to simulate normal ride height. Using a large prybar inserted between the upper control arm and the steering knuckle, pry upwards on the upper control arm, noting that up to 0.020-inch movement is allowed, which can be measured with a dial indicator. If accurate measurement is not possible, have the balljoint checked at an automotive repair shop. If replacement is necessary, remove the upper control arm, as the balljoint is press fit in it, requiring a special press tool and receiver cup for removal and installation, which can be rented from equipment rental yards or auto parts stores. If access to this tool is unavailable, take the vehicle or lower control arm to an automotive machine shop or qualified repair facility for balljoint replacement. For the lower balljoint, raise the vehicle and support it securely on jackstands, then place a floor jack under the lower control arm near the outer end and raise it until the upper control arm lifts off its rebound bumper. Insert the prybar between the top of the balljoint and the steering knuckle and pry down, again noting that up to 0.020-inch movement is allowed, which can be checked with a dial indicator. If replacement is indicated, remove the lower control arm, as the balljoint is press fit in it and requires the same special press tool for removal and installation, available for rent or through a qualified repair facility. Some balljoint replacement tools resemble a heavy-duty C-clamp, allowing for separation of the balljoint from the steering knuckle without removing the entire assembly.