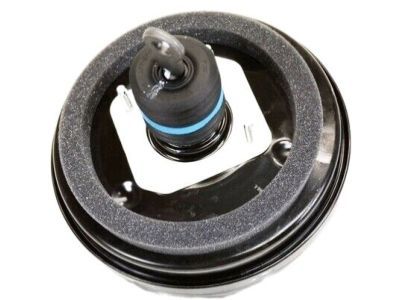
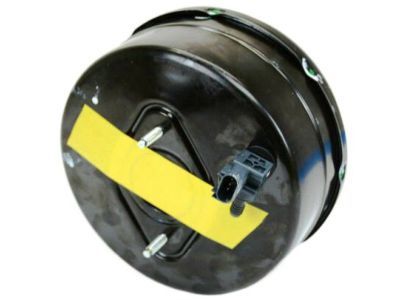
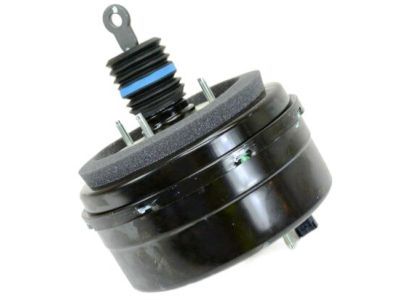
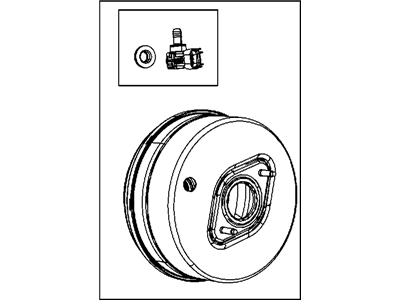
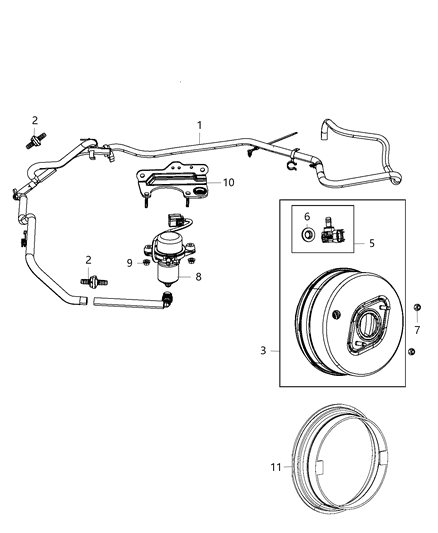
The power brake booster unit requires no special maintenance apart from periodic inspection of the vacuum hose and the case, and it is not repairable; if a problem develops, it must be replaced. To check operation, depress the brake pedal several times with the engine off to ensure there is no change in the pedal reserve distance, then depress the pedal and start the engine; a slight drop in the pedal indicates normal operation. For an airtightness check, start the engine and turn it off after one or two minutes, then depress the brake pedal slowly; if the pedal goes down farther the first time but gradually rises after the second or third depression, the booster is airtight. Additionally, while the engine is running, depress the brake pedal and stop the engine with the pedal depressed; if there is no change in the pedal reserve travel after holding the pedal for 30 seconds, the booster is airtight. For removal on 2011 and later models, remove the cowl cover, then remove the master cylinder and disconnect the vacuum hose from the power brake booster without removing the check valve. Working under the dash, remove the driver's side dashboard lower panel and the steering column opening cover, disconnect the power brake pushrod from the top of the brake pedal by prying off the clip, and disconnect and remove the brake lamp switch. Remove the nuts attaching the booster to the firewall, disconnect the wire harness routing clips, and carefully lift the booster unit away from the firewall and out of the engine compartment, noting the placement of gaskets and spacer blocks. For installation, place the booster into position and tighten the retaining nuts to the specified torque, connect the booster pushrod to the brake pedal, install the master cylinder, connect the vacuum hose to the brake booster assembly, bleed the brake system, and carefully test the operation of the brakes before placing the vehicle in normal operation.