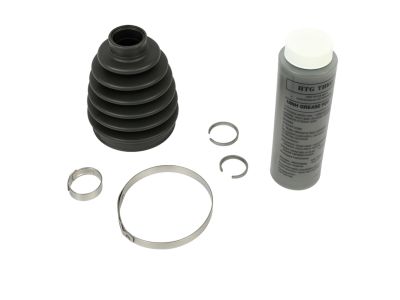
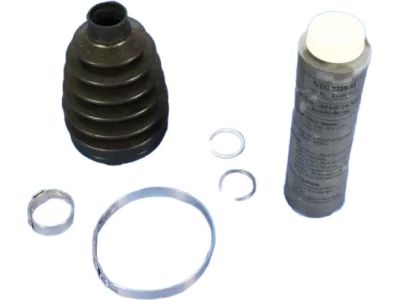
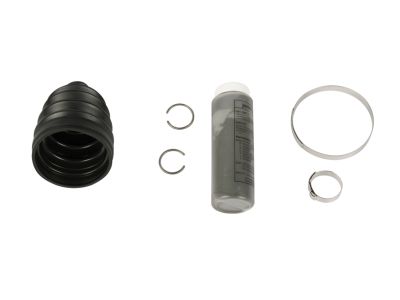
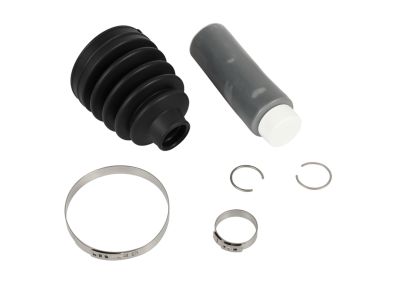
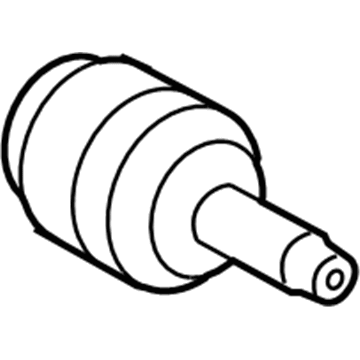
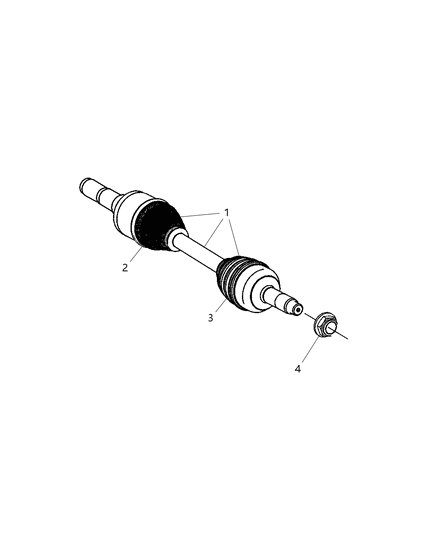
If the bearings on the CV joints are worn, for instance through worn boots, one should not embark on an overhaul as most complete rebuilt CVs come as exchange units. First, take off the wheel lug nuts which hold the wheel, then jack up the vehicle safely using jackstands so that one can remove the wheel. Then, centre the axleshaft between two wood blocks in a vise, then loosen the boot clamps and slide the rear of the boot forward. Remove the wire retainer ring using a small screwdriver and clean the joint with an aim of removing the grease. It is removed by pulling out the outside leg of the snap-ring retaining the outer joint to the shaft with the aid of snap-ring pliers to expand it before pulling out the joint. It is also marked clearly inside to facilitate in the right reassemble and the ball is gently removed from the cage most gently without scratching the balls or the cages. Tilt the inner race in a 90 degrees clockwise direction to make it to sit on the inner portion of the cage windows and then extract it. Wipe with the solvent and blow dry using compressed air and while doing this look out for any sign of damage, corrosion, wear or cracks. If any of links is with undervaled service, then its prudent to replace the entire CV joint assembly. In assembly, place the inner race over the cage and align the match marks on the same side then press the balls into the holes provided in the cage. Tape the splines of the axleshaft to avoid scratching the boot, then pull the boot over the axleshaft until it engages the splines; then slid the clamp on to it and remove the tape. Screw in the inner race and cage assembly onto the axleshaft with a snap-ring. Both the cage and the housing are filled with CV joint grease the boot is greased before being slid over the shaft and locked into place by the wire ring retainer. Clean all the grease that may be present at the axle CV boot groove, ensure the boot is correctly placed and the clamp fitted. Insert the CV joint to a midway of the movement with SVW and apply the pressure in the boot with a blunt screwdriver so as not to mar it. Insert the nuts of the boot clamps and then fasten using a special shaped banding tool and then fit the CV assembly. The procedure for the outer CV boot entails: The removing of the inner CV boot and joint The cutting of the outer CV boot clamps The cutting off of the boot from the CV housing and shaft Wash all of the components carefully, coat lightly with oil each part and put adhesive tape on the axleshaft splines. Insert a new sealing boot clamp and sealing boot on the axleshaft; insert half grease from the sealing boot kit into the outer CV joint assembly housing; and the other half in to the sealing boot. Place the CV joint in the mid position as far as its movement is concerned, make sure the pressure in both boots are equal, then use a specific tool to at the boot clamp. Next, it is followed by the installation of the inner CV joint assembly and the boot then the CV tree.