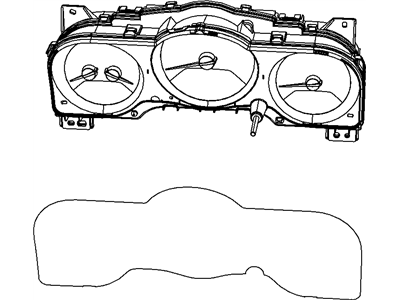
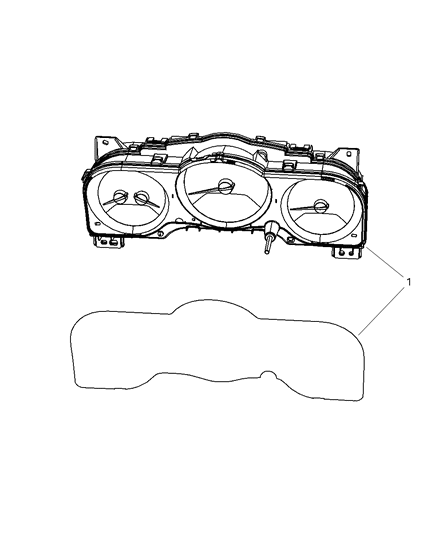
This procedure is lengthy and difficult, even for an experienced mechanic, and due to the number of electrical connections, fasteners, and various safety systems involved, instrument panel removal is not recommended for the home mechanic. Begin by disconnecting the cable from the negative terminal of the battery and setting the steering wheel to the straight-ahead position. Remove all instrument panel trim covers and bezels, followed by the two lower isolator panels, steering column covers, dash speakers, center console, and radio. Next, remove the lower center dash support, disconnect the airbag module wiring and ground strap, and turn the key to the On position. If equipped with an automatic transmission, disconnect the shifter interlock cable at the steering column. Mark the relationship of the steering shaft to the coupling, then disconnect the steering shaft at the coupling, ensuring the steering column does not turn more than 114 turns to avoid damaging the airbag clockspring. Remove the steering column mounting fasteners and lower the column from the support, then disconnect the wiring at the ignition switch and combination switch, and remove the wiring harnesses from the column. Remove the shifter interlock cable from the plastic retaining straps and take the steering column out of the vehicle. Disconnect the wiring from the brake light switch without removing the switch, then disconnect the wiring connector under the left kick panel. Unbolt and disconnect the large light blue and green wiring connectors from the electrical junction block, followed by disconnecting the wiring connector at the pedal support. Remove the four bolts from the front and bottom of the pedal support, then remove the bolts at each end of the lower instrument panel. Open the glove compartment door, pull inward on the two tabs inside, and allow it to swing downward before sliding the glove compartment door to the right to release it from the hinges. Remove the two mounting bolts at the center of the heater unit and the heater unit bolts located just above the glove compartment latch and at the bottom outer corner of the glove compartment space. Disconnect the wiring from the heater resistor and check valve at the vacuum tank, as well as the heater blower wiring connector and heater door connector. Remove the bolts from the top of the instrument panel, pull the upper part of the instrument panel to the rear, unfasten the wiring from the wiring guide in the back, and disconnect the radio wiring harness clips before finally removing the instrument panel. Installation is the reverse of the removal procedure, ensuring to route the speaker wires through their openings when placing the instrument panel in position, and when tightening the steering column support, first install the fasteners loosely, then tighten the tower nuts followed by the upper bolts.