
My Garage
My Account
Cart
This part fits
2012 Chrysler Town & Country 6 Cyl 3.6L VVT; 6-Speed Automatic Transmission 62TE
Check another vehicle- Fitting Vehicle Options: 53 - 119 WB, Y - CHRYSLER
Mopar 68142871AC Engine Intake Manifold Kit
2011-2013 Mopar 68142871AC
Customer Questions & Expert Answers (2)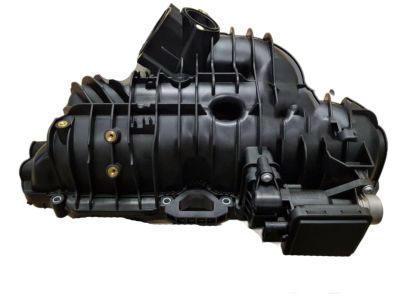
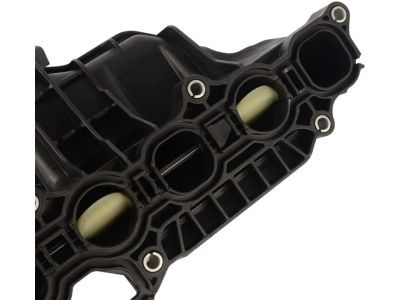
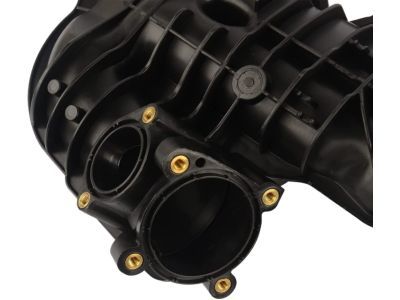
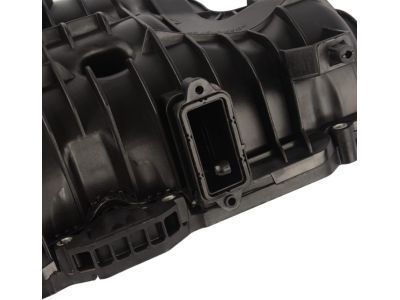
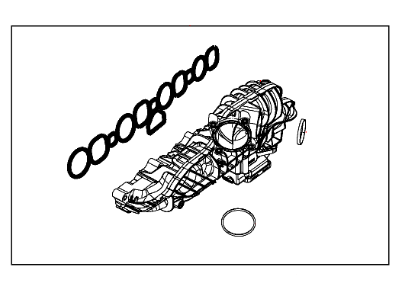
- Part DescriptionManifold-Engine Intake
- Replaces
- ManufacturerMopar
- Manufacturer's NotesThis part is discontinued.
This part fits
2012 Chrysler Town & Country 6 Cyl 3.6L VVT; 6-Speed Automatic Transmission 62TE
Check another vehicle- Fitting Vehicle Options: 53 - 119 WB, Y - CHRYSLER
- Related Parts
- Specifications
- Q&A
Product Specifications
Brand Genuine Mopar Manufacturer Part Number 68142871AC Part Description Manifold-Engine Intake Item Dimensions 22.4 x 16.1 x 6.1 inches Item Weight 6.00 Pounds Condition New Fitment Type Direct Replacement Replaces 68142871AB, 68142871AA Manufacturer Mopar SKU 68142871AC Warranty This genuine Mopar part is guaranteed by Mopar's factory warranty. Shipping & Return Shipping Policy Return Policy Warning: California's Proposition 65Customer Questions & Expert Answers
- Q:Will this fit my truck? Posted by MoparPartsGiant Specialist
- A:You can Select Your Vehicle to check if 68142871AC fits your vehicle.Posted by MoparPartsGiant Specialist
- Installation and Repair Tips by AI Expert
- Removal: 1. Park on a level surface, set the parking brake, wear safety glasses, and relieve any ignition sources in the work area. 2. Disconnect the negative battery cable to prevent electrical shorts. 3. If the intake has fuel lines attached, relieve fuel system pressure following a safe procedure before opening any fuel fittings. 4. If the manifold carries coolant, drain enough coolant to avoid spillage when lines are disconnected. 5. Remove obstructing components (engine cover, air intake ducting, intake resonator, etc.) that prevent access to the intake manifold. 6. Label and disconnect electrical connectors, vacuum and PCV hoses, and breather lines attached to the manifold or nearby components; take photos for reference. 7. Disconnect or remove the throttle body, fuel rail/injectors, sensors, or other parts that must come off to free the manifold-follow the component-specific safe-disconnect methods and note that procedures vary by design. 8. Loosen intake manifold fasteners gradually in several passes to relieve clamping load; support the manifold while removing the remaining fasteners to prevent it from dropping. 9. Lift the manifold free, taking care to catch or plug any open coolant, vacuum, or oil passages and to avoid contaminating intake/port openings. 10. Clean the mating surfaces of the cylinder head and manifold seating area, removing old gasket material without gouging the metal. Installation: 1. Ensure mating surfaces are clean and dry; install new intake manifold gaskets and any seals per manufacturer direction-use sealant only if specified by the parts manufacturer. 2. Lower the manifold into position, aligning it without forcing; confirm that any coolant or vacuum passages mate properly. 3. Install fasteners by hand to ensure correct threads, then snug in multiple, even passes; tighten to final torque using the manufacturer's specified pattern and torque values (do not guess torque). 4. Reinstall and reconnect the throttle body, fuel rail/injectors, sensors, and any components removed earlier, following safe procedures for fuel and electrical connections. 5. Reconnect all vacuum hoses, PCV and breather lines, and electrical connectors using your labels/photos to ensure correct routing. 6. Refill and bleed coolant if coolant was drained, and check for proper coolant level following the cooling-system bleeding procedure applicable to the vehicle. 7. Reconnect the negative battery cable. 8. Start the engine and inspect for fuel, coolant, or vacuum leaks; monitor for abnormal noises, rough idle, or warning lights. 9. Scan/clear diagnostic trouble codes as needed and verify normal operation once the engine reaches operating temperature. 10. After a short test drive, recheck fastener torque if the manufacturer recommends and inspect again for leaks or loose connections. Repair tip: Photograph and label everything during disassembly to speed reassembly and reduce the chance of missed hoses or connectors.
- Q:
Why choose Mopar Parts Giant
- Dedicated Service
Your complete satisfaction is our #1 goal
- Lowest Prices
Best deals on genuine OE parts from dealerships
- Fast Delivery
Orders are processed and delivered promptly