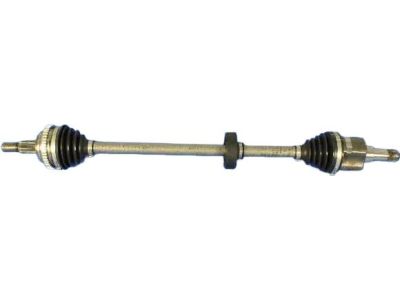
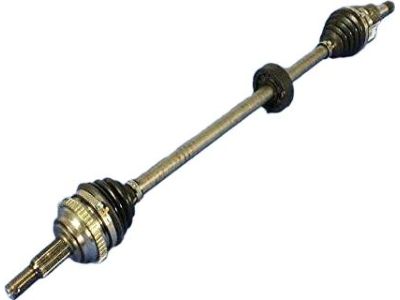
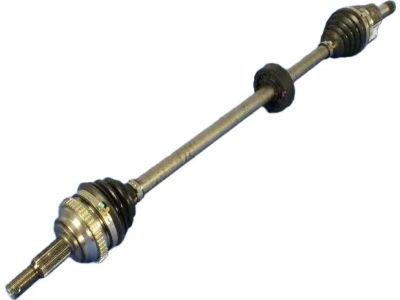
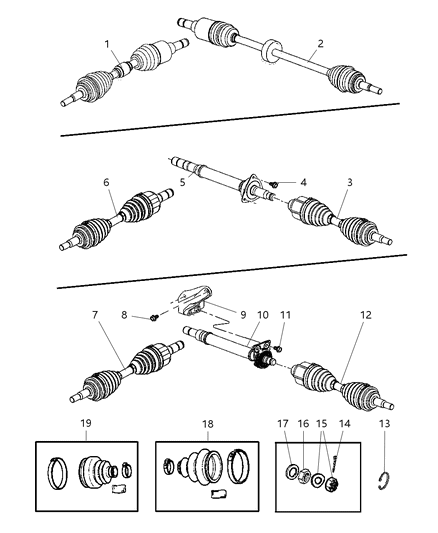
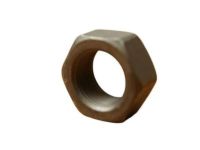
Before disassembling of the axle shaft, the front wheel lug nuts need to be unscrewed, the car has to be lifted and properly positioned on jackstands and the wheel has to be detached. Second, unscrew the hub nut cotter pin and then take the old cotter pin also, because in the process of assembly, a new cotter will be required. Remove the lock and the spring washer from the axle shaft hub nut and using a large socket together with a breaker bar, loosen the axle shaft/hub nut. In case the vehicle has an anti-lock brake system, remove the harness of the front wheel speed sensor and place it to one side. While it is not required to drain the transaxle lubricant prior to the removal of the axle shaft, it is preferred, should the transaxle be close to the lubricant-change requirement. Pull the tie-rod end free from the steering knuckle, unscrew the balljoint that attaches it to the steering knuckle then use a prybar to force the lower control arm apart from the other component. To free the axle shaft from the hub splines: strike the end of the axle shaft gently with a soft-faced hammer, if it is stuck a puller may be required. Draw out on the steering knuckle to disengage the axle shaft from the hub and swing the outer end of the axle shaft down. If any leakage is observed on the axle shaft, these usually occur at the differential seal, then the seal will be requiring changing once the axle shaft has been removed. When inserting the needle bearing, for a non-turbo right axle shaft use a prybar against the inner joint and pry it off the transaxle side gear and retaining clip, or tap the inner joint off the intermediate shaft with a brass punch in a turbo model. Do not pull on the inner joint with the axle shaft in order to prevent cases of damaging the part. This one requires a little more care not to over bend the inner joint or to tear the axle shaft boots off. The same must be done for the left axle shaft; however, when doing this, care must be taken not to pull on the inner tripot joint. If the vehicle has to be shifted when the axle shaft is removed, put a large bolt with the washers through the hub. If a leaking axle shaft seal was identified, there is a seal replacement procedure possible. For installation reverse the removal steps and also apply an equal layer of multi-purpose grease on the splines of inner joint. Before pressing the snap-ring home against the transaxle side gear, hold the axle shaft straight out and press in sharply, then attempt to pull the axle shaft out. Remove any debris at the threads of the axle shaft outer CV joint, apply the spring washer and tighten the nut to the recommended torque, and while doing this it was important that you also tightened the hub nut. Insert the nut lock and another cotter pin; turn both of the ends round the pin to the extent of 90 degrees at least. Last, fix the wheel and lugs then drop the vehicle, tighten the lugs to the required amount and also check the transaxle level; add if necessary.