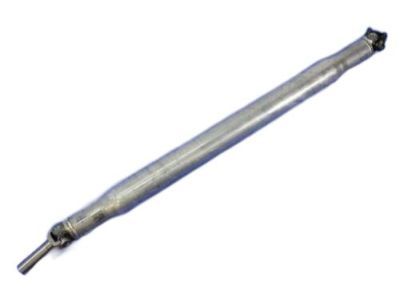
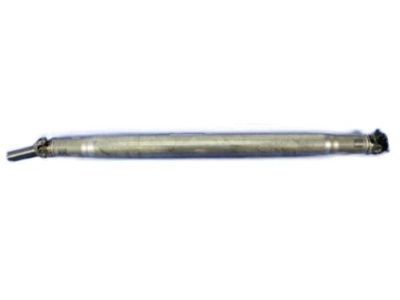
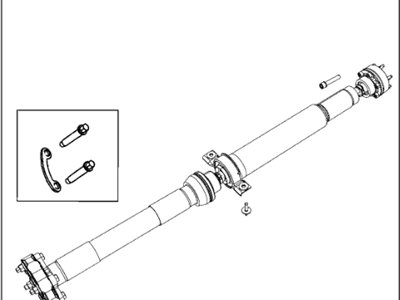
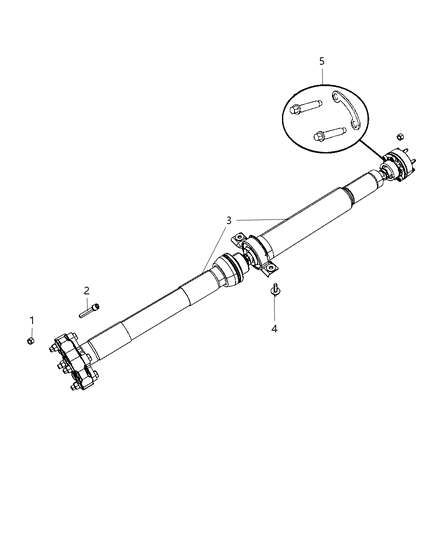
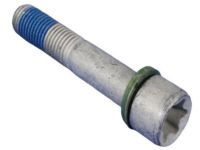
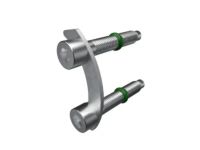
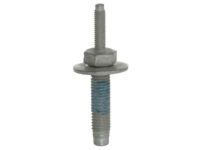
The manufacturer also advises that during installation one should fit new driveshaft fasteners. Starting on the rear driveshaft: first, slightly lift the vehicle off the ground and firmly set it on jacks. Mark the driveshaft with its mating flange on the differential axle assembly with chalk or scribe so as to align them properly when re-fixing. Take off the bolts that connects the drive shaft flange to the differential pinion flange using a screwdriver through the drive shaft yoke in order not to turn. Shove the flat nut and pull the universal joint from its mating flange and while pulling it, it is also necessary to liberate the caps from the shaft. Lower the rear of the driveshaft; on a one piece driveshaft, remove the front end from the transmission extension housing; on a two piece driveshaft, mark the relationship of the center support bearing to the support bracket, unbolt the support bracket and remove the front end of the driveshaft. Wrap the extension housing with a plastic bag and fasten it with a rubber band to retain the fluids and avoid the effect of contamination. For installation take out the plastic bag, clean the surface and check for leakage in the oil seal. Inspect the center support bearing for roughness or nosie and if so it should be replaced. Place the front part of the extension housing on the driveshaft, lift the rear part of the driveshaft into the proper position and align the alignment marks; turn the pinion flange in or out as required. For a two-piece unit, lift the center support bearing, loosely fasten it and position the rear shaft for coupling. Take out all the tapes that may be used to cover the bearing caps, fit the clamps and fasteners before tightening the bearing caps bolts to the recommended torque for the center support bearing. For the front driveshaft in 4WD, lift the vehicle and support it, removal of the skid plate if it is installed and the exhaust crossover pipe if required. Locate the position of the driveshaft in relation to the differential axle assembly mating flange, loosen and remove the bolts that secure the front end of the driveshaft to the spot-welded flange of the differential axle assembly, and if the truck is fitted with a transfer case flanges, make relative sighting marks on the driveshaft flanges and that of the transfer case. Loosen the two bolts that hold the flange which connects the driveshaft universal joint to the transfer case and pull the driveshaft. To dismantle the transfer case of models with a splined sliding sleeve, turn the dust boot clamp and pull out the driveshaft. Installation is the opposite of removal and involves aligning the vehicle if placed, in Neutral or rotating a wheel, and then properly positioning the universal joint caps to be tighten by using the torque wrench to the required torque.