
My Garage
My Account
Cart
Genuine 2010 Dodge Challenger Intake Manifold
Engine Intake Manifold- Select Vehicle by Model
- Select Vehicle by VIN
Select Vehicle by Model
orMake
Model
Year
Select Vehicle by VIN
For the most accurate results, select vehicle by your VIN (Vehicle Identification Number).
4 Intake Manifolds found
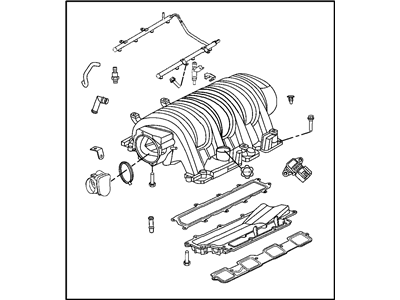
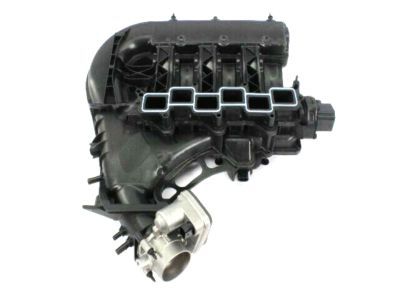
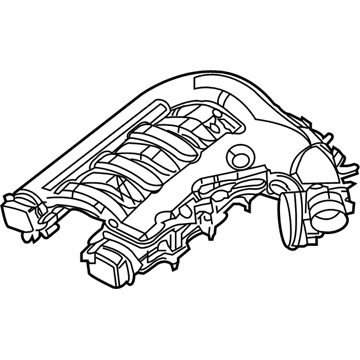
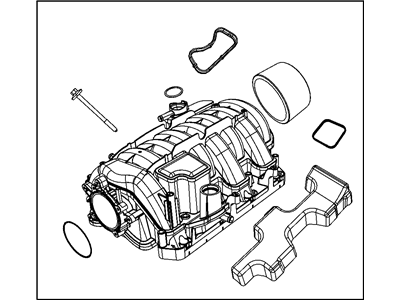
2010 Dodge Challenger Intake Manifold
Part Number: 5037510AJ$1335.50 MSRP: $1970.00You Save: $634.50 (33%)Product Specifications- Other Name: Manifold Intake This Package Contains All Parts Listed Below
- Replaced by: 5037510AK
- Item Weight: 44.40 Pounds
- Condition: New
- Fitment Type: Direct Replacement
- SKU: 5037510AJ
- Warranty: This genuine part is guaranteed by Mopar's factory warranty.
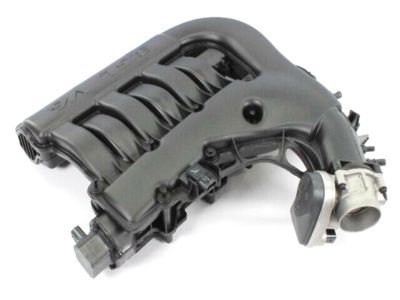
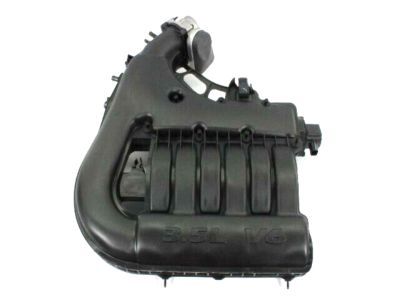
2010 Dodge Challenger Intake Manifold Plenum
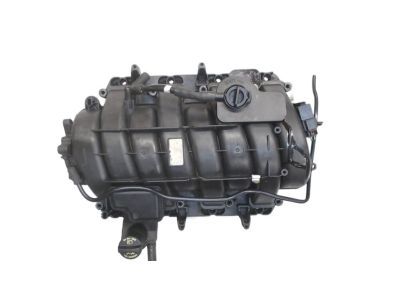
Part Number: 4591863AM$940.16 MSRP: $1390.00You Save: $449.84 (33%)Product Specifications- Other Name: PLENUM Intake Manifold; Intake Plenum, Plenum
- Replaces: 4591863AL
- Item Weight: 23.30 Pounds
- Item Dimensions: 35.7 x 28.6 x 8.2 inches
- Condition: New
- SKU: 4591863AM
- Warranty: This genuine part is guaranteed by Mopar's factory warranty.
 Product Specifications
- Other Name: Manifold-Engine Intake
- Replaced by: 68048131AC
- Item Weight: 12.90 Pounds
- Item Dimensions: 12.1 x 11.6 x 3.6 inches
- Condition: New
- SKU: 68048131AB
- Warranty: This genuine part is guaranteed by Mopar's factory warranty.
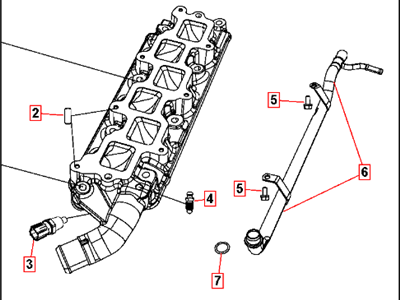
 Product Specifications
- Other Name: Manifold-Intake
- Item Weight: 7.70 Pounds
- Item Dimensions: 29.0 x 6.1 x 5.2 inches
- Condition: New
- Fitment Type: Direct Replacement
- SKU: 4792184AG
- Warranty: This genuine part is guaranteed by Mopar's factory warranty.
2010 Dodge Challenger Intake Manifold
On our website, we proudly offer genuine 2010 Dodge Challenger Intake Manifold at the market's great competitive prices. We are confident that choosing brand new OEM 2010 Dodge Challenger Intake Manifold from our site will save you both trouble and money.
2010 Dodge Challenger Intake Manifold Parts Questions & Experts Answers
- Q:How to remove and install the intake manifold in 3.6L V6 engine on 2010 Dodge Challenger?A:Before you take off the lower intake manifold you will need to depressurize the fuel system. Remove the cable from the negative terminal of the battery where on 2015 and later models with an Intelligent Battery Sensor ,the IBS connector should be removed first. Pull the engine cover up and off the ballstuds, by first centering it at the top and then yanking it free. Pull the MAP sensor connector and throttle body connector, remove the ETC connector, electrical harness retainer and disconnect the hoses for the PCV, brake booster hoses and the EVAP purge valve hoses. Remove the clamp and release the intake duct from the throttle body, next disconnect the PCV valve hose and the EVAP purge hose and the brake booster vacuum hoses. Disconnect the wiring harness retainers from the upper intake support bracket in addition to the retainer at the stud bolt. Then, take out the nuts and stud bolt to drop off the upper intake manifold bracket then unscrew the nut at the bracket side of the heater core return tube line. Take off the support bracket-to-upper manifold nuts, and then loosen the lower nuts of brackets, and take off the brackets of the upper intake manifold. As for the lower intake manifold, turn the bolts until they are only slightly loosened but do not remove them, then remove the upper intake manifold. Remove six upper-to-lower intake manifold gaskets and cap all the open intake port to minimize the entry of dirt into the engine. If necessary, unscrew the insulator on the left valve cover. Following the removal of the upper intake manifold, withdraw the fuel injectors and fuel rail as a single unit, although the lower intake manifold may be removed while the injectors and rail remain in position and great care must be exercised in order not to damage the injectors. Pop off the wiring harness retainer on the end of the manifold and set the harness out of the way. Take off the lower intake manifold bolts and take out the manifold off the cylinder heads, dispose the six manifold-to-cylinder head gaskets. For installation, be sure, that the mating surfaces of the cylinder heads, cylinder block and intake manifold are clean with help of gasket scraper and brake system cleaner because any old sealant or oil can be cause of leaks. Fit the fuel injectors and the fuel rail as well as the new intake manifold gaskets on the manifold. Gently put the lower end of the figure in place and make sure the intakes do not drop out of them, tighten the mounting bolts with your hand. Torque the mounting bolts in a sequence up to thespecified torque before fixing the upper intake manifold. Examine the rubber seals in each intake runner present on the upper intake manifold and change damaged seals. If, in the process of repairing, the insulator was removed, it should be reattached. Position is to fit the upper intake manifold to the lower intake manifold bydrawing up the bolts and thereafter tightening the bolts in the correct sequence to the recommend torque. Last of all, install the remaining components in the opposite way to the removal, start the engine and inspect for leaks and its correct function.
