
My Garage
My Account
Cart
Genuine 2014 Jeep Grand Cherokee Axle Shaft
Car Axle Shaft- Select Vehicle by Model
- Select Vehicle by VIN
Select Vehicle by Model
orMake
Model
Year
Select Vehicle by VIN
For the most accurate results, select vehicle by your VIN (Vehicle Identification Number).
14 Axle Shafts found
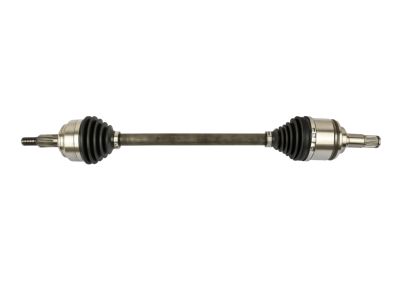
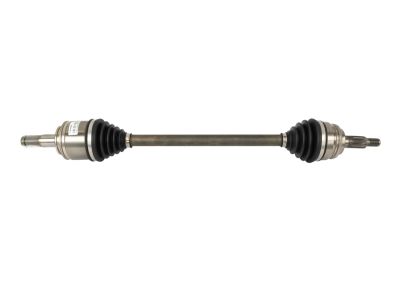
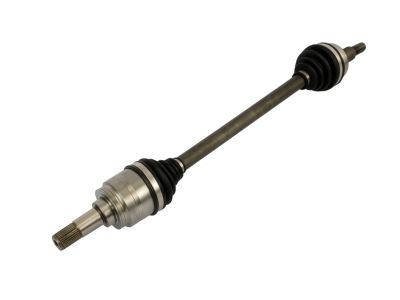
2014 Jeep Grand Cherokee Axle Half Shaft
Part Number: 52123522AA$489.45 MSRP: $745.00You Save: $255.55 (35%)Product Specifications- Other Name: Shaft-Axle Half
- Replaced by: 52123522AB
- Item Weight: 25.10 Pounds
- Item Dimensions: 40.7 x 6.2 x 5.7 inches
- Condition: New
- SKU: 52123522AA
- Warranty: This genuine part is guaranteed by Mopar's factory warranty.
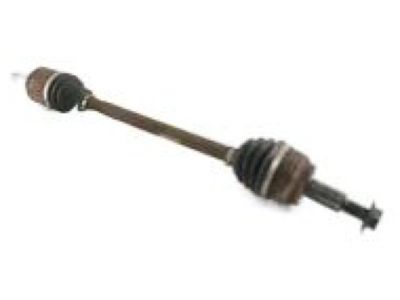
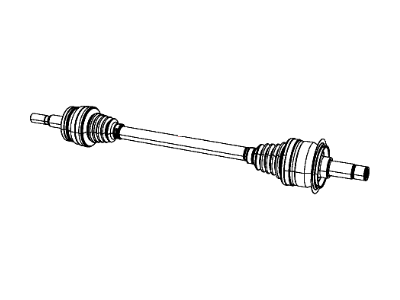
2014 Jeep Grand Cherokee Rear-Axle Assembly
Part Number: 4726091AB$435.55 MSRP: $659.00You Save: $223.45 (34%)Product Specifications- Other Name: Shaft-Axle Half
- Position: Rear
- Replaced by: 4726091AD
- Item Weight: 33.10 Pounds
- Item Dimensions: 40.6 x 5.6 x 6.1 inches
- Condition: New
- Fitment Type: Direct Replacement
- SKU: 4726091AB
- Warranty: This genuine part is guaranteed by Mopar's factory warranty.
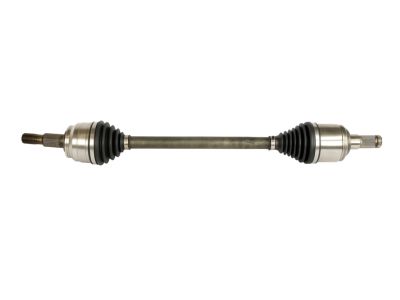
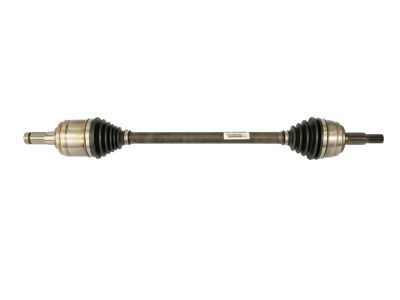
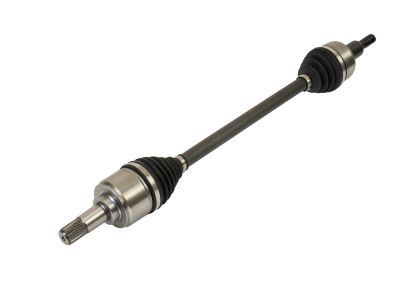
2014 Jeep Grand Cherokee Axle Half Shaft
Part Number: 52123521AB$315.02 MSRP: $704.00You Save: $388.98 (56%)Product Specifications- Other Name: Shaft-Axle Half
- Replaced by: 52123521AD
- Item Weight: 21.00 Pounds
- Item Dimensions: 44.7 x 4.9 x 5.1 inches
- Condition: New
- SKU: 52123521AB
- Warranty: This genuine part is guaranteed by Mopar's factory warranty.
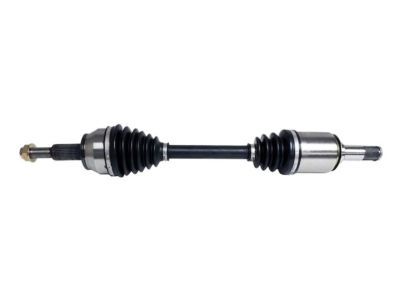
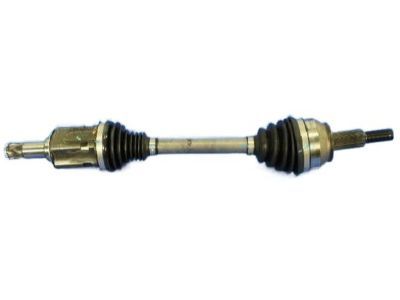
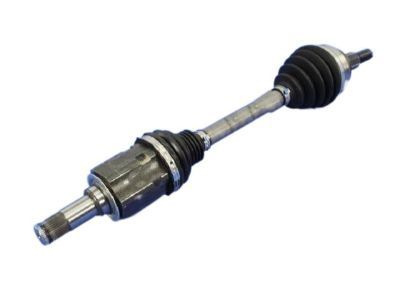
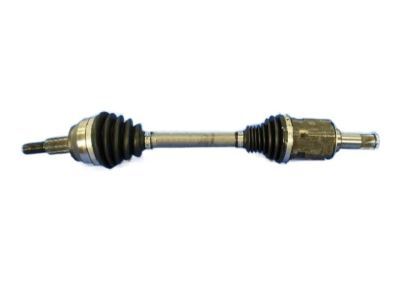
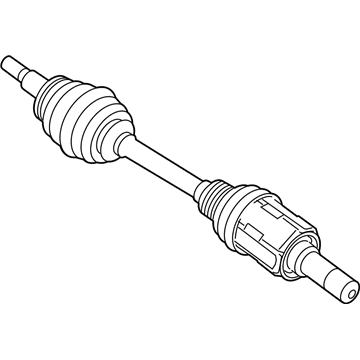
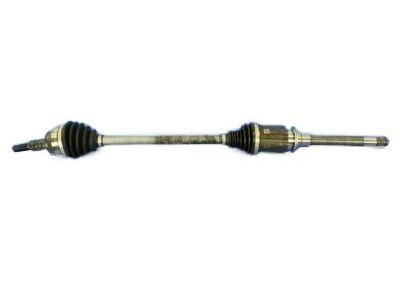
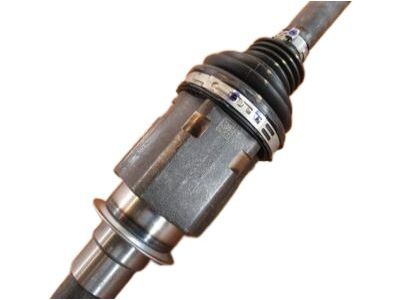
2014 Jeep Grand Cherokee Axle Half Shaft Left
Part Number: 4578885AC$392.65 MSRP: $594.00You Save: $201.35 (34%)Product Specifications- Other Name: Shaft-Axle Half; Axle Assembly
- Position: Driver Side
- Replaces: 4578885AB
- Item Weight: 19.20 Pounds
- Item Dimensions: 29.4 x 6.5 x 6.4 inches
- Condition: New
- Fitment Type: Direct Replacement
- SKU: 4578885AC
- Warranty: This genuine part is guaranteed by Mopar's factory warranty.
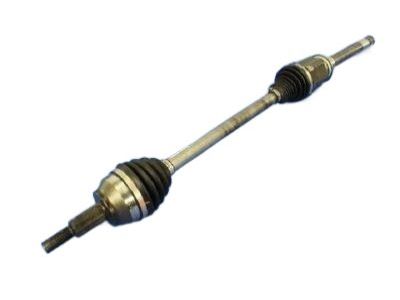
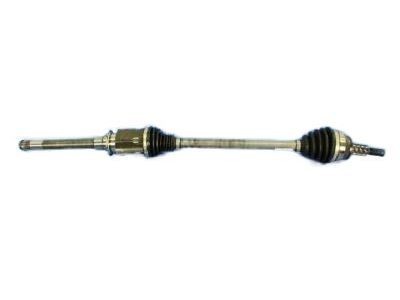
2014 Jeep Grand Cherokee Axle Shaft Assembly
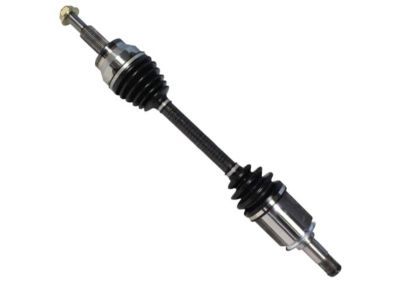
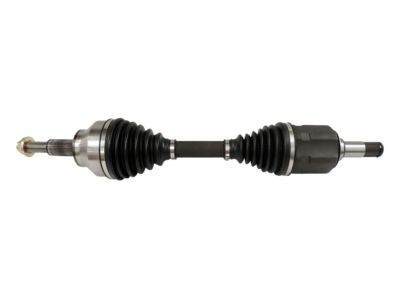
Part Number: 4578884AC$481.75 MSRP: $729.00You Save: $247.25 (34%)Product Specifications- Other Name: Shaft-Axle Half; Axle Assembly
- Position: Passenger Side
- Replaces: 4578884AB
- Item Weight: 23.70 Pounds
- Item Dimensions: 45.1 x 6.3 x 5.3 inches
- Condition: New
- Fitment Type: Direct Replacement
- SKU: 4578884AC
- Warranty: This genuine part is guaranteed by Mopar's factory warranty.
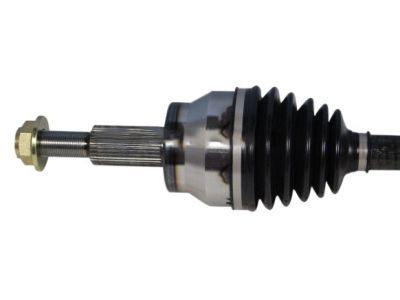
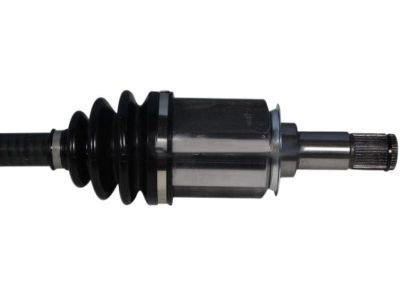
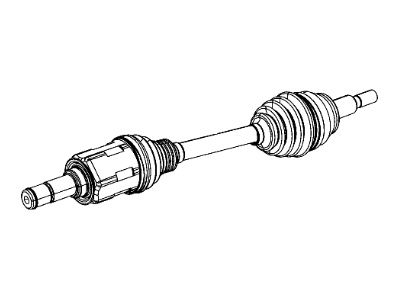
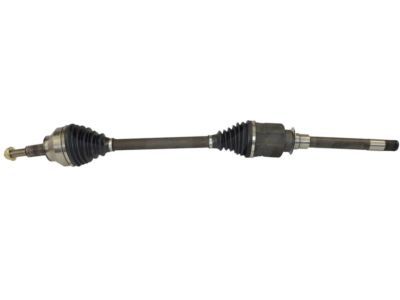
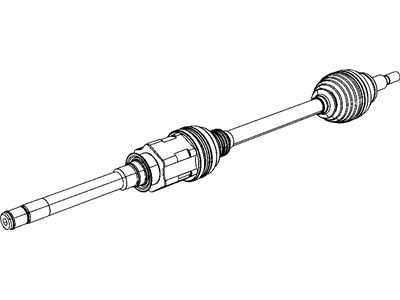
2014 Jeep Grand Cherokee Axle Half Shaft
Part Number: 52124713AC$460.85 MSRP: $697.00You Save: $236.15 (34%)Product Specifications- Other Name: Shaft-Axle Half
- Replaced by: 52124713AD
- Item Weight: 22.20 Pounds
- Item Dimensions: 6.3 x 10.8 x 34.1 inches
- Condition: New
- SKU: 52124713AC
- Warranty: This genuine part is guaranteed by Mopar's factory warranty.
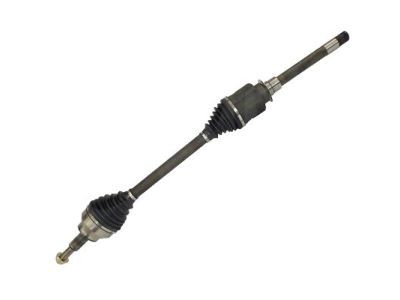
2014 Jeep Grand Cherokee Axle Half Shaft
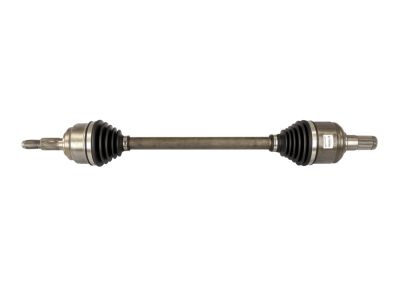
Part Number: 52124712AC$464.15 MSRP: $702.00You Save: $237.85 (34%)Product Specifications- Other Name: Shaft-Axle Half
- Replaced by: 52124712AD
- Item Weight: 31.20 Pounds
- Item Dimensions: 44.9 x 6.3 x 5.6 inches
- Condition: New
- SKU: 52124712AC
- Warranty: This genuine part is guaranteed by Mopar's factory warranty.
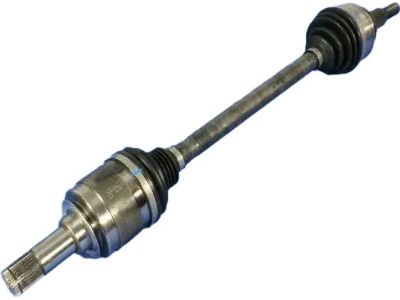
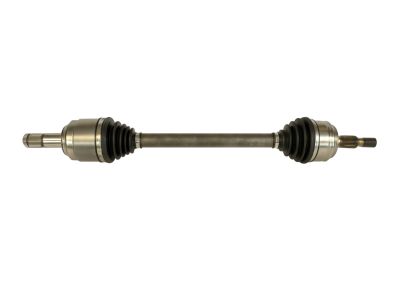
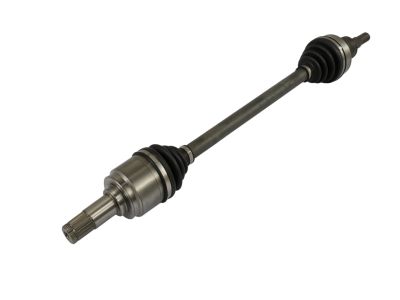
2014 Jeep Grand Cherokee Axle Half Shaft
Part Number: 52123523AA$475.15 MSRP: $723.00You Save: $247.85 (35%)Product Specifications- Other Name: Shaft-Axle Half
- Replaced by: 52123523AB
- Item Weight: 27.00 Pounds
- Item Dimensions: 39.7 x 5.9 x 5.7 inches
- Condition: New
- SKU: 52123523AA
- Warranty: This genuine part is guaranteed by Mopar's factory warranty.
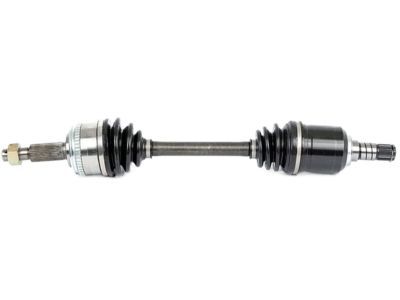
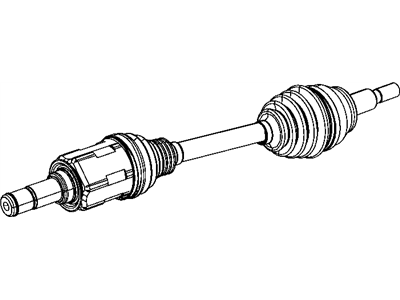
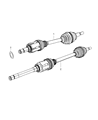
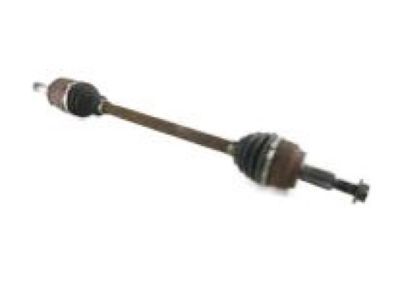
2014 Jeep Grand Cherokee Axle Half Shaft
Part Number: R4578885AC$370.12 MSRP: $440.64You Save: $70.52 (16%)Product Specifications- Other Name: Shaft-Axle Half
- Item Weight: 16.50 Pounds
- Item Dimensions: 30.2 x 5.2 x 5.3 inches
- Condition: New
- SKU: R4578885AC
- Warranty: This genuine part is guaranteed by Mopar's factory warranty.
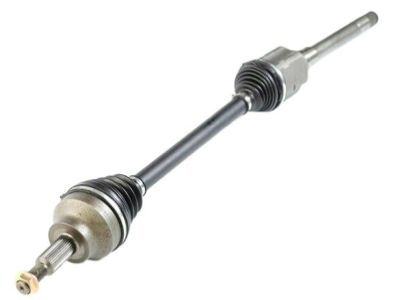
2014 Jeep Grand Cherokee Rear-Axle Assembly
Part Number: 4726090AB$295.41 MSRP: $440.45You Save: $145.04 (33%)Product Specifications- Other Name: Shaft-Axle Half
- Replaced by: 4726090AD
- Item Weight: 29.20 Pounds
- Item Dimensions: 43.4 x 5.2 x 5.3 inches
- Condition: New
- SKU: 4726090AB
- Warranty: This genuine part is guaranteed by Mopar's factory warranty.
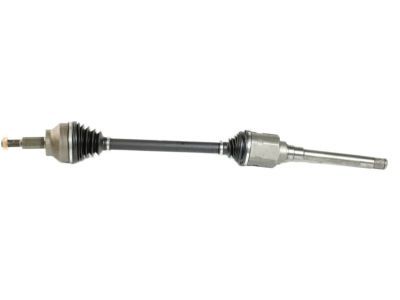
2014 Jeep Grand Cherokee Axle Half Shaft
Part Number: R2124712AC$426.75 MSRP: $515.49You Save: $88.74 (18%)Product Specifications- Other Name: Shaft-Axle Half
- Item Weight: 19.30 Pounds
- Item Dimensions: 5.2 x 5.1 x 42.8 inches
- Condition: New
- Fitment Type: Direct Replacement
- SKU: R2124712AC
- Warranty: This genuine part is guaranteed by Mopar's factory warranty.
2014 Jeep Grand Cherokee Axle Half Shaft
Part Number: R2124713AC$374.58 MSRP: $412.00You Save: $37.42 (10%)Product Specifications- Other Name: Shaft-Axle Half
- Item Weight: 16.70 Pounds
- Item Dimensions: 29.6 x 5.1 x 5.2 inches
- Condition: New
- Fitment Type: Direct Replacement
- SKU: R2124713AC
- Warranty: This genuine part is guaranteed by Mopar's factory warranty.
2014 Jeep Grand Cherokee Axle Half Shaft
Part Number: 52123524AA$475.15 MSRP: $723.00You Save: $247.85 (35%)Product Specifications- Other Name: Shaft-Axle Half
- Replaced by: 52123524AC
- Item Weight: 30.60 Pounds
- Item Dimensions: 43.5 x 5.0 x 4.9 inches
- Condition: New
- SKU: 52123524AA
- Warranty: This genuine part is guaranteed by Mopar's factory warranty.
2014 Jeep Grand Cherokee Axle Half Shaft
Part Number: R4578884AC$300.99 MSRP: $359.12You Save: $58.13 (17%)Product Specifications- Other Name: Shaft-Axle Half
- Item Weight: 20.10 Pounds
- Item Dimensions: 43.4 x 5.2 x 5.2 inches
- Condition: New
- Fitment Type: Direct Replacement
- SKU: R4578884AC
- Warranty: This genuine part is guaranteed by Mopar's factory warranty.
2014 Jeep Grand Cherokee Axle Shaft
On our website, we proudly offer genuine 2014 Jeep Grand Cherokee Axle Shaft at the market's great competitive prices. We are confident that choosing brand new OEM 2014 Jeep Grand Cherokee Axle Shaft from our site will save you both trouble and money.
2014 Jeep Grand Cherokee Axle Shaft Parts Questions & Experts Answers
- Q:How to Assemble an Axle Shaft on 2014 Jeep Grand Cherokee?A:To perform the rear axle assembly for 2010 and earlier models, lift the rear of the car and put it on jack stands under the frame rails and remove the rear tires. Remove the driveshaft from the rear axle and in addition, if the car is also equipped with them, remove the plugs of the differential solenoids. Remove the vent hose fitting, then, the brake line junction block from the axle tube, then pull off the propeller shaft support and the stabilizer bar. Place a floor jack beneath the rear axle, use two jacks in the case of the rear differential is offset, on the other hand, take off the track bar and the lower bolts that hold the rear shocks to the axle. Subsequently take off the upper control arms from the axle brackets, lower the axle while supporting it then take out the coil spring and the lower control arms before completely pulling the axle assembly out from beneath the vehicle. For 2011 and subsequent years' models, lift the rear of the vehicle and support it with jackstands, and then remove the driveaxle/hub nut and throw away the same; use a new nut for reassembly. Remove the axle drain plug expelling the fluid as it is drained out, then take out the axle vent tube and finally the four fastenings from the rear exhaust pipe. Place alignment marks on the flanges provided where the driveshaft and the axle come into contact and then, the driveshaft flange should be detached from the axle flange. Take off the brake caliper and then secure it with wire, and then take of the wheel speed sensor and tension, camber and toe links, then remove the rear drive axles. Place the front of the rear axle under the jack and secure it if the rear differential is lagged Create a gap by pulling the hydraulic cylinder and unbolt all the rear axle mounting bolts. Gently lowering the axle, remove driveshaft and secure them with a rope or wire. For the front axle assy on 4WD models remove front wheels and drive axles, raise front part of the vehicle and support it with jackstands. Loosen the stabilizer link bolts, in the lower control arms, the outer tie rod end and the upper ball joint nuts. Lose the lower shock bolts from the lower control arm, extrude the hal-shafts out of the hub and pop off the axles. Loosen and remove the driveshaft from the pinion flange and suspend using wires or a rope and remove the vent tube connected at the differential cover. Place jack under the differential and let the axle assembly be supported on it and then take out the fasteners that are holding the axle assembly with the left engine mount, pinion nose bracket, and the right engine mount. Lower the jack slowly to take off the axle assembly from under the vehicle and the process of installation is carrying out in reverse order with dealing the required tightness of fasteners.
Related 2014 Jeep Grand Cherokee Parts
 2014 Jeep Grand Cherokee Torque Converter
 2014 Jeep Grand Cherokee Wheel Bearing
 2014 Jeep Grand Cherokee Transmission Pan