
My Garage
My Account
Cart
Genuine 2014 Jeep Grand Cherokee Oil Pan
Oil Drain Pan- Select Vehicle by Model
- Select Vehicle by VIN
Select Vehicle by Model
orMake
Model
Year
Select Vehicle by VIN
For the most accurate results, select vehicle by your VIN (Vehicle Identification Number).
8 Oil Pans found
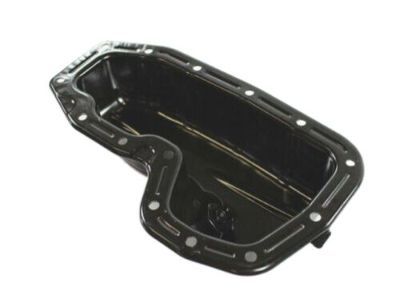
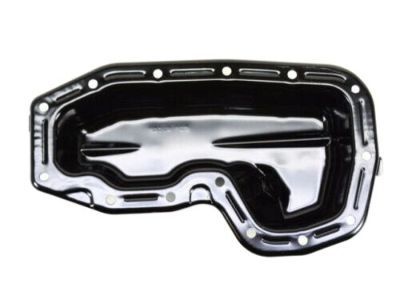
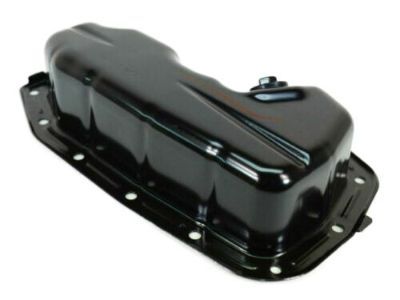
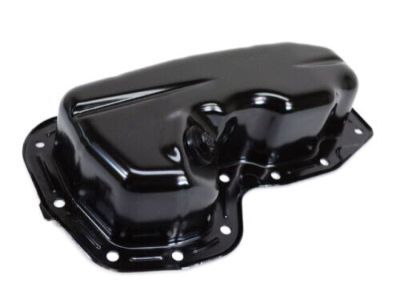
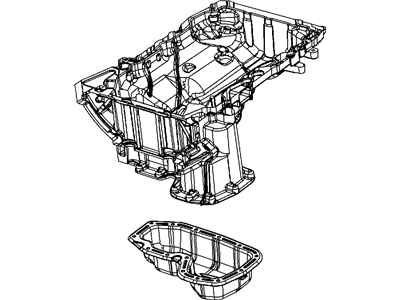
2014 Jeep Grand Cherokee Engine Oil Pan
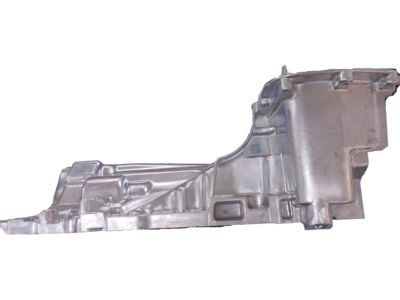
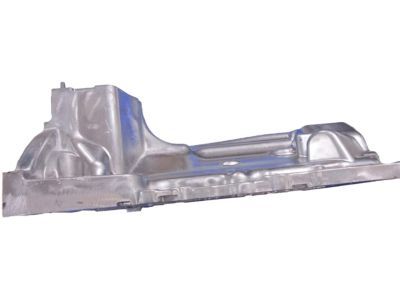
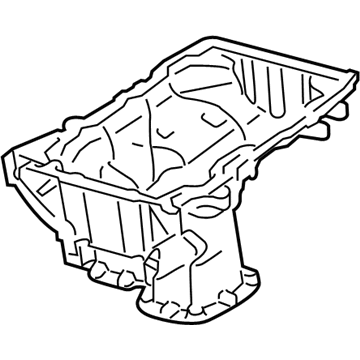
Part Number: 5184407AF$185.63 MSRP: $275.00You Save: $89.37 (33%)Product Specifications- Other Name: Pan Engine Oil; Lower Oil Pan, Oil Pan
- Replaced by: 5184407AG
- Item Weight: 3.10 Pounds
- Item Dimensions: 2.9 x 6.9 x 12.6 inches
- Condition: New
- Fitment Type: Direct Replacement
- SKU: 5184407AF
- Warranty: This genuine part is guaranteed by Mopar's factory warranty.
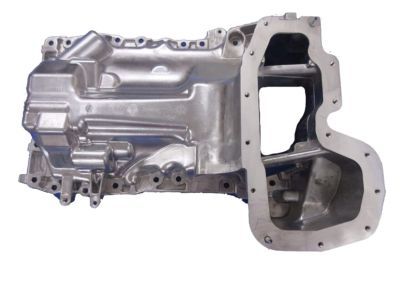
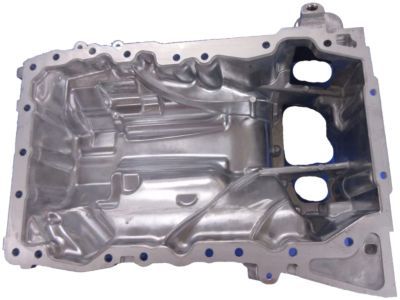
2014 Jeep Grand Cherokee Engine Oil Pan
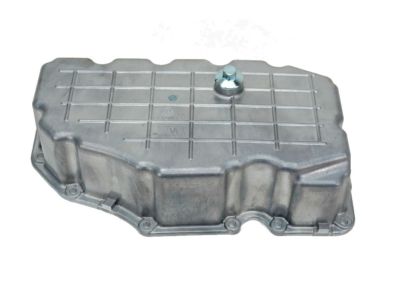
Part Number: 68051598AC$363.00 MSRP: $553.00You Save: $190.00 (35%)Product Specifications- Other Name: Pan Engine Oil; Oil Pan, Upper Oil Pan
- Replaces: 68051598AB, 68051598AA
- Item Weight: 12.10 Pounds
- Item Dimensions: 21.0 x 15.6 x 6.6 inches
- Condition: New
- SKU: 68051598AC
- Warranty: This genuine part is guaranteed by Mopar's factory warranty.
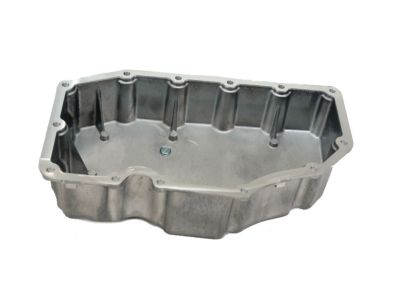
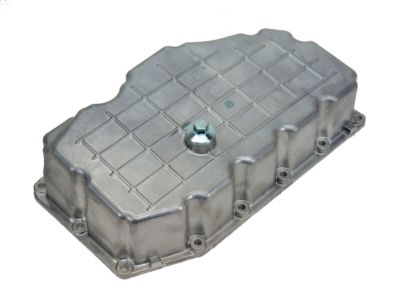
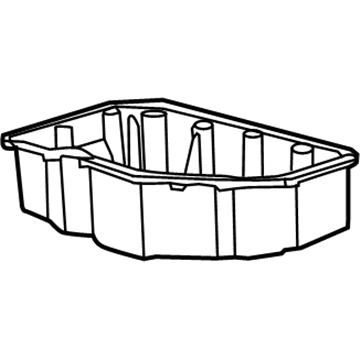
2014 Jeep Grand Cherokee Engine Oil Pan
Part Number: 68211182AA$87.02 MSRP: $131.00You Save: $43.98 (34%)Product Specifications- Other Name: Pan Engine Oil; Lower Oil Pan, Oil Pan
- Replaces: 68147572AB
- Item Weight: 2.50 Pounds
- Item Dimensions: 13.1 x 7.6 x 3.3 inches
- Condition: New
- Fitment Type: Direct Replacement
- SKU: 68211182AA
- Warranty: This genuine part is guaranteed by Mopar's factory warranty.
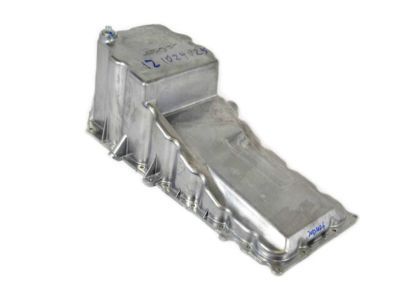
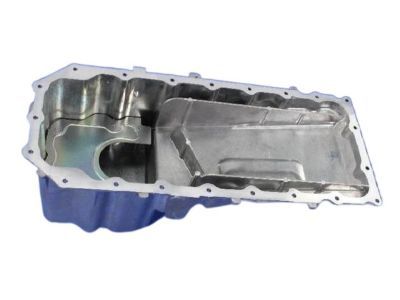
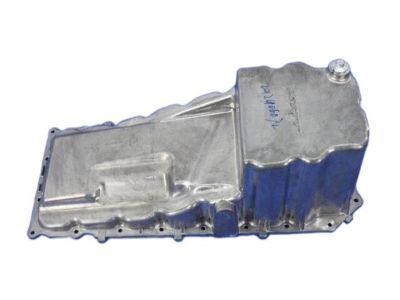
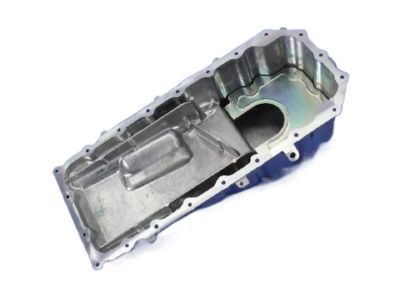
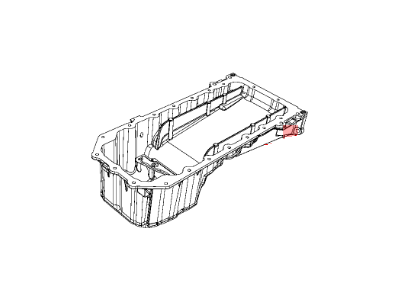
2014 Jeep Grand Cherokee Engine Oil Pan
Part Number: 68191408AA$353.10 MSRP: $538.00You Save: $184.90 (35%)Product Specifications- Other Name: Pan Engine Oil
- Replaced by: 68212569AA
- Item Weight: 11.20 Pounds
- Item Dimensions: 28.1 x 15.2 x 12.1 inches
- Condition: New
- Fitment Type: Direct Replacement
- SKU: 68191408AA
- Warranty: This genuine part is guaranteed by Mopar's factory warranty.
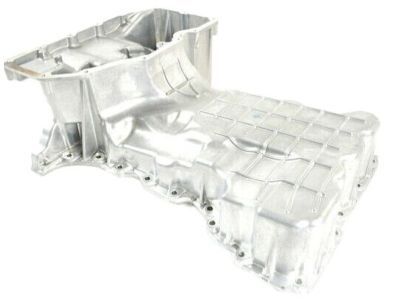
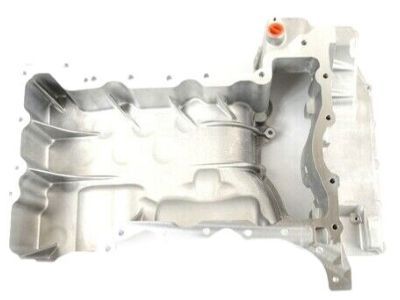
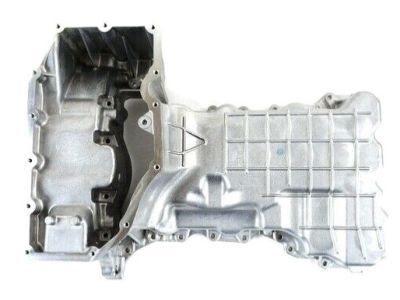
2014 Jeep Grand Cherokee Engine Oil Pan
Part Number: 68211181AA$259.80 MSRP: $392.00You Save: $132.20 (34%)Product Specifications- Other Name: Pan Engine Oil
- Replaced by: 68310659AA
- Item Weight: 10.30 Pounds
- Item Dimensions: 20.5 x 13.2 x 5.8 inches
- Condition: New
- SKU: 68211181AA
- Warranty: This genuine part is guaranteed by Mopar's factory warranty.
2014 Jeep Grand Cherokee Engine Oil Pan
Part Number: 68147557AC$259.80 MSRP: $392.00You Save: $132.20 (34%)Product Specifications- Other Name: Pan Engine Oil
- Replaced by: 68310659AA
- Item Weight: 9.50 Pounds
- Item Dimensions: 20.3 x 13.5 x 6.0 inches
- Condition: New
- SKU: 68147557AC
- Warranty: This genuine part is guaranteed by Mopar's factory warranty.
2014 Jeep Grand Cherokee Engine Oil Pan
Part Number: 68147572AB$87.02 MSRP: $131.00You Save: $43.98 (34%)Product Specifications- Other Name: Pan Engine Oil
- Replaced by: 68211182AA
- Item Weight: 2.50 Pounds
- Item Dimensions: 13.5 x 7.6 x 3.2 inches
- Condition: New
- SKU: 68147572AB
- Warranty: This genuine part is guaranteed by Mopar's factory warranty.
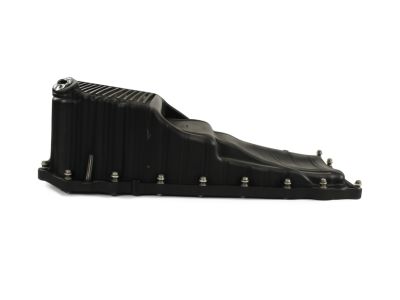
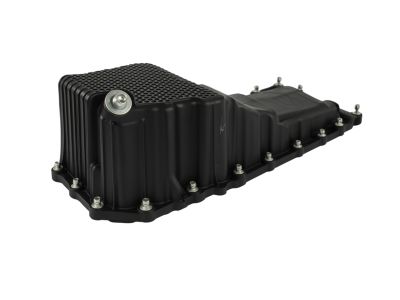
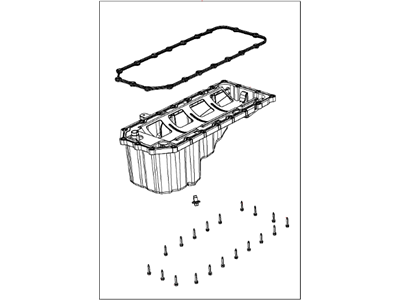
 Product Specifications
- Other Name: Pan Engine Oil Item 4 Oil Pick Up Tube Seal Is Not Included And Must Be Ordered Seperate
- Replaced by: 68207352AA
- Item Weight: 10.70 Pounds
- Item Dimensions: 28.7 x 14.8 x 14.7 inches
- Condition: New
- SKU: 53022343AH
- Warranty: This genuine part is guaranteed by Mopar's factory warranty.
2014 Jeep Grand Cherokee Oil Pan
On our website, we proudly offer genuine 2014 Jeep Grand Cherokee Oil Pan at the market's great competitive prices. We are confident that choosing brand new OEM 2014 Jeep Grand Cherokee Oil Pan from our site will save you both trouble and money.
2014 Jeep Grand Cherokee Oil Pan Parts Questions & Experts Answers
- Q:How to remove the oil pans in 3.6L V6 engine on 2014 Jeep Grand Cherokee?A:With regard to removing the oil pans, before doing so, pull the cable off the negative terminal of the battery and lift the front of the car and place it on jackstands, engage the parking brake and block the rear wheels. Safely drain the engine oil and, if your model has them, unscrew the lower splash shield or skid plate fasteners. Around the lower oil pan, there are bolts and nuts that should be removed after which it should be popped out from under the upper oil pan but without use of pry bar as this may cause damage to the parts. Using a soft-face hammer, tap the pan to break the gasket seal, add the usage of the putty knife where is necessary. Third, unscrew and take out the power steering gear as well as the dipstick tube bracket mounting bolt and turn a little to pull the dipstick tube out. The exhaust crossunder pipe flange should be disengaged and the pipe and the coolant tube needs to be shifted after the fastener of the pipe has been removed. For 4WD models; remove the front differential from the engine mounts, attach an engine hoist and detach the engine mounts and brackets to get access to the oil pan bolts. All lower oil pan to transmission mounting bolts, the torque converter access plate and the rubber plugs below it must be removed. Lift the upper pan-to-rear main seal housing bolts counterclockwise when viewed from the top until all the bolts are removed to avoid stripping of bolt threads. Loosen and take out the upper oil pan bolts and take out the oil pan from the engine block if it sticks use prying points or putty knife. Scrub the pan and high-area surfaces of the engine block, look for distortion and flattening if required. Put RTV sealant on the upper pan sealing surface and fit the pan together with the bolts, then tighten the bolts in an anticlockwise sequence. Do the same for the lower oil pan, filling them with sealant and tightened the bolts in the same manner as above. Last, add more oil into the engine, switch on the engine and check if there is any sign of leakage.
Related 2014 Jeep Grand Cherokee Parts
 2014 Jeep Grand Cherokee Oil Filter
 2014 Jeep Grand Cherokee Rod Bearing
 2014 Jeep Grand Cherokee Oil Cooler
 2014 Jeep Grand Cherokee Crankshaft Pulley
 2014 Jeep Grand Cherokee Piston Ring Set
 2014 Jeep Grand Cherokee Crankshaft Thrust Washer Set
 2014 Jeep Grand Cherokee Oil Pressure Switch
 2014 Jeep Grand Cherokee Oil Pump
 2014 Jeep Grand Cherokee Dipstick
 2014 Jeep Grand Cherokee Drain Plug
 2014 Jeep Grand Cherokee Drain Plug Washer
 2014 Jeep Grand Cherokee Dipstick Tube