My Garage
My Account
Cart
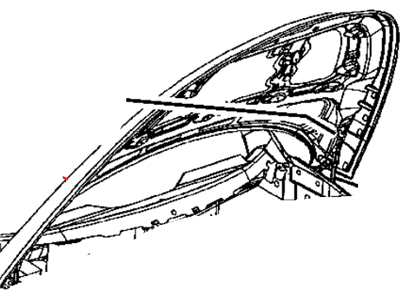
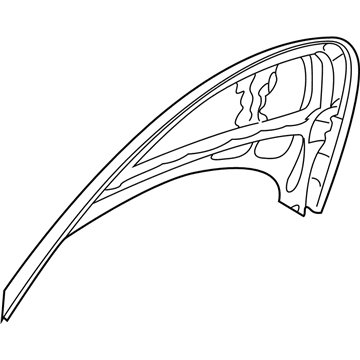
Genuine Chrysler PT Cruiser Hood
Engine Hood- Select Vehicle by Model
- Select Vehicle by VIN
Select Vehicle by Model
orMake
Model
Year
Select Vehicle by VIN
For the most accurate results, select vehicle by your VIN (Vehicle Identification Number).
3 Hoods found
Chrysler PT Cruiser Hood
Looking for affordable and high-quality auto parts? Then you have already arrived at the proper online shop. We offer all Chrysler PT Cruiser Hood at great affordable prices. Moreover, all genuine Chrysler PT Cruiser Hood come with a manufacturer's warranty. In the long run, you would realize you have saved a lot of trouble and money with OEM parts from here.
Chrysler PT Cruiser Hood Parts Questions & Experts Answers
- Q: How should the hood be removed and installed safely and correctly on Chrysler PT Cruiser?A:The hood is heavy and somewhat awkward to remove and install, so at least two people should perform this procedure. To begin removal, cover the cowl area and both Fenders with blankets or pads to protect the body and paint. Open the hood and support it with the prop rod, then mark the location of the Hood Hinge for alignment during installation using a permanent-type felt-tip marker. Disconnect the ground wire, and have an assistant support one side of the hood while you support the other, simultaneously removing the hinge-to-hood nuts before lifting off the hood. A good storage place for the hood is on the roof of the vehicle, ensuring to place blankets or pads on the roof first and laying the hood painted side down. For installation, reverse the removal steps, aligning the marks around the hinges one side at a time and checking for proper clearance, making adjustments as necessary. Slight fore-and-aft and side-to-side adjustments can be made by moving the hood in relation to the hinge plate after loosening the nuts, ensuring a 5/32-inch gap to the front fenders and flush with the top surface. Trace a line around the hinge plate to judge movement, then loosen the nuts and adjust the hood into correct alignment, tightening the hinge nuts before carefully lowering the hood to check alignment. Adjust the hood bumpers on the radiator support so the hood is flush with the fenders when closed, and the Hood Latch assembly can also be adjusted up-and-down and side-to-side after loosening the nuts, ensuring to place alignment marks around the latch assembly beforehand. Periodically lubricate the hood latch assembly and hinges with white lithium-base grease to prevent sticking and wear.


