
My Garage
My Account
Cart
Genuine Dodge Dakota Car Batteries
Auto Battery- Select Vehicle by Model
- Select Vehicle by VIN
Select Vehicle by Model
orMake
Model
Year
Select Vehicle by VIN
For the most accurate results, select vehicle by your VIN (Vehicle Identification Number).
15 Car Batteries found
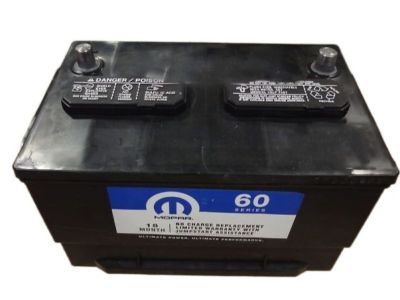
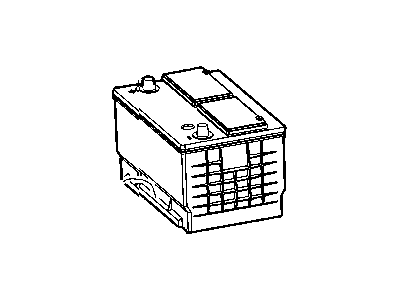
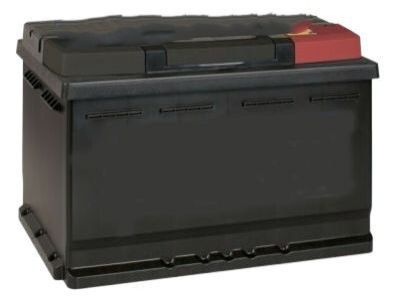
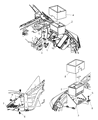
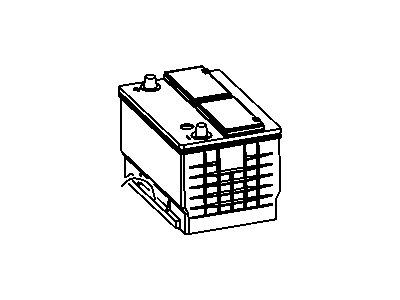
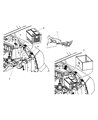
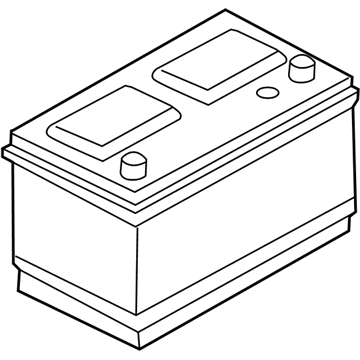
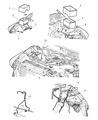
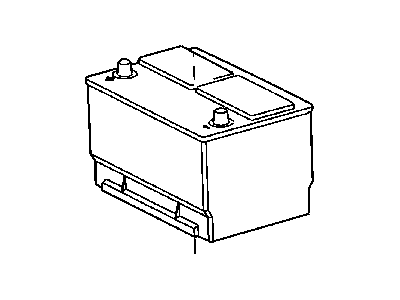
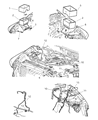
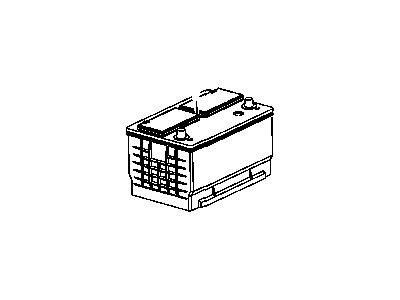
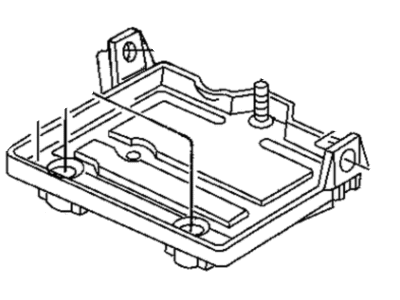
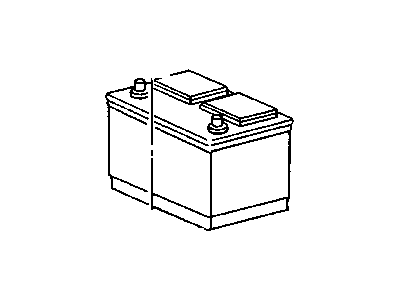
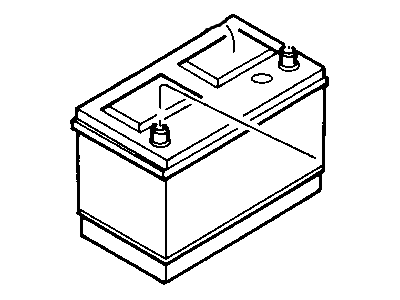

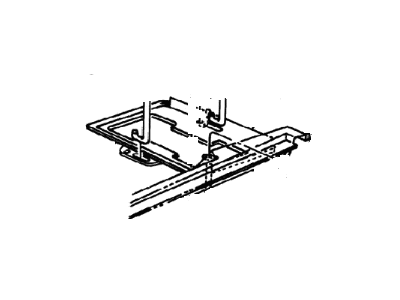
Dodge Dakota Terminal-Battery Terminal
Part Number: VU01205$58.43 MSRP: $86.60You Save: $28.17 (33%)
Dodge Dakota Car Batteries
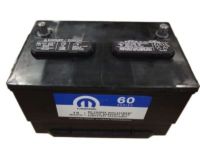
Car Batteries are mainly used in Dodge Dakota vehicles to furnish electrical current for starting the engine, for operating the ignition and fuel injection systems, and for running parts when the electrical current provided by the battery is switched off. These batteries maintain voltage and supply additional current, whenever there is a need by the electrical system that is beyond the capacity of the charging system. The Dodge Dakota has over the years used different types of Car Batteries such as the conventional flooded lead-acid (FLA), FLA maintenance-free batteries and Absorbed Glass Mat (AGM) batteries. Despite the FLA batteries are rechargeable, they are subjected to periodical maintenance while the FLA Maintenance-Free batteries are relatively low in service requirements, but they contain acid which may spill in case of breakage. Some of the benefits of AGM batteries include; non-maintenance, shock proof as well as long service life and hence ideal for off road use. Some important features of these batteries are Cold Cranking Amps (CCA) and Reserve Capacity which are essential for the optimum performance of the battery particularly in severe climate conditions.
Looking for affordable and high-quality auto parts? Then you have already arrived at the proper online shop. We offer all Dodge Dakota Car Batteries at great affordable prices. Moreover, all genuine Dodge Dakota Car Batteries come with a manufacturer's warranty. In the long run, you would realize you have saved a lot of trouble and money with OEM parts from here.
Dodge Dakota Car Batteries Parts Questions & Experts Answers
- Q:How to Effectively Test and Replace Car Batteries on Dodge Dakota?A:Start any work by unplugging the black cable first, and leave it on last to prevent accidentally draining the battery. To check the battery state of charge, observe the indicator eye on the top of the battery: The eye on top of the battery shows three states: green (75-100 percent charge), black (0-75 percent charge), and clear (low electrolyte levels). You must replace maintenance-free batteries when the eye turns clear since you cannot add water to them. For easy batteries, fill with distilled water up to the indicated line. Recharge the battery, then check that the Alternator is giving the right voltage to save yourself from having to refill low-electrolyte levels again. Check your battery's voltage with a voltmeter, doing an open circuit test; it must reach at least 12.4 volts when fully charged, after removing the battery's surface charge. Apply a 50 percent load of the battery's CCA rating for a maximum of 15 seconds, watch for voltage falling below 9.6 volts with a battery load tester. Playing it safe, disconnect the car's cables, remove the retainer bolt, pull the clamp off, then lift the battery out. Before reinstalling, look below to make sure the battery tray is clean and rust-free. Cleans problematic areas with a baking soda solution and applies a special paint to stop metal from rusting. Put in a new battery, but only choose one designed like the old one. These steps disconnect the B+ cable from the fuse box, remove the fenders holding the electrical unit, detach the actuator control, and free the battery tray. Disconnect the negative terminal from the battery plus wiring harness, and take out both headlights before you can easily detach the upper battery tray. Lift up the car, take off the left front wheel, and the protector shielding the wheel well's inner part. Installation is the reverse of removal.
Related Dodge Dakota Parts

Browse by Year
2011 Car Batteries 2010 Car Batteries 2009 Car Batteries 2008 Car Batteries 2007 Car Batteries 2006 Car Batteries 2005 Car Batteries 2004 Car Batteries 2003 Car Batteries 2002 Car Batteries 2001 Car Batteries 2000 Car Batteries 1999 Car Batteries 1998 Car Batteries 1997 Car Batteries 1996 Car Batteries 1995 Car Batteries 1994 Car Batteries 1993 Car Batteries 1992 Car Batteries 1991 Car Batteries 1990 Car Batteries 1989 Car Batteries 1988 Car Batteries 1987 Car Batteries