My Garage
My Account
Cart
Genuine Dodge Ramcharger Ball Joint
Control Arm Joint- Select Vehicle by Model
- Select Vehicle by VIN
Select Vehicle by Model
orMake
Model
Year
Select Vehicle by VIN
For the most accurate results, select vehicle by your VIN (Vehicle Identification Number).
4 Ball Joints found

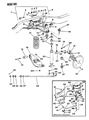
Dodge Ramcharger Lower Control Arm Ball Joint
Part Number: 3837088$89.85 MSRP: $133.00You Save: $43.15 (33%)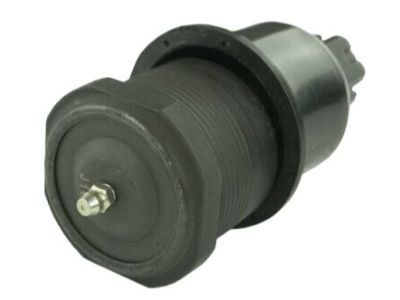
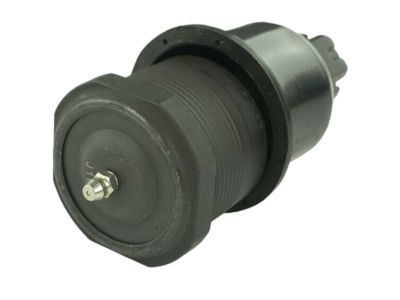
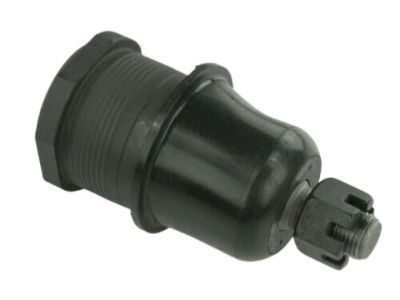
Dodge Ramcharger Ball Joint
The Ball Joint is found in Dodge Ramcharger and its function is to link the control arms to the steering knuckles in the suspension and steering assemblies. It can rotate freely in various axes enabling the vehicle to adapt to road conditions and /or to the inputs given by the driver. Dodge Ramcharger Ball Joints are steel bearing stud and socket Ball Joints, shielded by rubber boot as it applies protective cover to avoid the intrusion of dirt hence enhancing lubrication. In the given Dodge Ramcharger vehicles, both Loaded Ball Joints and Unloaded Ball Joints are used which can bear the weight of the vehicle in Loaded Ball Joints and only have to be kept in alignment in Unloaded Ball Joints. Performance-oriented Ball Joints can be equipped with mechanisms that allow changes to the joint in regard to suspension, which will address handling and stability questions. Maintenance is something that cannot be overemphasised since worn Ball Joints may lead to noise, misalignment and abnormal tyre wear thus they should be replaced in order to provide safe road use.
Looking for affordable and high-quality auto parts? Then you have already arrived at the proper online shop. We offer all Dodge Ramcharger Ball Joint at great affordable prices. Moreover, all genuine Dodge Ramcharger Ball Joint come with a manufacturer's warranty. In the long run, you would realize you have saved a lot of trouble and money with OEM parts from here.
Dodge Ramcharger Ball Joint Parts Questions & Experts Answers
- Q:How to replace Ball Joint on 4WD Dodge Ramcharger?A:To disassemble the 44FBJ axle, one has to first disconnect the Steering Knuckle, and then place this knuckle upside down in a vise for the purpose of the lower balljoint snap-ring removal. Include a receiver cup and a spacer cup together with the C clamp to pull out a lower ball joint. To do the same thing to the upper balljoint perform the same on the other end of the steering knuckle. Incase of the 60 axle, first loosening the steering knuckle followed by the use of a tool to remove the upper socket pin and seal. Apply the lower ball joint assembly from the hollow of the axle housing yoke with the help of a C-clamp which is accompanied by an appropriate receiver as well as spacer cups. Wash all the parts carefully and use new ones for the replacements; be specific to replace the balljoints if there is any sign of loose ones or those with end play. For installation of the 60 axle, using multi-purpose chassis grease, lubricate the lower ball socket, place the C-clamp and receiver cup on the axle yoke and push the seal and lower bearing cup all the way in. Upon removing the spacer cup, fasten the lower bearing and seal into the yoke and fasten the upper socket pin with the help of the special socket tool applying the specified torque and fasten the seal over the socket pin. For the 44FBJ axle, right side up the steering knuckle in a vise, put the clamp assembly with the previous used receiver cup and put the spacer cup into the knuckle then press the lower ball joint into the knuckle before putting the snap ring. At last, move the clamp assembly on the other side and to put the upper ball joint then install its boots on the other ball joint as well.