My Garage
My Account
Cart
Genuine Jeep Compass Bumper
Bumper Fascia- Select Vehicle by Model
- Select Vehicle by VIN
Select Vehicle by Model
orMake
Model
Year
Select Vehicle by VIN
For the most accurate results, select vehicle by your VIN (Vehicle Identification Number).
71 Bumpers found
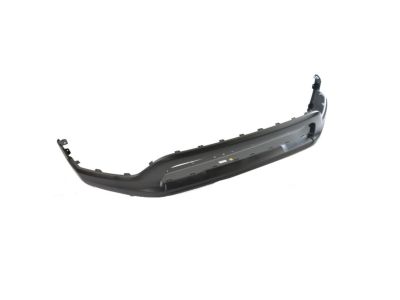
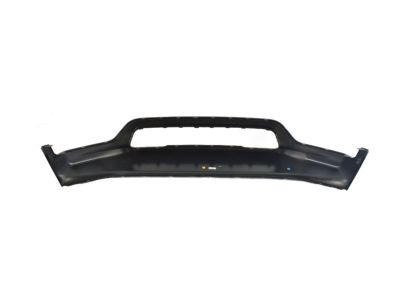
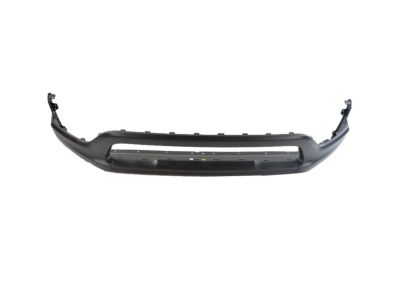
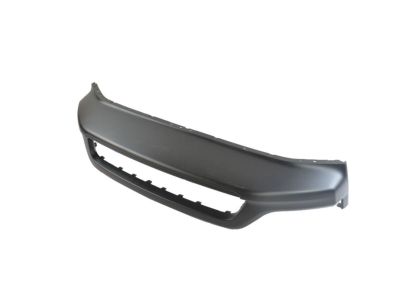
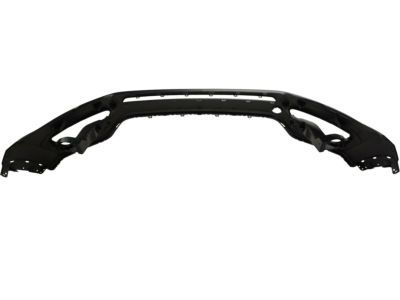
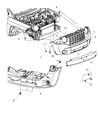
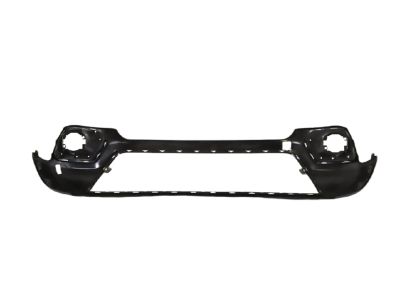
Jeep Compass Front Lower Bumper Cover
Part Number: 5UQ11RXFAB$185.63 MSRP: $276.20You Save: $90.57 (33%)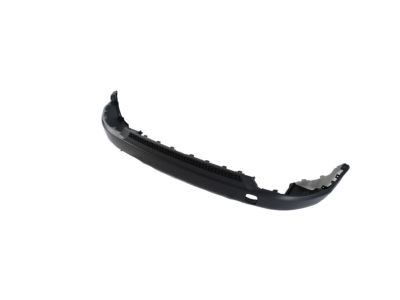
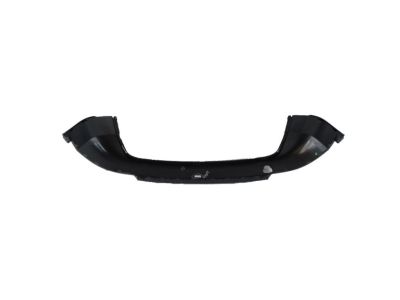
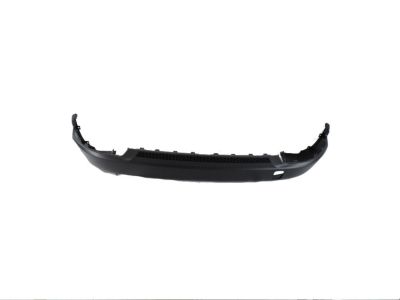
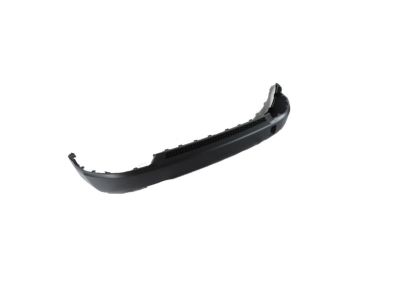
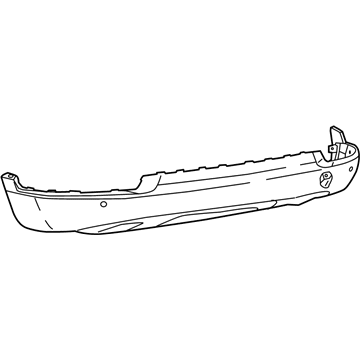
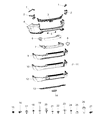
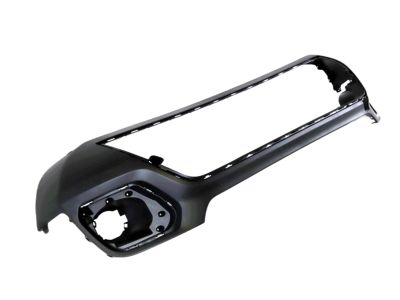
Jeep Compass Rear Bumper Cover Lower
Part Number: 5VT91RXFAC$263.80 MSRP: $388.00You Save: $124.20 (33%)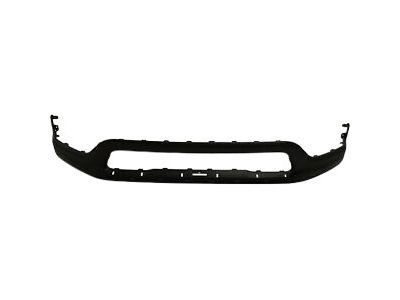
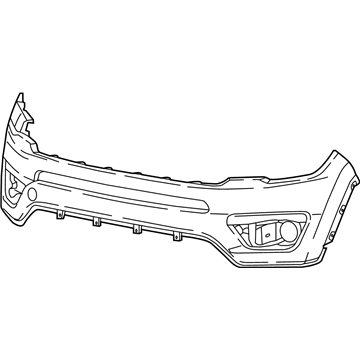
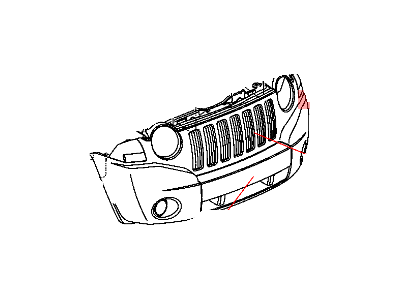
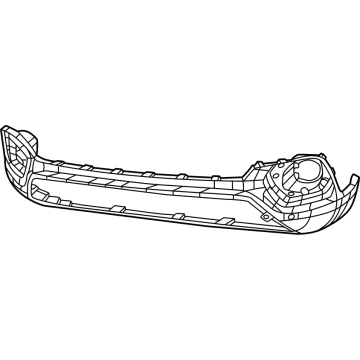
Jeep Compass Front Lower Bumper Cover
Part Number: 68351543AA$228.98 MSRP: $340.00You Save: $111.02 (33%)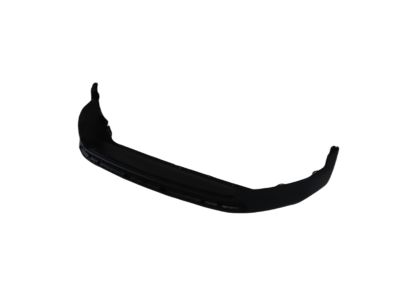
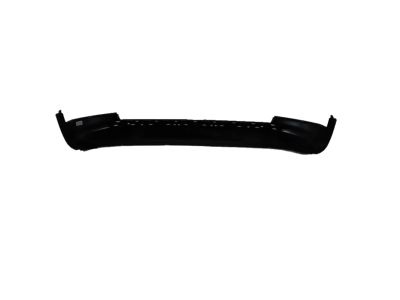
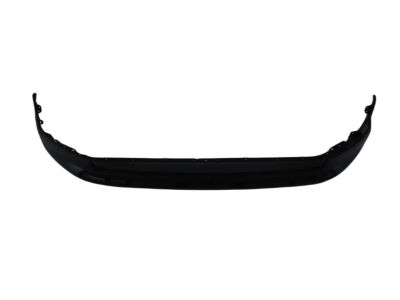
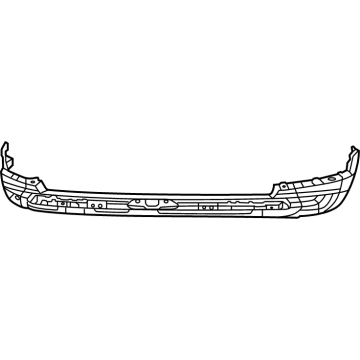
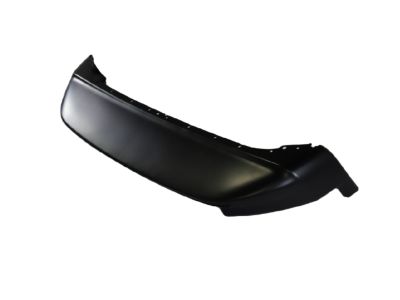
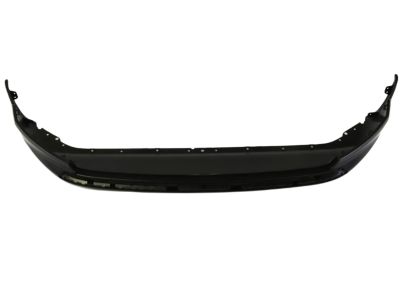
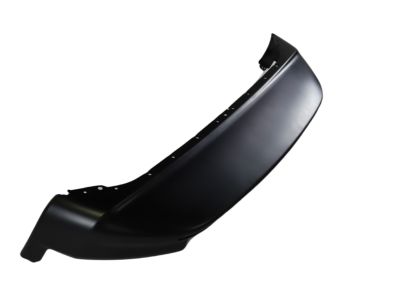
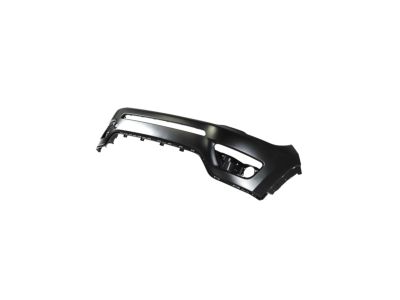
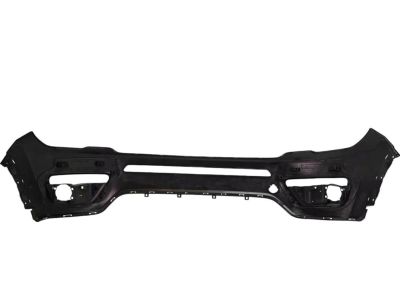
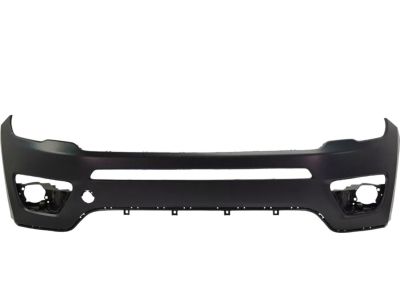
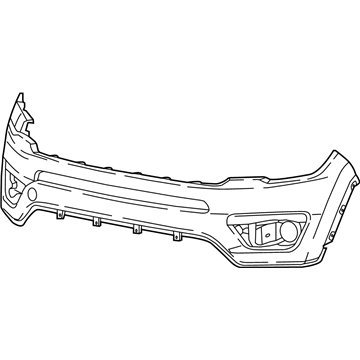
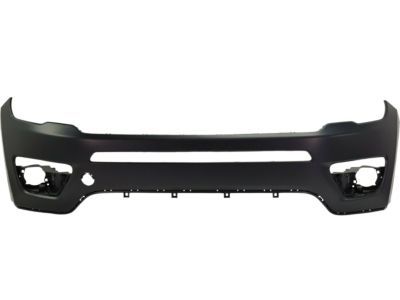
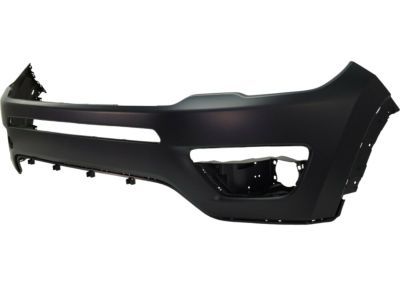
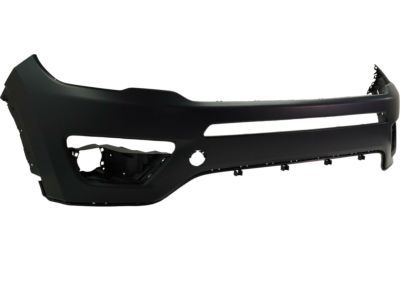
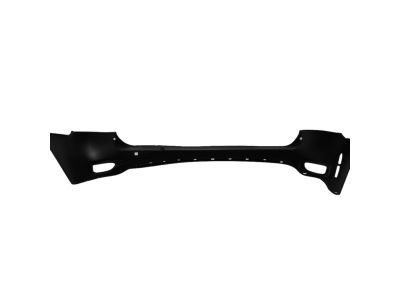
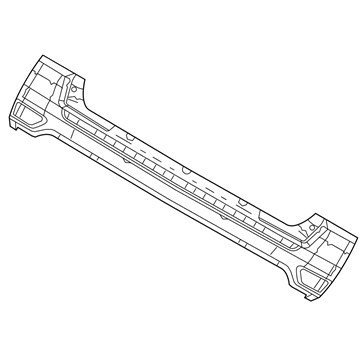
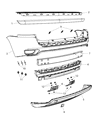
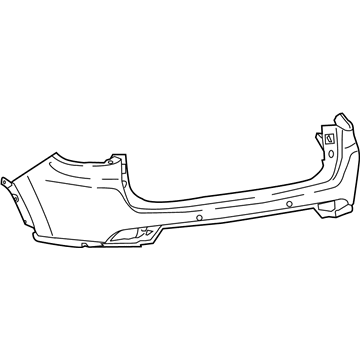
Jeep Compass Rear Upper Bumper Cover
Part Number: 68109898AC$259.44 MSRP: $385.00You Save: $125.56 (33%)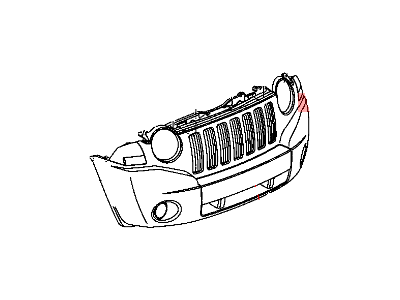
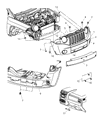

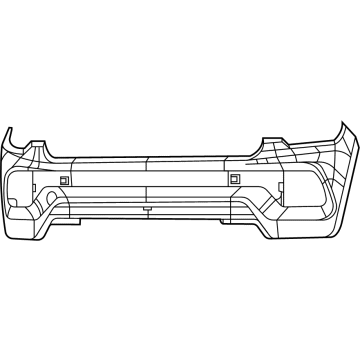

Jeep Compass Rear Bumper Cover Lower
Part Number: 68352697AB$190.48 MSRP: $280.00You Save: $89.52 (32%)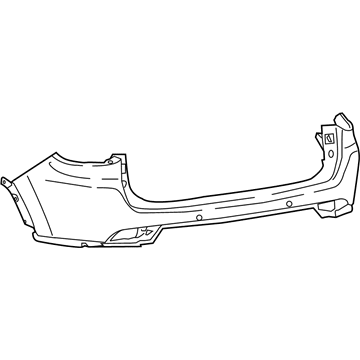
Jeep Compass Rear Upper Bumper Cover
Part Number: 68351583AA$277.33 MSRP: $408.00You Save: $130.67 (33%)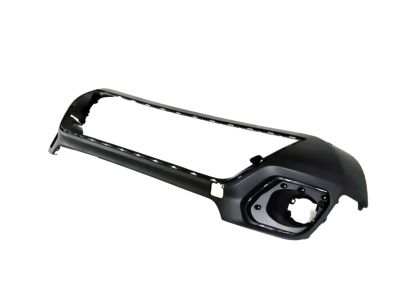
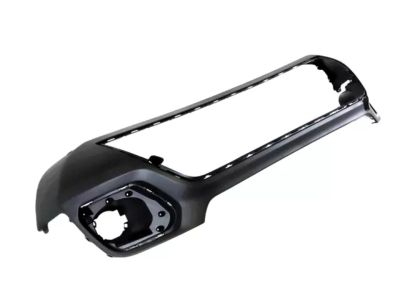
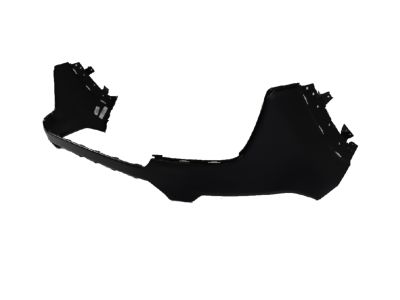
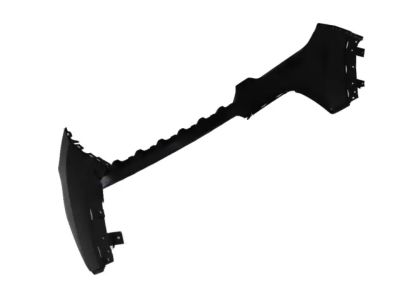
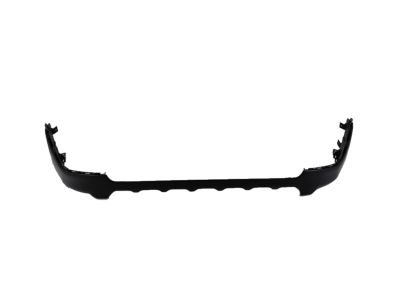
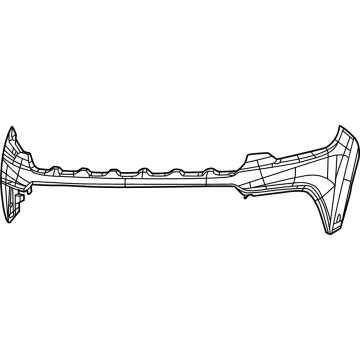
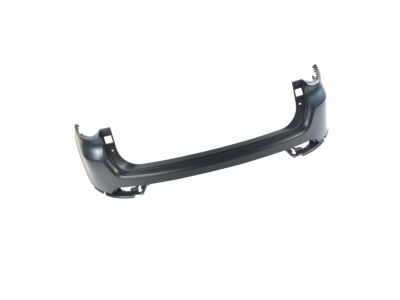
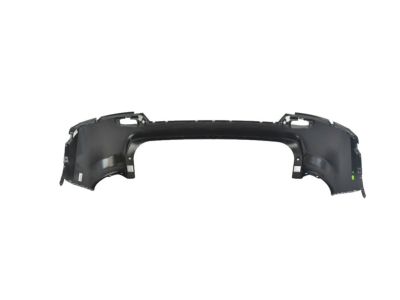
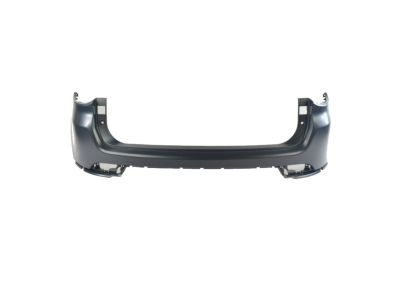
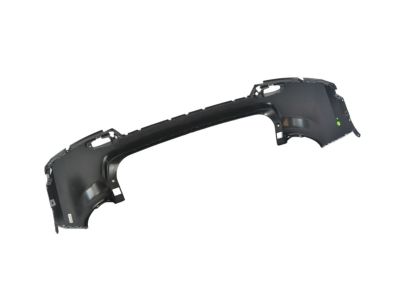
Jeep Compass Rear Upper Bumper Cover
Part Number: 5SY37TZZAB$388.56 MSRP: $565.00You Save: $176.44 (32%)
| Page 1 of 4 |Next >
1-20 of 71 Results
Jeep Compass Bumper
The Jeep Compass Bumper is a vehicle's first line of defense in a collision and absorbs various forces. It defends the lights and panels and protects the passenger and driver. The Jeep Compass applied plain metal bars on its early generations, but the later models received a plastic clad reinforcement that was hidden under the bodywork. The newly modified Bumper was able to absorb the energy of impact and spread it over the whole surface. In the 1970s, federal 5-mph rules pushed designers to opt for bulkier Bumper projections, focusing on damage control rather than aesthetics. Modern Compass editions use the Bumper with soft foam or honeycomb fillers covered in a plastic shell, which provides the required stylishness and protection. The available materials range from lightweight aluminum that saves fuel to strong carbon or stainless steel that prevents rust, allowing each Jeep driver to achieve the right mix of strength and weight. All Jeep Compass models continue to be fitted with a Bumper both at the front and the rear, as the law mandates it. What's more, that piece does play a role in limiting repair bills and injuries sustained due to everyday parking-lot taps.
Looking for affordable and high-quality auto parts? Then you have already arrived at the proper online shop. We offer all Jeep Compass Bumper at great affordable prices. Moreover, all genuine Jeep Compass Bumper come with a manufacturer's warranty. In the long run, you would realize you have saved a lot of trouble and money with OEM parts from here.
Jeep Compass Bumper Parts Questions & Experts Answers
- Q:How to remove and install the front and rear bumper covers on Jeep Compass?A:First, apply the front of the car, apply jackstands and take off the splash shield in the under-car area. Next remove the fasteners such as the push pins (made of a hard strong plastic in this case) and screws from the bumper cover to the splash shields of the Fenderwells and don't forget that depending on the model there may be an additional electrical connector to the left side of the bumper cover. Both white electrical connectors will be located on the right side of the splash shield which is currently free from the vehicle frame; the lower one first, then the upper one. Release the fasteners along the lower rim of the bumper cover, although this type of fasteners is easier to release using needle nose pliers to squeeze the clip ends. Take out all the inside screws that hold the edges of the bumper cover to the fenders then unfasten the fasteners holding the bumper cover. Then, turn the car around, take out the screws and pushpins fastening the bumper cover to fenders and upper radiator support along the top. Finally, and with an assistance of an assistant, pull the front bumper cover off the fender retaining clips on each side and ensure that you do not leave behind this or a number of fasteners or connectors. At the back: open the liftgate and then first unbolster lower bumper cover fasteners then fasteners of the fenderwell area at rear. After this, remove the upper push pin fasteners and, while giving a gentle tug, separate the rear bumper cover, being keen to examine for any hindrances or if there are other fasteners that were not freed during the detachment. It is almost the same procedure as that which is followed while removing the apparatus.