My Garage
My Account
Cart
Genuine Jeep Compass Crankshaft
Crank Shaft- Select Vehicle by Model
- Select Vehicle by VIN
Select Vehicle by Model
orMake
Model
Year
Select Vehicle by VIN
For the most accurate results, select vehicle by your VIN (Vehicle Identification Number).
16 Crankshafts found
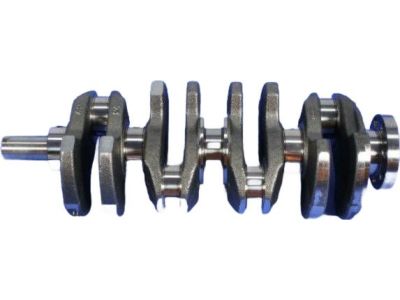
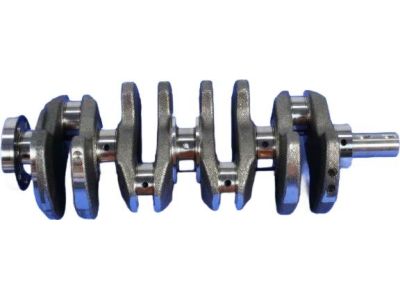
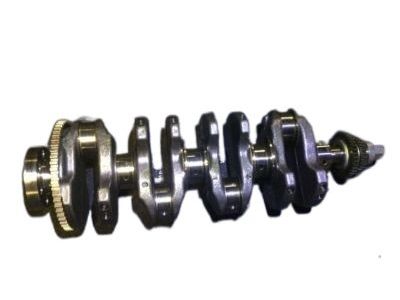
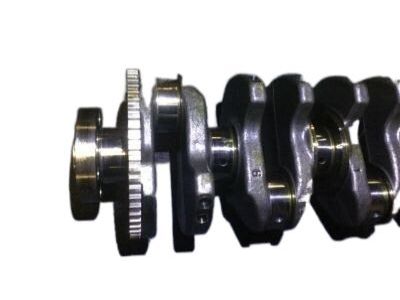
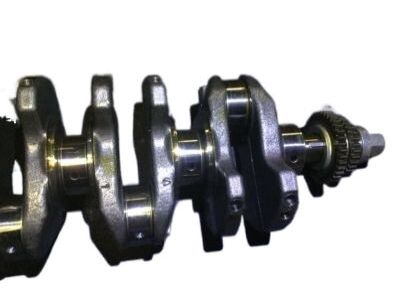
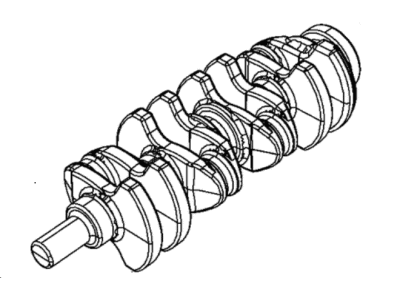
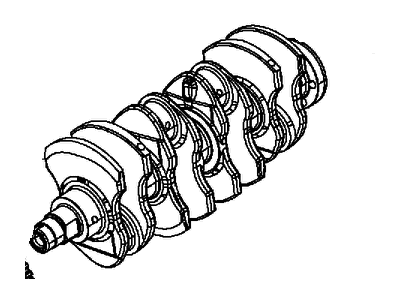
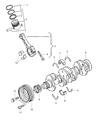
Jeep Compass Engine Crankshaft
Part Number: 68098372AA$1018.60 MSRP: $1545.00You Save: $526.40 (35%)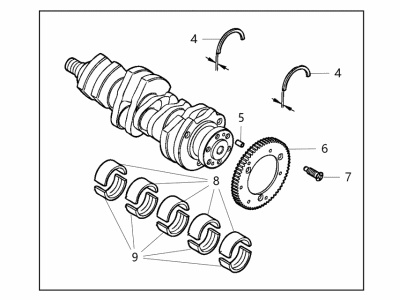
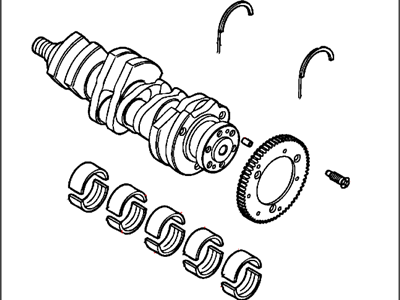
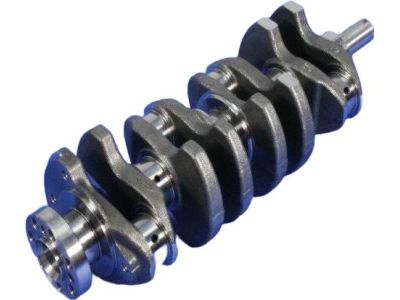
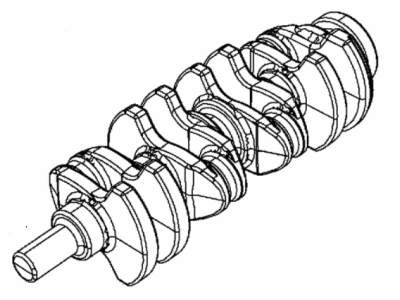
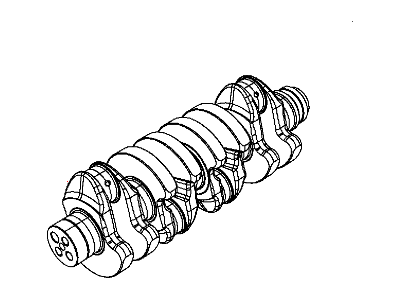
Jeep Compass Engine Crankshaft
Part Number: 68317350AA$1090.10 MSRP: $1655.00You Save: $564.90 (35%)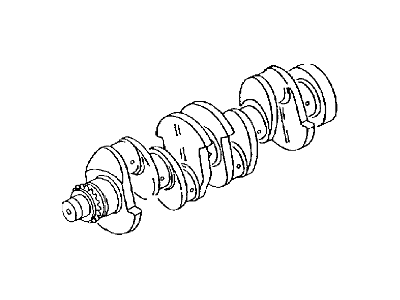
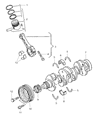
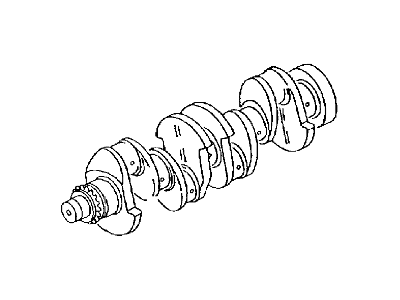
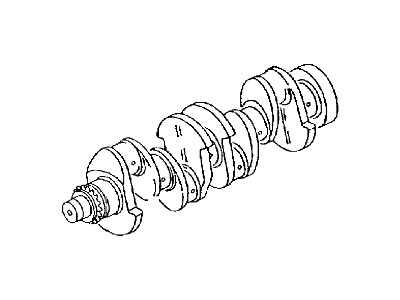
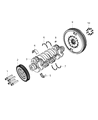
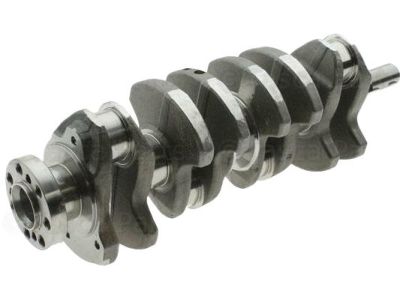
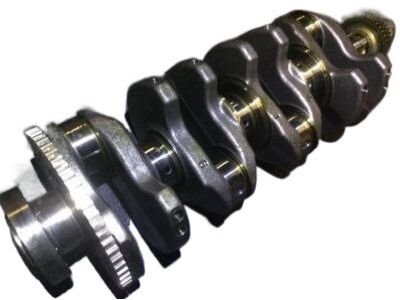
Jeep Compass Engine Crankshaft
Part Number: 68234841AA$2090.50 MSRP: $3085.00You Save: $994.50 (33%)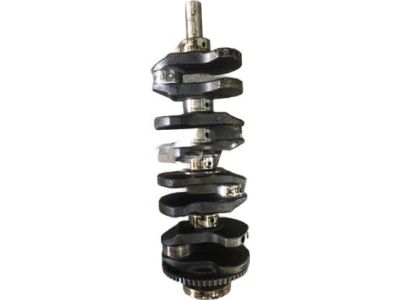
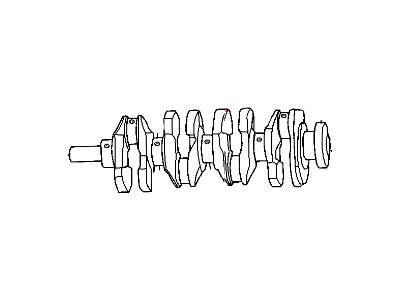
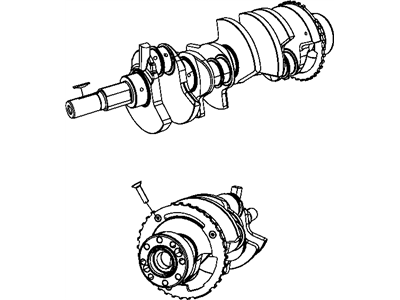
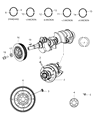
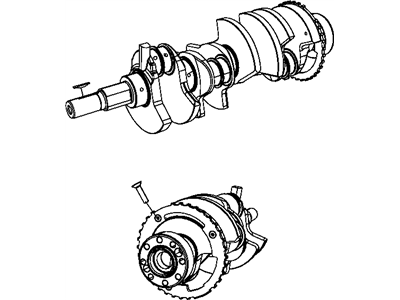
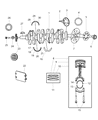

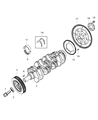
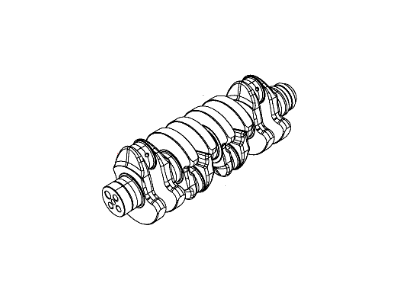
Jeep Compass Crankshaft
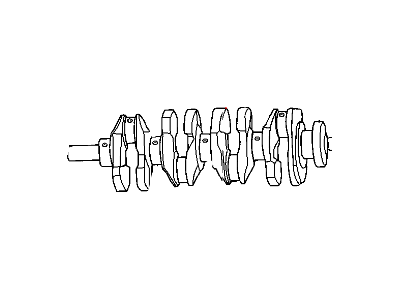
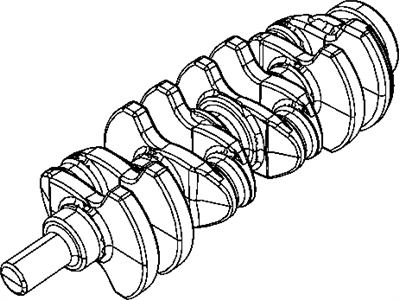
The automotive Crankshaft in Jeep Compass models changes piston back-and-forth movements into rotational rotations before driving the transmission system toward wheel movement. The engine block contains this component which uses connecting rods joined to offset crank throws to perform this conversion. Coarsened into cast iron Jeep Compass Crankshaft support lower output engines and forged steel components power the high-performance versions because engine requirements change based on output. Engineers develop these Crankshaft through specific processes to deliver service until the vehicle reaches the end of its lifespan when maintenance procedures are followed properly. Vehicle maintenance negligence leads to an accumulation of dirt with disrupted oil flow which causes engine damage through scored journals and engine knock effects. Synthesized and located inside the engine block, modern Jeep Compass Crankshaft undergo either casting or forging processes before they require examination because of possible damage due to debris which might necessitate replacement after observing abnormal vibrations.
Looking for affordable and high-quality auto parts? Then you have already arrived at the proper online shop. We offer all Jeep Compass Crankshaft at great affordable prices. Moreover, all genuine Jeep Compass Crankshaft come with a manufacturer's warranty. In the long run, you would realize you have saved a lot of trouble and money with OEM parts from here.
Jeep Compass Crankshaft Parts Questions & Experts Answers
- Q:How can the crankshaft be removed from the engine after it has been taken out of on Jeep Compass?A:The crankshaft can only be taken out if the engine has been shifted out of the vehicle provided other accessories such as the drive plate, crankshaft pulley, timing belt or chain, oil pan, oil pump body, oil filter, oil pump pick-up pipe, windage tray and the Piston/connecting rod assemblies have been removed from the vehicle. Before removing the crankshaft, check the value of the end play of the crankshaft by placing a vernier with the dial in the contact point of the crankshaft. Insert the indicator pin on the centre line of the crankshaft, pull the crankshaft to the rear until the indicator reads zero, then push the crankshaft to the front to other extreme check the reading, which should be between 0.003 to 0.010 inch or (0.076 to 0.254 mm). In case dial indicator is not available, then this clearance may be measured by the use of feeler gauges. Once the bolts of the ladder frame have been released, the main bearing cap bolts have to be slackened as they can be easily unbolted and finally, the cap can be gently knocked off. Practically all bolts will be replaced with new ones and the selected ones should be used for the oil clearance check. Slowly raise it out with a lot of caution again try and do it with aid reinstall the bedplate/main bearing caps with the arrow in front of the engine. For installation, make sure that the enginblock and crankshaft are clean, and have 'seen' someone who inspects. Screw the target wheel to the crankshaft and tighten new bolts to the torque prescribed by the manufacturer. Place the engine block such that the bottom part is exposed, then, take off the main bearing caps and then, clean the bearing areas. Fit new upper main bearing inserts, oil holes must face upwards, fit thrust washers on the number 3 crank shaft journal. Scrub the faces of the crankshaft and bearing inserts, place the crankshaft in its right place. Measure the oil clearance of the main bearing using Plastigage but be keen not to mix them and finally tighten the main bearing caps without removing the Plastigage. Loosen the bolts in the manner described above and then unscrew the caps in order to get the width of the Plastigage against the scale for clearance. If the clearance is not correct, look for dirt and oil and if it is necessary shift bearing inserts. Scrape off the remains of the Plastigage and wash and dry the bearing insert faces apply a thin coating of moly-base grease or the engine assembly lube before replacing the crankshaft. Engage the main bearing caps and apply clean engine oil only on the new bolt threads and then torque them in a symmetric order. Check again the crankshaft end play and turn the crankshaft in order to see if there is free movement. At last, use RTV sealant to cover the surface of the engine block, put the ladder frame onto, and fasten the mounting bolts beginning with a circle skills, replace the rear main oil seal and the oil pump that including the pick-up tube or balance shaft module.