My Garage
My Account
Cart
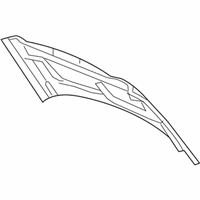
Genuine Jeep Compass Hood
Engine Hood- Select Vehicle by Model
- Select Vehicle by VIN
Select Vehicle by Model
orMake
Model
Year
Select Vehicle by VIN
For the most accurate results, select vehicle by your VIN (Vehicle Identification Number).
8 Hoods found
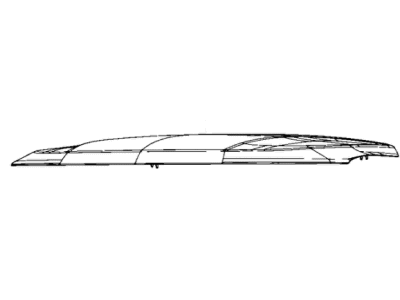
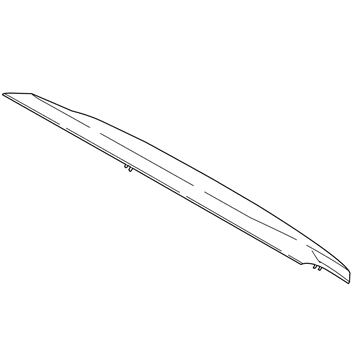
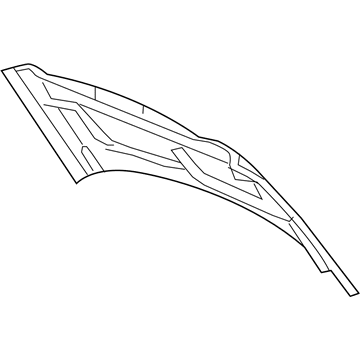
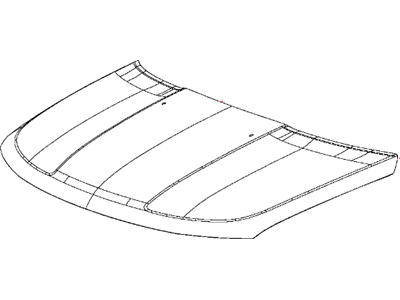
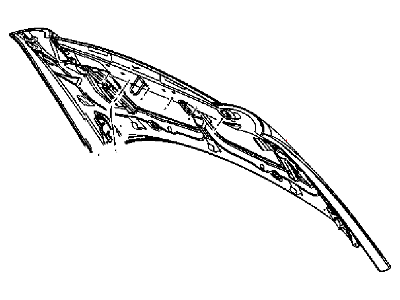
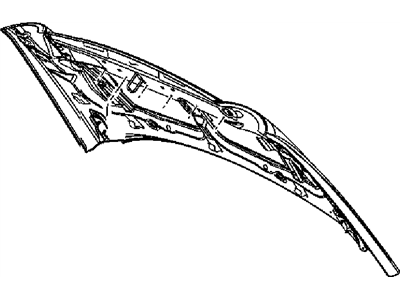
Jeep Compass Hood
The Jeep Compass Hood is the massive protective lid that protects the engine bay and gives the crossover a squared face. With a hinge in the back, this steel or aluminum panel lifts effortlessly for fluid checks. Moreover, crumple zones negotiate the blow at the front to protect passengers. Since 2006, the Hood fits a clean rectangular shape with a subtle raised center that directs the air over the grille. Initially, it retained utilized steel but later applied lighter aluminum for better mileage while preserving strength despite sheet rigidity. Whatever the material, the Hood secures with a primary latch and backup catch so it stays shut on the rugged terrain the Jeep loves. Any Compass will reveal the accessible oil and coolant points on the four-cylinder unit, which makes 172 horsepower. The squared shapes link the Compass with other Jeep models. The basic Hood shape not changing means many years of Compass share panels with little fuss. This efficient Hood makes routine maintenance convenient.
Looking for affordable and high-quality auto parts? Then you have already arrived at the proper online shop. We offer all Jeep Compass Hood at great affordable prices. Moreover, all genuine Jeep Compass Hood come with a manufacturer's warranty. In the long run, you would realize you have saved a lot of trouble and money with OEM parts from here.
Jeep Compass Hood Parts Questions & Experts Answers
- Q:How should the hood be removed and installed safely and effectively on Jeep Compass?A:The hood is heavy and somewhat awkward to remove and install, so at least two people should perform this procedure. Begin by using blankets or pads to cover the cowl area and Fenders to protect the body and paint during the hood removal. Scribe alignment marks around the bolt heads and hinge attachment locations to ensure proper alignment during installation, using a permanent-type felt-tip marker if necessary. Remove the top bolts holding the hood to the hinge and loosen the bottom bolts until they can be removed by hand. Have an assistant support the weight of the hood from the opposite side while simultaneously removing the bottom bolts and lifting off the hood, using your shoulder for support. If equipped, remove the under hood lamp wire connector from the engine compartment wire harness and disconnect the windshield washer hose from the hood. Installation follows the reverse order of removal. For adjustment, front-and-back and side-to-side alignment of the hood can be achieved by moving it in relation to the hinge plate after loosening the bolts. Scribe or trace a line around the hinge plate to gauge movement, then loosen the bolts or nuts and adjust the hood gradually, tightening the hinge bolts or nuts before checking alignment. Adjust the hood bumpers on the radiator support to ensure the hood is flush with the fenders when closed, and mark the Hood Latch as a guide for adjustment. The hood latch assembly can also be adjusted up-and-down and side-to-side after loosening the bolts, with the position marked beforehand. Periodically lubricate the hood latch assembly and hinges with white lithium-base grease to prevent sticking and wear.