My Garage
My Account
Cart
Genuine Jeep Grand Cherokee Hood
Engine Hood- Select Vehicle by Model
- Select Vehicle by VIN
Select Vehicle by Model
orMake
Model
Year
Select Vehicle by VIN
For the most accurate results, select vehicle by your VIN (Vehicle Identification Number).
12 Hoods found
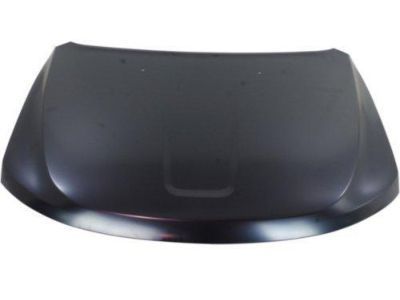
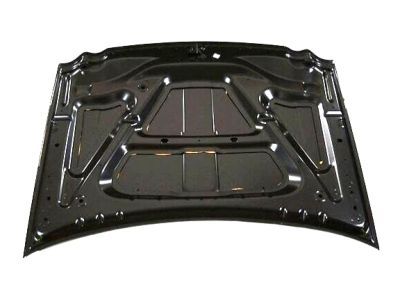
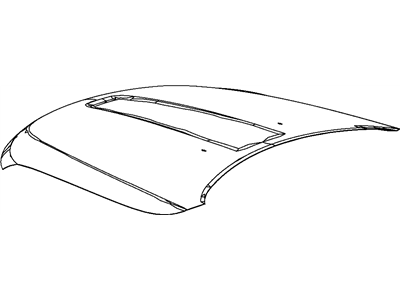
Jeep Grand Cherokee Panel Hood
Part Number: 68442519AA$1135.65 MSRP: $1685.00You Save: $549.35 (33%)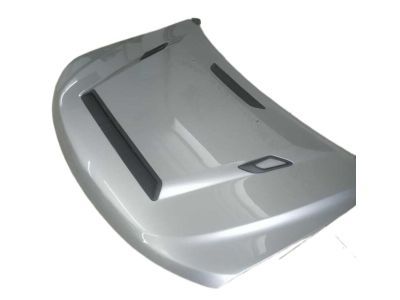
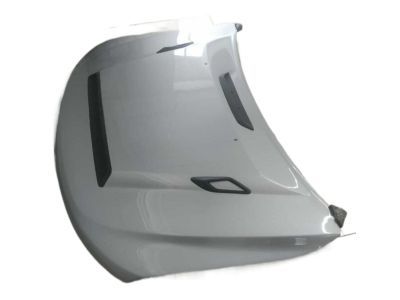
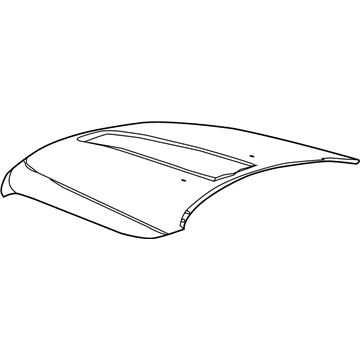
Jeep Grand Cherokee Hood Panel
Part Number: 68040264AF$1135.65 MSRP: $1685.00You Save: $549.35 (33%)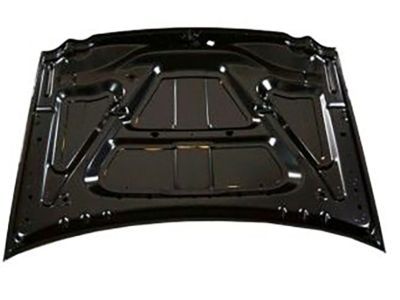
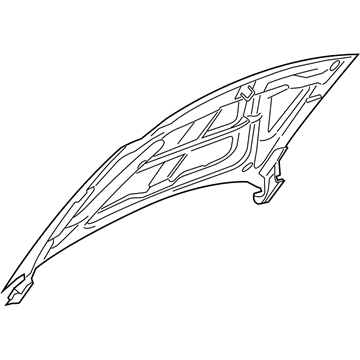
Jeep Grand Cherokee Hood Panel
Part Number: 68040264AH$1135.65 MSRP: $1685.00You Save: $549.35 (33%)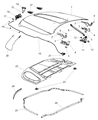
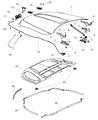
Jeep Grand Cherokee Hood Panel Assembly
Part Number: 55369587AD$798.91 MSRP: $1185.00You Save: $386.09 (33%)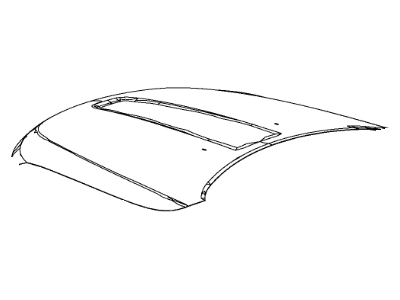
Jeep Grand Cherokee Hood Panel
Part Number: 68040264AD$1135.65 MSRP: $1685.00You Save: $549.35 (33%)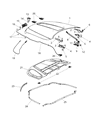
Jeep Grand Cherokee Hood Panel
Part Number: 68040264AI$1135.65 MSRP: $1685.00You Save: $549.35 (33%)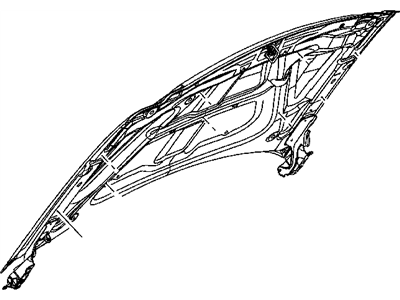
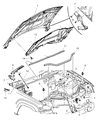
Jeep Grand Cherokee Hood Front Panel
Part Number: 55394496AD$394.44 MSRP: $579.00You Save: $184.56 (32%)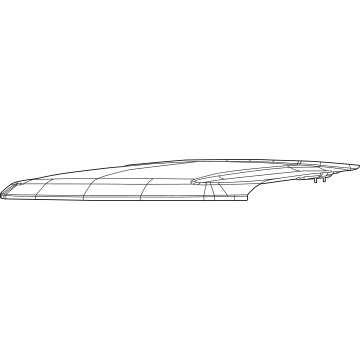
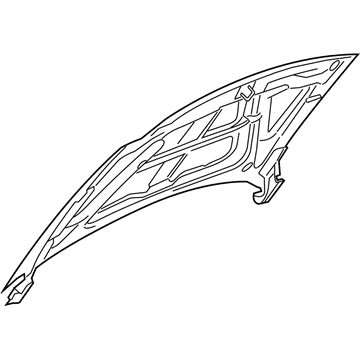
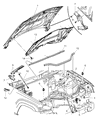
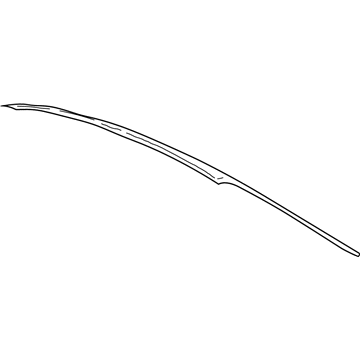
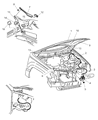
Jeep Grand Cherokee Hood
The Jeep Grand Cherokee Hood is designed to shield the engine from the effects of poor weather conditions while ensuring that the SUV has an aerodynamic profile that helps displace air over the front end smoothly. The Jeep Grand Cherokee's sculpted Hood works with the brand's bolder grille to help smooth airflow to the windshield. Over the years, the Jeep designers have kept the original hinged cover concept but have offered variations in materials and finishes, so every Grand Cherokee has its share of toughness and style. The traditional steel versions offer rugged durability, while the aluminum options reduce the weight for improved fuel economy and the fiberglass ones usually supplied with the gelcoat finish deliver the lighter feeling for agile drivers. Every Hood comes pre-primed or has a gel-coat so owners can match factory paint or order custom color with ease. In a collision, Jeep Hoods have engineered crumple zones that absorb the impact. Safety always takes center stage to help protect the occupants. No matter the material, a proper fit is important too. Hood replacements must match the exact year and trim for the Hood to line up cleanly, latch securely, and open easily for routine service.
Looking for affordable and high-quality auto parts? Then you have already arrived at the proper online shop. We offer all Jeep Grand Cherokee Hood at great affordable prices. Moreover, all genuine Jeep Grand Cherokee Hood come with a manufacturer's warranty. In the long run, you would realize you have saved a lot of trouble and money with OEM parts from here.
Jeep Grand Cherokee Hood Parts Questions & Experts Answers
- Q:How should the hood be removed and installed to ensure proper alignment and secure closure on Jeep Grand Cherokee?A:The hood is heavy and somewhat awkward to remove and install, so at least two people should perform this procedure. To begin, use blankets or pads to cover the cowl area of the body and Fenders to protect the body and paint as the hood is lifted off. Make marks or scribe a line around the hood hinge to ensure proper alignment during installation, and disconnect any cables or wires that will interfere with removal, including the support cylinders if equipped. Have an assistant support one side of the hood while you support the other, and simultaneously remove the hinge-to-hood nuts, supporting the hood with your shoulder while removing the bolts. Lift off the hood and for installation, reverse the removal steps. For adjustment, fore-and-aft and side-to-side alignment of the hood can be achieved by moving the hinge plate slot after loosening the bolts or nuts. Mark around each hinge plate to determine the amount of movement, then loosen the bolts or nuts and adjust the hood into the correct alignment, tightening the hinge bolts and carefully lowering the hood to check the position. If necessary, the Hood Latch can be adjusted up-and-down and side-to-side on the radiator support to ensure the hood closes securely and flush with the fenders. To adjust the latch, scribe a line or mark around the mounting bolts for reference, loosen them, reposition the latch as needed, and retighten the bolts, checking the fit afterward. Finally, adjust the hood bumpers on the radiator support so the hood is flush with the fenders when closed, and periodically lubricate the hood latch assembly and hinges with white, lithium-base grease to prevent binding and wear.