My Garage
My Account
Cart
Genuine Jeep Liberty Lash Adjuster
Lash Adjuster Lifter- Select Vehicle by Model
- Select Vehicle by VIN
Select Vehicle by Model
orMake
Model
Year
Select Vehicle by VIN
For the most accurate results, select vehicle by your VIN (Vehicle Identification Number).
5 Lash Adjusters found
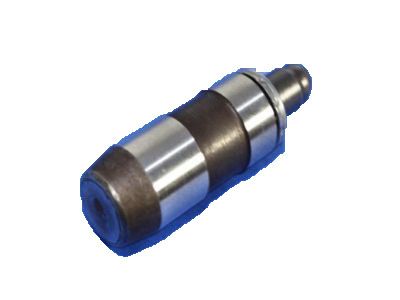
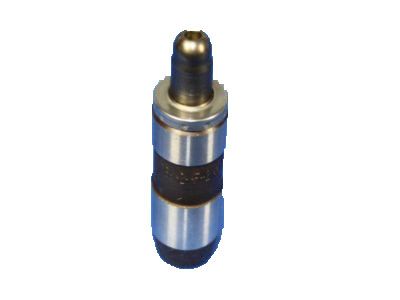
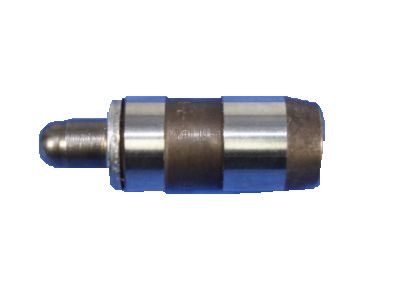
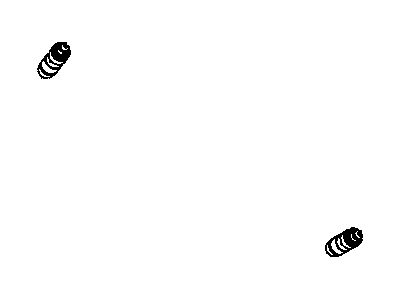
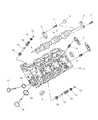
Jeep Liberty Engine Valve Lifter-Adjuster
Part Number: 53021894AA$37.75 MSRP: $54.00You Save: $16.25 (31%)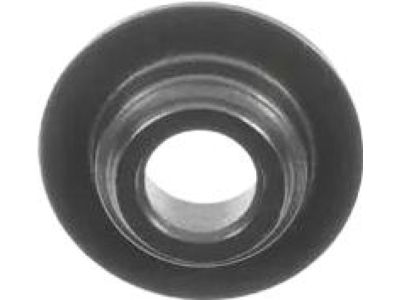
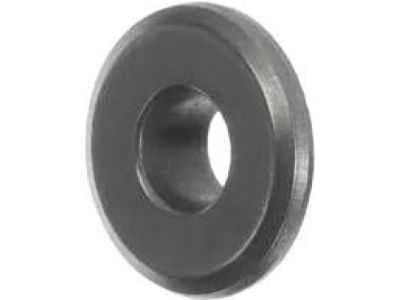
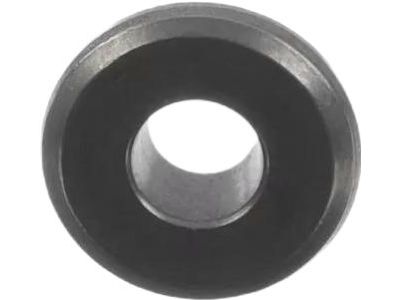
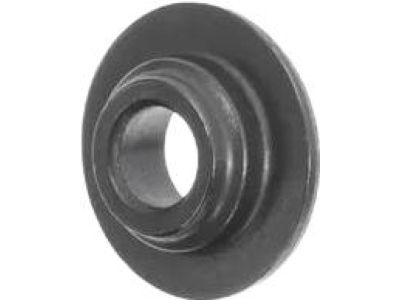

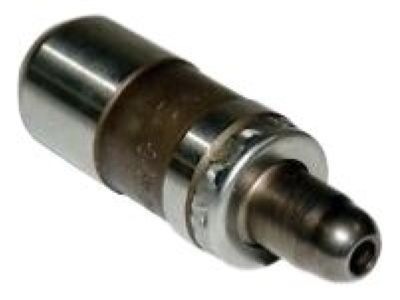
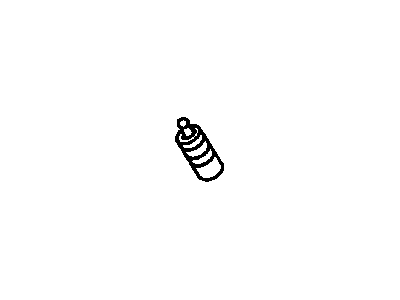
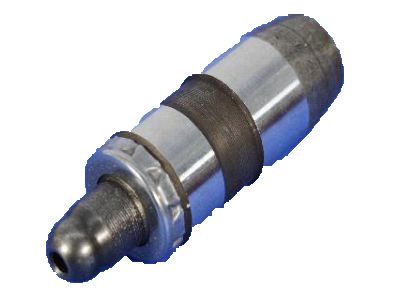
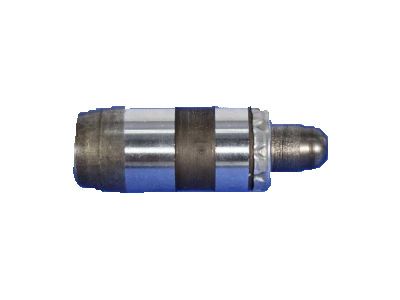
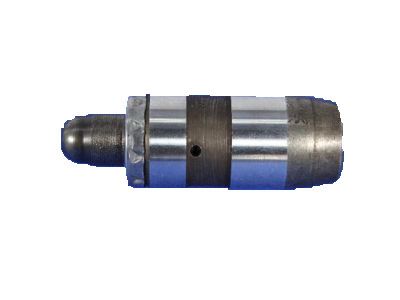
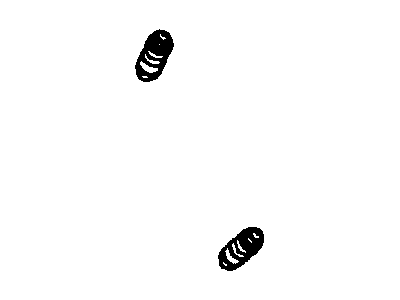
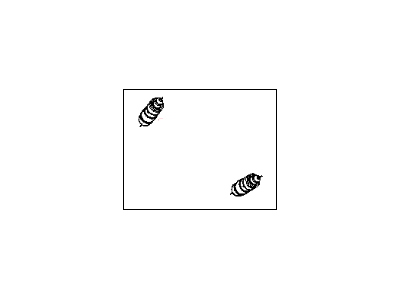
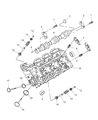
Jeep Liberty Lash Adjuster
The Jeep Liberty Lash Adjuster is an engine self-adjusting lifter designed to keep the valve movement so precise the V6 hums quietly. Resembling a small hydraulic tappet, this Lash Adjuster raises the valve in the direction of the cam while oil pressure continually tightens the clearance, minimizing noise and wear while preventing drivers from having to routinely reach for a feeler gauge. The early edition of the Liberty vehicles made use of a solid Lash Adjuster style that required scheduled adjustments. But with Jeep upgrades, this got a hydraulic Lash Adjuster, which was adopted for automatic gap control application. Innovations in the Liberty line involve the integration of hydraulic core and roller tip, a development that rolls rather than scrapes on the cam lobe, significantly reducing friction and improving mileage. Lash Adjuster compete with each other to provide smooth performance, which means converting the camshaft's rotation into linear motion (lift) of the engine valves so that the intake or exhaust events take place exactly on time. Whether solid, hydraulic, or hydraulic-roller, the system helps every Jeep provide reliable service and every Jeep Liberty maintain a steady stream of power.
Looking for affordable and high-quality auto parts? Then you have already arrived at the proper online shop. We offer all Jeep Liberty Lash Adjuster at great affordable prices. Moreover, all genuine Jeep Liberty Lash Adjuster come with a manufacturer's warranty. In the long run, you would realize you have saved a lot of trouble and money with OEM parts from here.
Jeep Liberty Lash Adjuster Parts Questions & Experts Answers
- Q:How can a noisy lash adjuster and Rocker Arm be diagnosed and repaired in 4.0L V6 engine on Jeep Liberty?A:A noisy lash adjuster can be confined of when the engine is stationary and using a mechanic's scope or a rubber hose touching the valves and listening to the other end. Some of the normal sources of noisy valve lifters are debris causing blockage inside the lifter and inadequate oil flow, viscosity or pressure; it is therefore advisable to check the oil for fuel contamination, level, cleanliness and viscosity before going to conclude that the lifters are bad. Not to let the rocker arm assembly fall over, not to put parts in disarray and to avoid placing the assembly on the lash adjusters, as this would cause damages as well as the intrusion of air. Start by unscrewing the valve covers and paint or draw on the rocker arms so that you can easily fit them when replacing the bolts of the rocker arms should be loosened in the reverse sequence with which they were tightened. There are intake and exhaust rocker arms, and the rocker arm shafts have to be removed , to do this, two items: one of them is a 4 mm screw with the nut, the washer and the spacer to pull out the dowel pins, located in the shaft supports; the pins have to be replaced after that. Take off the rocker shaft with reference to the identification notches which should be in the right direction on the engine. Visually examine the rocker arms, especially the surfaces of the rollers and shaft; also make sure the swivel pad on the lash adjuster is present; if any rocker arm indicator is worn replace assembly. For assembly, orient the shafts in such a manner that the notches are positioned upwards before fitting in the rocker arms and pedestals: thereafter, insert the new dowel pins through the pedestals to the extent they come in contact with the rocker shafts. Turn the camshaft gear clockwise until the intake valve of cylinder No. 1 opens, then install the rocker arm shaft assembly, marking the correct direction toward the head to be installed, and tighten the assembly bolts in sequence to the specified torque. In order to manual bleed air from a lash adjuster, one has to start and run the engine until it comes to normal operating temperature, un-bolt the valve cover, and take the engine through a cycle to get the specified rocker arm on the low practically virtually of the camshaft lobe. Pass a thin wire through the air bleed hole in the rocker with the check ball being pressed down and with the cams lobe featuring away from the rocker arm; if the top of the wire breaks off, the rocker arm will require replacement. With the check ball depressed, push the rocker arm as close to the valve as you can, and hold it down for about five or so seconds before slowly letting the rocker go, and removing the wire. The bleeding process should be repeated until all air or play is removed; if no progress is made the rocker arm(s) will require replacement. Last is the installation process which is carried out in the reverse sequence of the removal process.