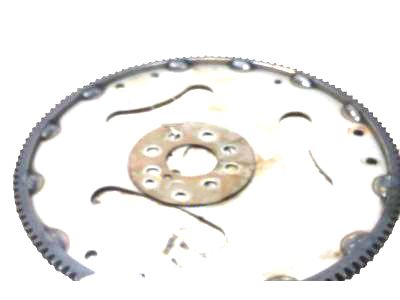
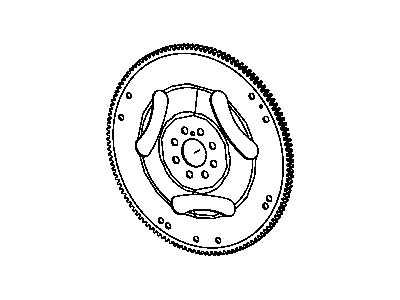
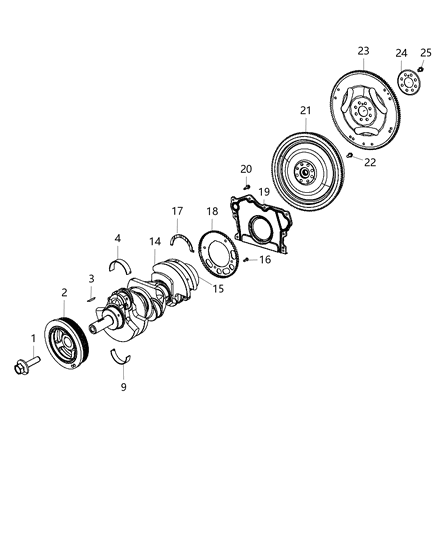
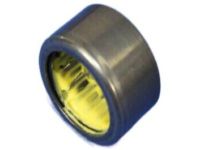
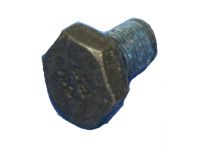
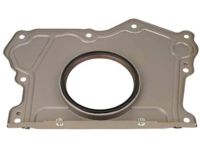
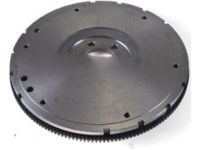
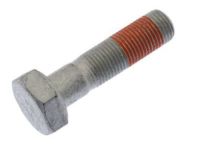
Raise the vehicle and support it securely on jackstands, then remove the transmission; if it's leaking, now is a good time to replace the front pump seal or O-ring for automatic transmissions. For manual transmission vehicles, remove the pressure plate and clutch disc, and consider checking or replacing the clutch components and pilot bearing. Use paint or a center-punch to make alignment marks on the flywheel and crankshaft to ensure correct alignment during reinstallation, and before removing the flywheel, index it to the crankshaft. Remove the bolts securing the flywheel to the crankshaft, holding a pry bar against two bolts or wedging a large screwdriver into the flywheel ring gear to prevent it from turning. Once the flywheel is removed, support it while taking out the last bolt. Clean the flywheel to remove grease and oil, inspecting the surface for cracks, rivet grooves, burned areas, and score marks, with light scoring removable using emery cloth. Check for cracked or broken ring gear teeth and warpage using a straightedge. Clean and inspect the mating surfaces of the flywheel and crankshaft, replacing the crankshaft rear seal if it is leaking. For certain models with a four-cylinder engine and automatic transmission, check the trigger wheel for damage, as it provides the timing signal for fuel and ignition systems; inspect the radial runout on the inner surface with a dial indicator and check the timing slot separators for dents, distortion, or cracks, replacing the driveplate assembly if necessary. Position the flywheel against the crankshaft, aligning the marks made during removal, and apply thread locking compound to the bolt threads before installation. Wedge a screwdriver into the ring gear teeth to prevent turning while tightening the bolts to the specified torque, then turn each bolt an additional 60 degrees as outlined in the specifications. Finally, complete the installation in reverse order of removal.