
Make sure this part fits

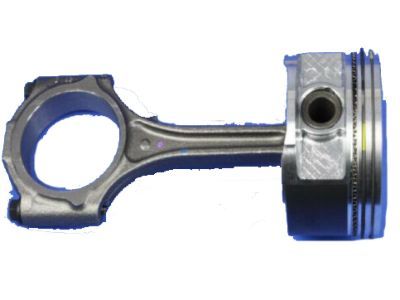
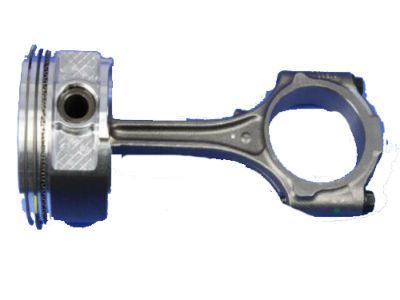
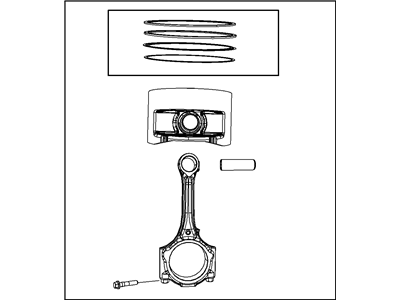
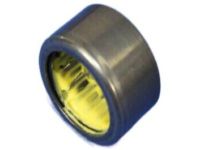
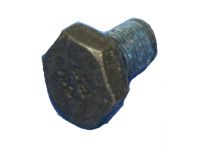
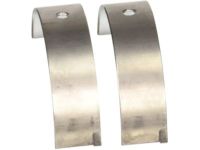
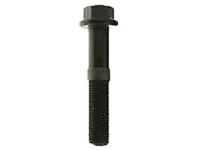
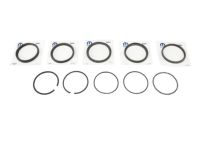
Chrysler 4666129AA Piston

2006-2010 Chrysler 4666129AA

Customer Questions & Expert Answers (5)
4666129AA Mopar Piston Product Photo 1 of 2
  • Part Description
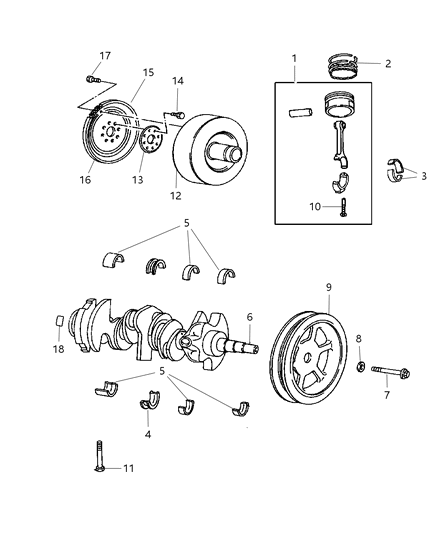
    Piston Pin And Rod
  • Replaces
    5019338AB
  • Manufacturer
    Mopar
Make sure this part fits
$229.69 MSRP: $347.00
You Save: $117.31 (34%)
1
ADD TO CART
  • Related Parts
  • Specifications
  • Fitment
  • Q&A
  • Product Specifications

    BrandGenuine Chrysler
    Manufacturer Part Number4666129AA
    Part DescriptionPiston Pin And Rod
    Item Dimensions10.5 x 6.4 x 6.5 inches
    Item Weight4.10 Pounds
    ConditionNew
    Replaces5019338AB
    ManufacturerMopar
    SKU4666129AA
    WarrantyThis genuine Mopar part is guaranteed by Mopar's factory warranty.
    Shipping & ReturnShipping Policy Return Policy
    Warning: California's Proposition 65
  • Vehicle Fitment

    Year Make Model Engine Important vehicle option details
    2006-2008 Chrysler Pacifica6 Cyl 3.8LBase FWD, LX FWD
    2006-2010 Chrysler Town & Country6 Cyl 3.8LLimited, Limited FWD, LX, Touring, Touring FWD, Touring Plus
  • Customer Questions & Expert Answers

    Q:
    Is this part guaranteed to fit my truck ? Posted by MoparPartsGiant Specialist
    A:
    You can Select Your Vehicle to check if 4666129AA fits your vehicle.
    Posted by MoparPartsGiant Specialist
    Installation and Repair Tips
    Q:
    What steps should be taken to prepare piston/connecting rod assemblies for inspection and reassembly on Dodge Grand Caravan? Posted by Customer
    A:
    The pistons/connecting rods cannot be inspected while still contained with the engine and therefore require cleaning and the removal of the original piston rings from the pistons to be replaced with new piston rings upon reassembly. Some of the cas uses include the following piston ring installation tool to cut out the old rings with out damaging the pistons in anyway. Get rid of all the carbon deposits you find on the top of the piston using the hand wire brush or fine emery cloth never use the wire brush that is mounted on the motor because this will lead to erasing of the surface finish of the softer material used on the construction of the Piston. Carbon deposits should be scraped out from the ring grooves using a piston ring groove cleaning tool and if this is not available, a piece of old ring can just as well be used, but care should be taken not to remove any metal or damage the grooves. After the deposits have been removed, wash out the piston/rod assemblies between solvent and dried with compressed if available. If the pistons and cylinder walls arent skint or worn too thin and if the engine block is not rebored new pistons may not be required; but new piston should always be fitted when an engine is being rebuilt. The skirt, pin bosses, and ring lands of each piston should be checked for cracks, while scoring, scuffing and any holes on the piston crown and burned areas on the edge of the crown which could be as a result of overheating or any abnormal combustion should also be checked for. Pitting corrosion means that there is a leakage of coolant into the combustion chamber or crankcase which must be rectified. Piston ring side clearance must be measured by installing a new piston ring to each groove and then using the feeler at different sections on the groove bearing in mind, each groove take the right ring. Engine bore wear can be checked by measuring the bore and piston diameter of the particular engine at the cylinder that depends on the type of the engine; if the piston to bore clearance goes beyond certain levels, this will require reboring of the block and new pistons and rings. Piston-to-rod clearance can be determined by rotating them in opposite directions, where significant looseness means there is wear and need for adjustment that may mean that the piston, rod and pins may have to be taken to an automotive machine shop for resizing. If pistons have to be pulled off the connecting rods, these should also be taken to the machine shop to check them for bend and twist, while the connecting rods should be examined for cracks and damage; old bearing inserts should also be temporarily removed for cleaning before reassembly.
    Posted by MoparPartsGiant Specialist
    Q:
    What steps must be taken before removing the piston and connecting rod assemblies on Dodge Grand Caravan? Posted by Customer
    A:
    Prior to removing the piston and connecting rod assemblies, the cylinder head(s), oil pan, and oil pump must be taken off. Use your fingernail to check for any ridge that may have formed at the upper limit of ring travel, approximately 1/4-inch down from the top of each cylinder. If ridges are present due to carbon deposits or cylinder wear, they must be completely removed with a special tool, as failure to do so may result in piston breakage. After removing the ridges, turn the engine upside down with the crankshaft facing up. Before removing the connecting rods, check the endplay using feeler gauges; if the endplay exceeds the service limit, new connecting rods may be necessary. Ensure that connecting rods and caps are marked for identification, and if not, use a small center-punch to create indentations. Loosen the connecting rod cap nuts gradually until they can be removed by hand, then take off the number one connecting rod cap and bearing insert without dropping the insert. Protect the crankshaft journal and cylinder wall by slipping a short length of plastic or rubber hose over each connecting rod cap bolt as the piston is removed. Push the connecting rod/piston assembly out through the top of the engine using a wooden or plastic hammer handle, ensuring all ridge material has been removed. Repeat this process for the remaining cylinders. After removal, reassemble the connecting rod caps and bearing inserts in their respective rods and install the cap nuts finger tight to prevent damage to the bearing surfaces. Avoid separating the pistons from the connecting rods.
    Posted by MoparPartsGiant Specialist
    Q:
    How to remove pistons and connecting rods on Jeep Wrangler? Posted by Customer
    A:
    Use your fingernail to check for a ridge at the upper limit of ring travel, approximately 1/4-inch down from the top of each cylinder. If ridges are present due to carbon deposits or cylinder wear, they must be completely removed with a ridge reamer before removing the pistons to avoid piston breakage. Once the ridges are cleared, turn the engine upside-down with the crankshaft facing up. For 3.6L V6 engines, remove the windage tray bolts in reverse order of installation. Before disconnecting the connecting rods, check the endplay using feeler gauges, ensuring the play is eliminated; if the endplay exceeds the service limit, new connecting rods may be necessary. Mark the connecting rods and caps with an indelible marker if they lack identification. Loosen the connecting rod cap nuts gradually until they can be removed by hand, then take off the number one connecting rod cap and bearing insert without dropping the insert. To protect the crankshaft journal and cylinder wall during piston removal, slip a short length of plastic or rubber hose over each connecting rod cap bolt. Remove the bearing insert and push the connecting rod/piston assembly out through the top of the engine, using a wooden hammer handle to apply pressure on the upper bearing surface. If resistance is encountered, ensure all ridge material has been removed. Repeat this process for the remaining cylinders. After removal, reassemble the connecting rod caps and bearing inserts in their respective rods, tightening the cap nuts securely, and keep the old bearing inserts in place until reassembly to prevent damage to the bearing surfaces. Avoid separating the pistons from the connecting rods.
    Posted by MoparPartsGiant Specialist
    Q:
    What steps should be taken before installing the piston and connecting rod assemblies on Jeep Wrangler? Posted by Customer
    A:
    Before the piston and connecting rod assemblies are placed in position, this should be done after cleaning the cylinder walls and after chamfering the top edge of each cylinder and with the crankshaft in position. Depress the cap of the No.1 connecting rod and pull it off, ensuring that the marks made during removal of the cap are recorded and then wipe the bearing surfaces with a lint free cloth. Remove the old dust cover and clean the back side of the new upper bearing insert; insert it into the connecting rod so that the tab does not require hammering into the recess. This must be done for the lower bearing insert touching the rod cap, with great emphasis on the cleanliness and absence of oil on the contacting surfaces. Align the piston ring gaps around the piston, slide a hose over each conducting rod cap screw, put some clean engine oil on the piston and on the rings, and then engage a piston ring compressor such that the piston skirt stands proud. Turn the crankshaft until the first connecting rod journal is at BDC and lubricate the cylinder walls of any new cylinder being prepared for assembly. Slide the piston/connecting rod assembly into the cylinder bore with the arrow on the piston pointing towards the front of the engine; the ring compressor will fit to the block. Insert the piston with a slight force into the cylinder while aligning the connecting rod on a term of crank shaft journal in case there is any resistance. Upon the completion of installation, Plastigage should be used in determining the oil clearance of the connecting rod bearing and the width crashed should be compared to the scale on the envelope. If the clearance is wrong, look for any dirt traces during the measurement process and compare the journal diameter. Removal of Plastigage must be gentle and any leftover material should be removed; subsequently a thin layer of moly-base grease or engine assembly lube must be applied to the bearing faces and finally connect the connecting rod and cap with nuts or bolts to the recommended torque. Perform this procedure for the other pistons and connecting rods bearing inserts and interior of connecting rods must be clean and the correct piston/rod assembly must fit the relevant cylinder cylinder walls and bearing faces must be lubricated when necessary. After all assemblies are installed, rotate the crankshaft and check for binding and measure the connecting rod end play and with reference to standard check if it is correct. It maybe required if new rods or a crankshaft has been installed.
    Posted by MoparPartsGiant Specialist
    See Complete Installation and Repair Tips

Genuine Mopar Part 4666129AA, the Right Choice

To ensure reliability, purchase Mopar part # 4666129AA Piston. It is sometimes referred to as Piston. The OEM parts should be used when the Mopar owners want to maximize their driving experience. The high-tech factories that produce these parts utilize sophisticated technology specifically designed to meet stringent factory requirements. Additionally, they are thoroughly tested and can thus be used with reliability by Mopar owners. This part fits specific Chrysler Pacifica and Town & Country models.

MoparPartsGiant.com is a leading supplier of genuine Mopar parts and accessories such as 4666129AA Piston. Wondering where to find exceptional quality and affordable OEM Mopar parts? You have already come to the right place. Our website boasts a huge selection of genuine Mopar parts at attractive prices. Further, all parts come with a manufacturer's warranty. For detailed Chrysler parts information, click here.

Why choose Mopar Parts Giant

  • Dedicated Service

    Your complete satisfaction is our #1 goal

  • Lowest Prices

    Best deals on genuine OE parts from dealerships

  • Fast Delivery

    Orders are processed and delivered promptly