
My Garage
My Account
Cart
Genuine Chrysler Piston
Engine Pistons- Select Vehicle by Model
- Select Vehicle by VIN
Select Vehicle by Model
orMake
Model
Year
Select Vehicle by VIN
For the most accurate results, select vehicle by your VIN (Vehicle Identification Number).
100 Pistons found
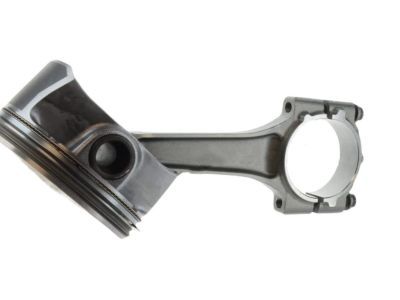
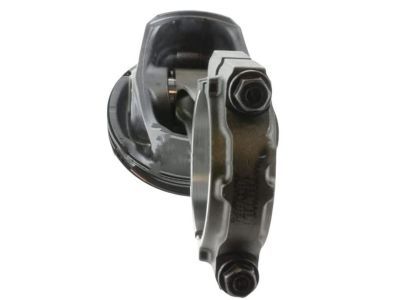
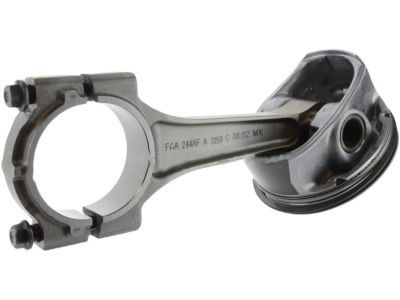
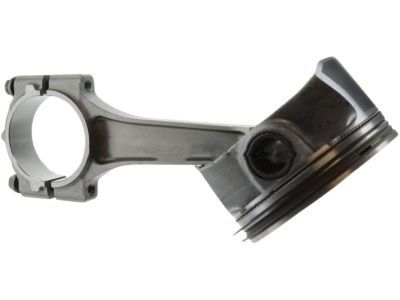
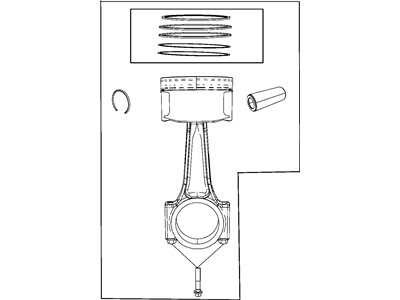
 Product Specifications
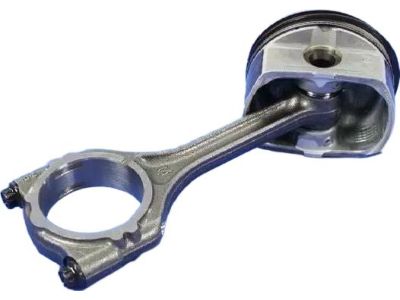
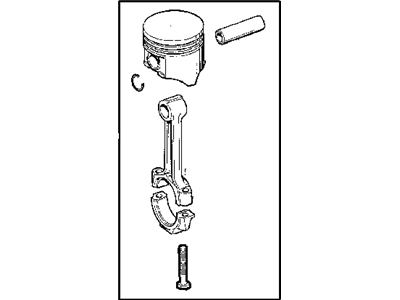
- Other Name: Piston Pin And Rod; Connecting Rod
- Replaces: 53022257AD
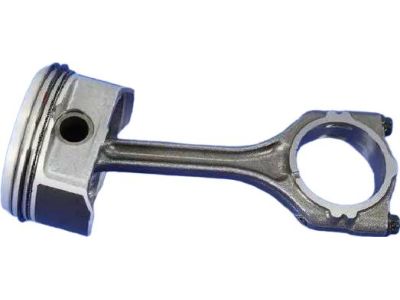
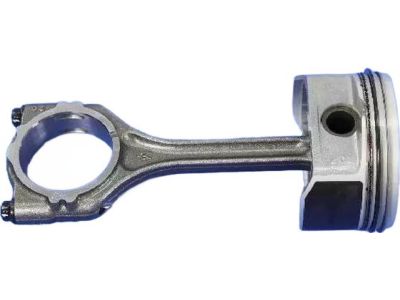
 Product Specifications
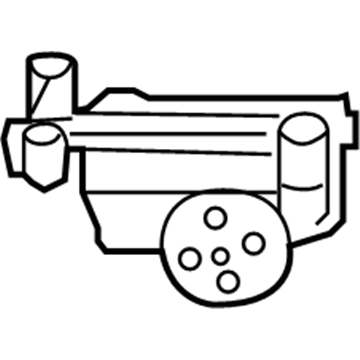
- Other Name: Piston Pin And Rod A-Size See Note; Oil Pump, Piston
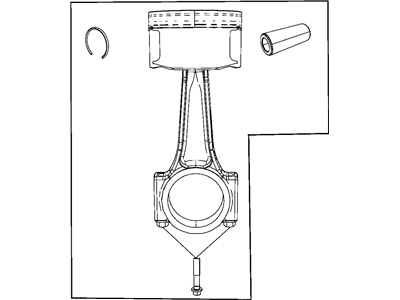
 Product Specifications
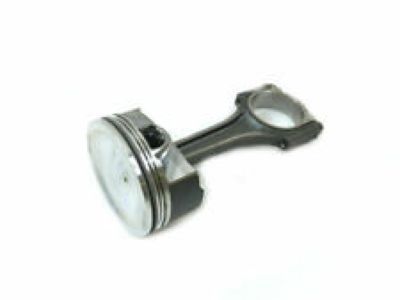
- Other Name: Piston Pin And Rod; Connecting Rod
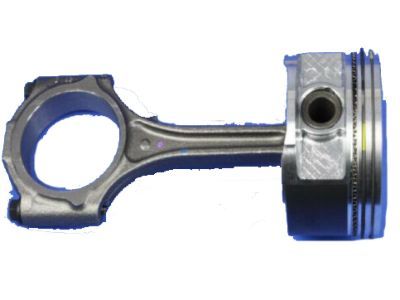
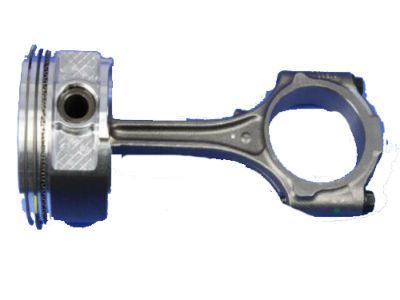
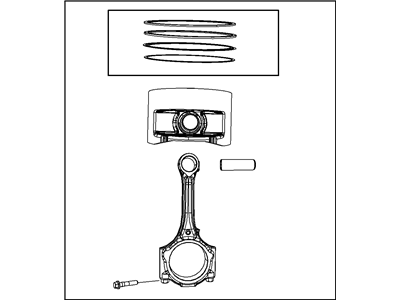
 Product Specifications
- Other Name: Piston Pin And Rod
- Replaces: 5019338AB
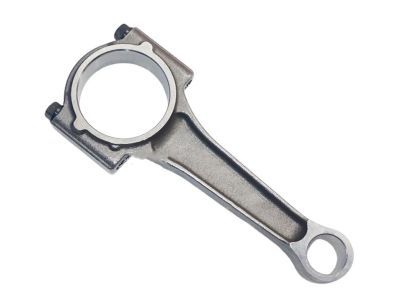
 Product Specifications
- Other Name: Piston Pin And Rod
- Replaced by: 53022258AE
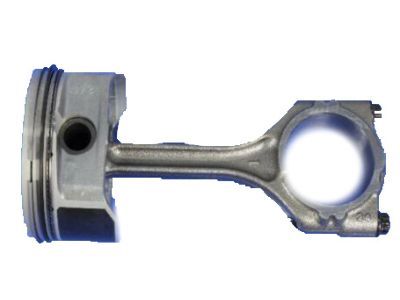
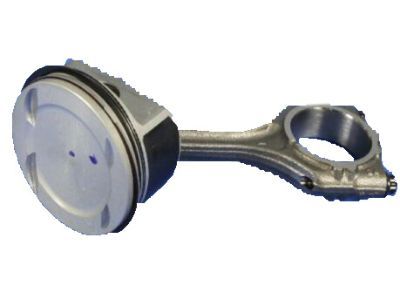
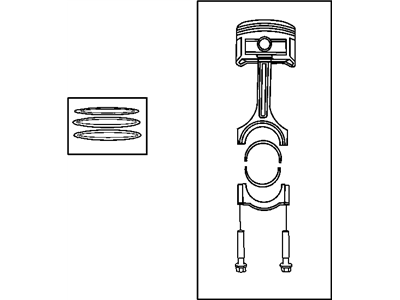
 Product Specifications
- Other Name: Piston Pin And Rod B-Size See Note; Piston
- Replaces: 5191340AA
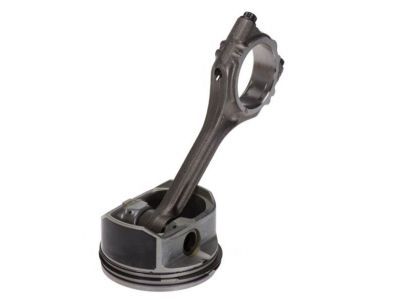
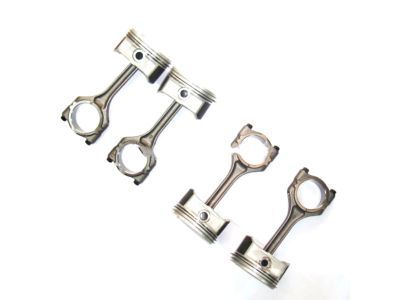
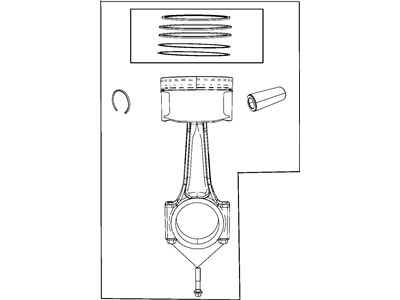 Product Specifications
- Other Name: Piston Pin And Rod A-Size See Note
- Replaced by: 5191341AA
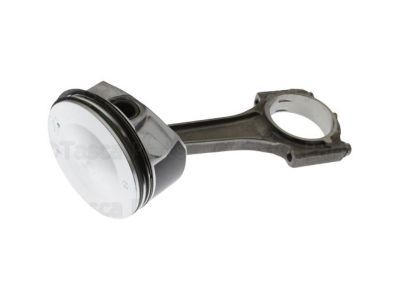 Product Specifications
- Other Name: Piston Pin And Rod
- Replaced by: 53022257AE
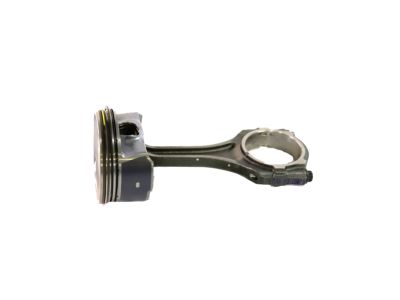


 Product Specifications
- Other Name: Piston Pin And Rod B-Size
- Replaced by: 5048640AA
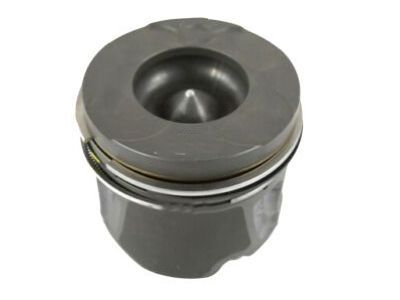
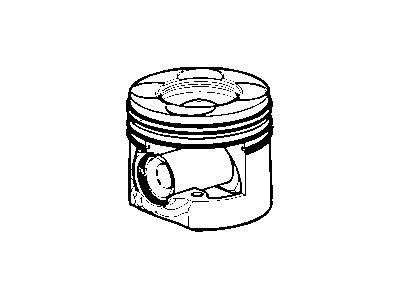
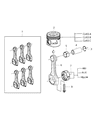 Product Specifications
- Other Name: Piston Engine Includes Piston Rings; Piston

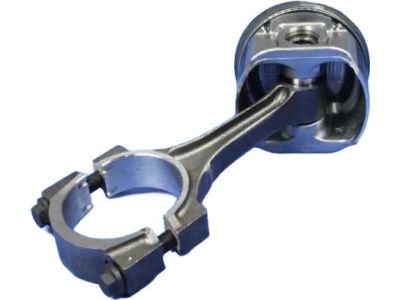
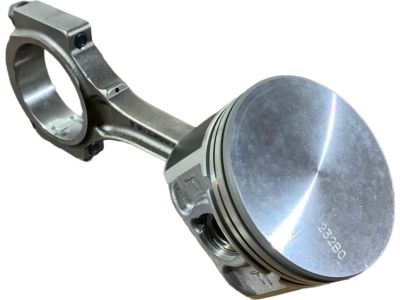
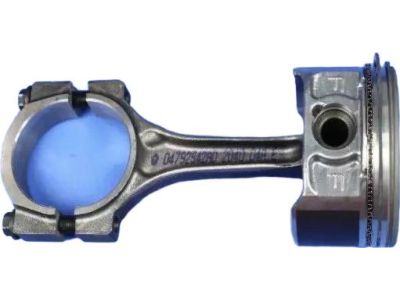
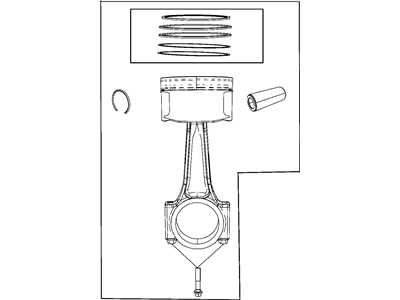
 Product Specifications
- Other Name: Piston Pin And Rod
- Replaces: 5018627AB, 5018627AA, 5018627AC
- Product Specifications
- Other Name: Piston Pin And Rod; Connecting Rod
- Replaces: 53022258AD
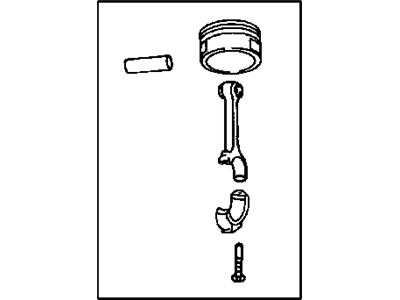
 Product Specifications
- Other Name: Piston Pin And Rod
- Replaced by: 4666129AA
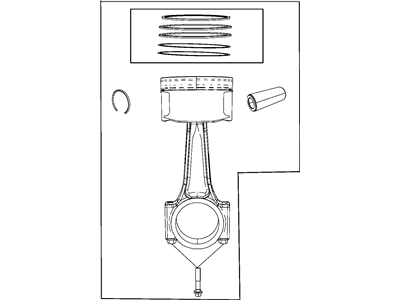 Product Specifications
- Other Name: Piston Pin And Rod C-Size See Note; Piston
 Product Specifications
- Other Name: Piston Pin And Rod C-Size
- Replaced by: 5048641AA
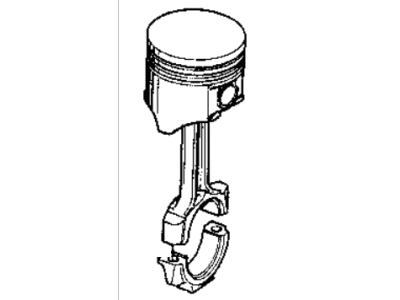
 Product Specifications
- Other Name: Piston Pin And Rod
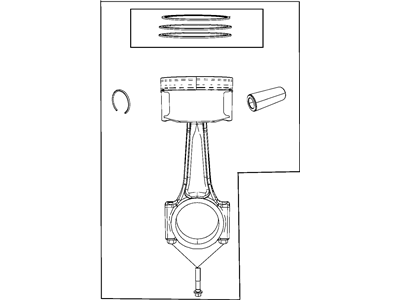 Product Specifications
- Other Name: Piston Pin And Rod C-Size See Note; Piston
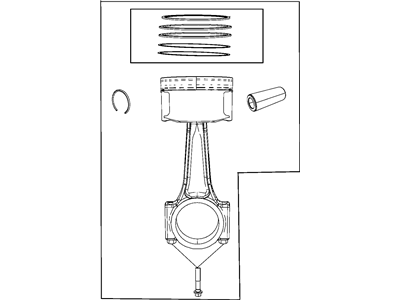
 Product Specifications
- Other Name: Piston Pin And Rod
- Replaced by: 5018627AD
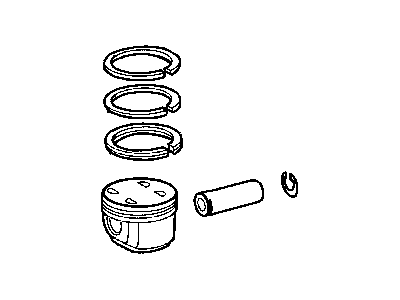
 Product Specifications
- Replaced by: 5143027AA
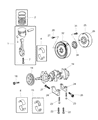 Product Specifications
- Other Name: Piston Pin And Rod
- Replaced by: 68067541AA
| Page 1 of 5 |Next >
1-20 of 100 Results
Chrysler Piston
Our website has a huge selection of Chrysler Pistons at the optimal prices in the industry. If you need any genuine Chrysler Pistons, we ship them to your door step as we offer a fast delivery service. In addition, all OEM parts are backed by the manufacturer's warranty.
Chrysler Piston Parts Questions & Experts Answers
- Q:What steps must be taken before removing the piston and connecting rod assemblies on Chrysler Cirrus?A:Prior to removing the piston and connecting rod assemblies, the cylinder head and oil pan must be taken off. First, use your fingernail to check for any ridges at the upper limit of ring travel, approximately 1/4-inch down from the top of each cylinder. If ridges are present due to carbon deposits or cylinder wear, they must be completely removed with a special tool, following the manufacturer's instructions, as failure to do so may result in piston breakage. Once the ridges are cleared, turn the engine so the crankshaft is facing up. Before removing the main bearing cap assembly and connecting rods, check the connecting rod endplay with feeler gauges, ensuring the play is equal to the thickness of the gauge(s). If the endplay exceeds the service limit, new connecting rods will be necessary. Identify the connecting rods and caps with marks; if not marked, use a small center-punch to create indentations. Loosen the connecting rod cap nuts or bolts gradually until they can be removed by hand, then take off the number one connecting rod cap and bearing insert without dropping the insert. For V6 engines, protect the crankshaft journal and cylinder wall by slipping a short length of plastic or rubber hose over each connecting rod stud during removal. Push the connecting rod/piston assembly out through the top of the engine using a wooden or plastic hammer handle, ensuring all ridge material has been removed if resistance is felt. Repeat this process for the remaining cylinders, noting that new connecting rod bolts must be installed on four-cylinder engines during reassembly. After removal, reassemble the connecting rod caps and bearing inserts in their respective rods and install the cap bolts finger tight, leaving the old bearing inserts in place until reassembly to prevent accidental damage to the bearing surfaces. Avoid separating the pistons from the connecting rods.
Related Chrysler Parts
 Chrysler Drive Shaft
 Chrysler EGR Valve Gasket
 Chrysler Drain Plug
 Chrysler Drain Plug Washer
 Chrysler Drive Belt
 Chrysler Flywheel
 Chrysler Harmonic Balancer
 Chrysler Engine Cover
 Chrysler EGR Tube
 Chrysler Engine Mount
 Chrysler Exhaust Seal Ring
 Chrysler Flywheel Ring Gear