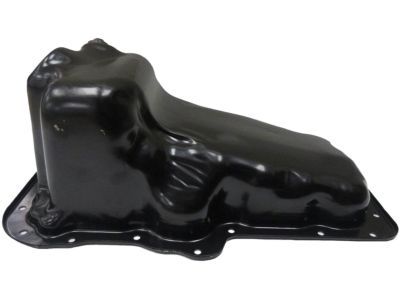
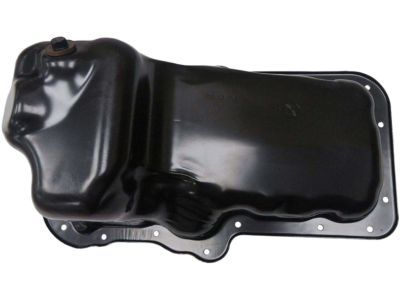
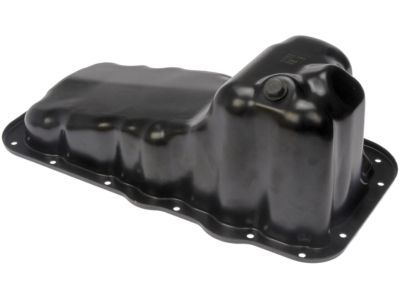
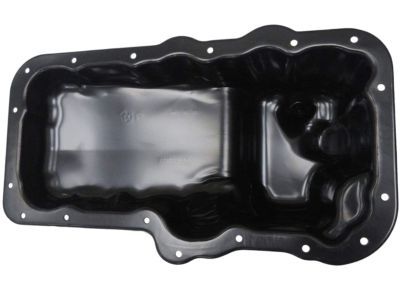
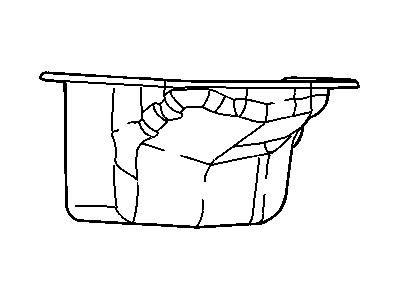
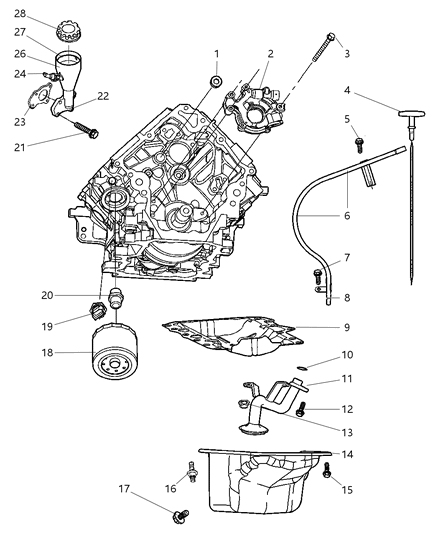
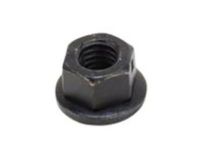
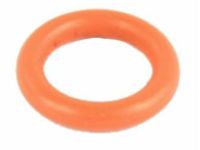
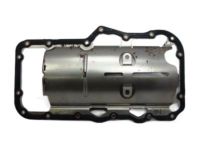
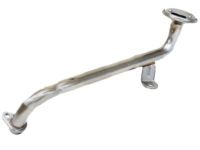
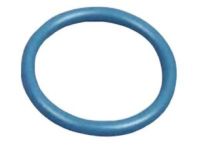
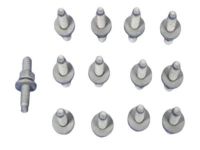
First, to dismantle the oil pan, shut down the car's negative terminal, apply the parking brake, put a block to the rear wheels and then use the jackstands to lift the front of the car. Siphon out the engine oil, unbolt the skid plate if there is one and also remove the trans-to-oil pan support bar at the back of the pan. Then, unlock the transmission oil cooler line and the front cross member, peel off the cowl and its support brace and the wiper motor support bracket. You must first unbolt and take out the fan and shroud, next, secure an engine hoist to the lifting eyes on the engine, then lift the engine slightly to get the weight off the engine mounts before popping off the through bolts of the mount. If necessary, for clearance, take off the intake manifold and lift the engine slightly upward. Again for 4WD 4.7L: Disconnect the front axle. Next, undo the bolts and nuts on the oil pan then gently pry the oil pan away from the block with out distorting the shape. If the oil pan is stuck, the side should be gently hit with a rubber mallet. Take out the nuts and bolts that fasten the oil pump pick-up tube and windage tray and let the pick-up tube fall down into the oil pan, and thereafter take out all these parts together. For installation, the oil pan and mating surfaces should be clean along with the oil pan gasket that is a one piece with the windage tray since they are damaged during the removal process. Insert the pick-up tube and the oil pan gasket/windage tray into the oil pan and fit the oil pan on the engine being sure to use a new O-ring for the pick-up tube. When the fasteners are installed the bolts should be tightened in a scallop fashion to the required torque figure. Replace the transmission to oil pan support brace and tighten the bolts to the recommended torque. Last but not the least, the steps are removal, refilling of the engine oil, changing the oil filter, and carrying a leakage test by revving up the engine.