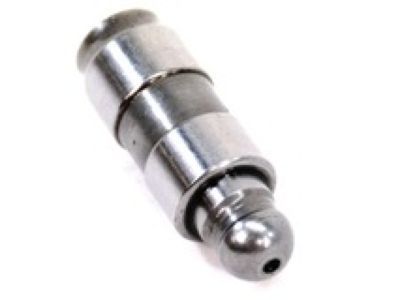
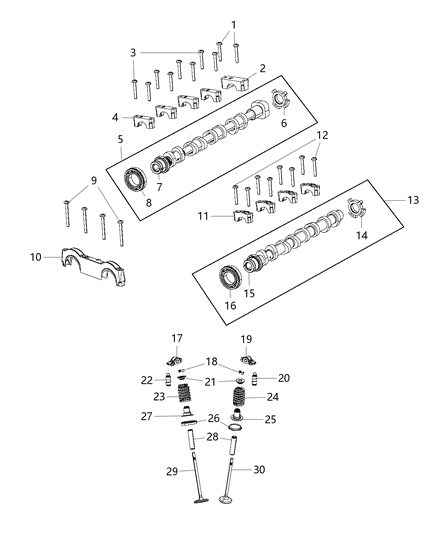
Drain the cooling system. A noisy valve Lash Adjuster can be isolated when the engine is idling by using a mechanic's stethoscope or a length of hose near each valve while listening at the other end. Alternatively, remove the valve cover and, with the engine idling, touch each valve spring retainer one at a time; a defective Lash Adjuster will be evident from the shock felt at the retainer each time the valve seats. Common causes of noisy Lash Adjusters include dirt trapped inside and lack of oil flow, viscosity, or pressure. Before condemning the Lash Adjusters, check the oil for fuel contamination, correct level, cleanliness, and viscosity. Remove the intake manifold and valve covers, followed by the rocker arms and pushrods, and then the cylinder heads. Remove the retaining plate bolts and lift the plate to access the hydraulic roller Lash Adjusters, which are retained with an alignment yoke that should be lifted off. In some cases, Lash Adjusters can be removed with a small magnet or fingers, while varnished Lash Adjusters may require a special removal tool. Store the Lash Adjusters in a labeled box to ensure they are reinstalled in their original locations. Clean the Lash Adjusters with solvent and dry them thoroughly, checking each Lash Adjuster wall and pushrod seat for scuffing, score marks, and uneven wear. Inspect the roller of each Lash Adjuster for freedom of movement, excessive looseness, flat spots, or pitting, and check the camshaft for abnormal wear. When installing used Lash Adjusters, ensure they are replaced in their original bores with the lubrication hole facing upward, soaking them in oil to remove trapped air and coating them with moly-based grease or engine assembly lube prior to installation. Installation of the remaining components follows the reverse order of removal, with the retaining plate bolts tightened to the specified torque. Change the engine oil and filter, and refill the cooling system. Remove the engine cooling fans and radiator, then the timing chain and sprockets, followed by the Lash Adjusters. Remove the bolts and the camshaft thrust plate from the engine block, using a long bolt in the camshaft sprocket bolt hole as a handle when removing the camshaft. Carefully pull the camshaft out, supporting it to prevent damage to the bearings. After removal, clean the camshaft with solvent and dry it, inspecting the bearing journals for uneven wear, pitting, and evidence of seizure. Measure the bearing journals with a micrometer to check for excessive wear or out-of-round conditions, and measure the lobe height of each cam lobe on the intake camshaft, recording measurements and comparing them for excessive variations. Check the camshaft lobes for heat discoloration, score marks, chipped areas, pitting, and uneven wear; if the lobes are in good condition and the lobe lift variation measurements are within limits, the camshaft can be reused. Determine the inside diameter of each bearing with a bore gauge and outside micrometer, or an inside micrometer, and calculate the bearing oil clearance. Clean the Lash Adjusters again and check each Lash Adjuster wall, pushrod seat, and loot for scuffing, score marks, and uneven wear. Carefully check the rollers for wear and damage, ensuring they turn freely without excessive play. Lubricate the camshaft bearing journals and cam lobes with moly-base grease or engine assembly lube before sliding the camshaft into the engine, supporting it near the block to avoid scraping or nicking the bearings. Install the thrust plate and bolts, tightening them to the specified torque, and complete the installation in reverse order of removal. Finally, change the engine oil and filter, and refill the cooling system.