
My Garage
My Account
Cart
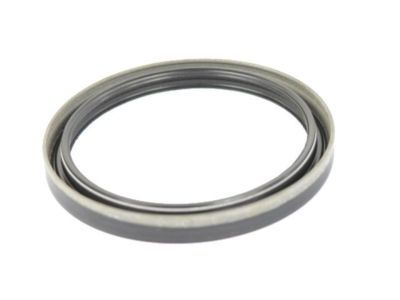
Genuine 2006 Jeep Liberty Crankshaft Seal
- Select Vehicle by Model
- Select Vehicle by VIN
Select Vehicle by Model
orMake
Model
Year
Select Vehicle by VIN
For the most accurate results, select vehicle by your VIN (Vehicle Identification Number).
4 Crankshaft Seals found
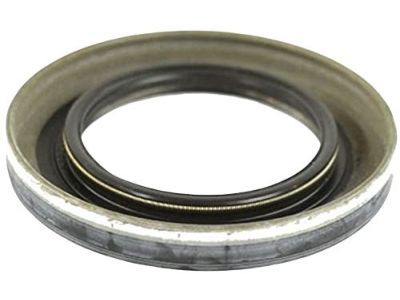
 Product Specifications
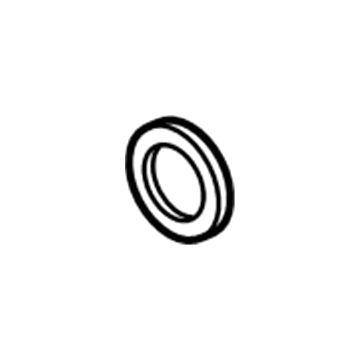
- Other Name: Seal Crankshaft Oil Front
- Item Weight: 1.30 Pounds
- Item Dimensions: 0.6 x 3.1 x 3.1 inches
- Condition: New
- SKU: 53021313AA
- Warranty: This genuine part is guaranteed by Mopar's factory warranty.
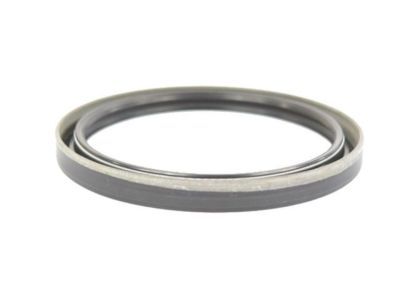
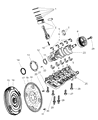
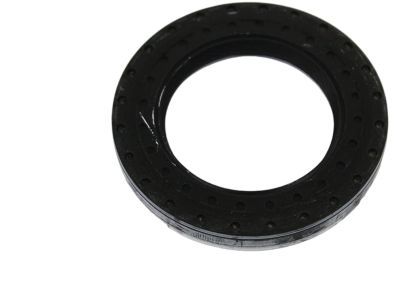
2006 Jeep Liberty Crankshaft Oil Seal
Part Number: 53020788AB$33.79 MSRP: $48.35You Save: $14.56 (31%)Product Specifications- Other Name: Seal Crankshaft Oil Rear
- Replaces: 68045792AA
- Item Weight: 0.60 Pounds
- Item Dimensions: 1.1 x 5.1 x 5.3 inches
- Condition: New
- SKU: 53020788AB
- Warranty: This genuine part is guaranteed by Mopar's factory warranty.
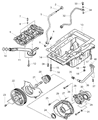
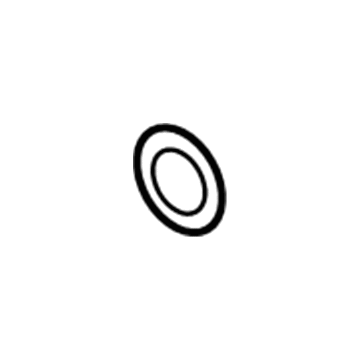
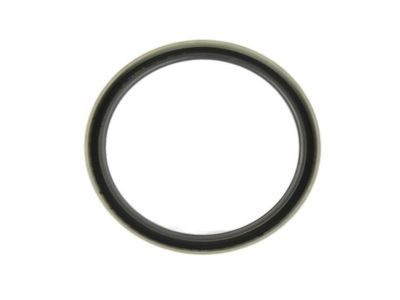
2006 Jeep Liberty Seal-Front Main CRANKSHAFT
Part Number: 5072670AA$25.40 MSRP: $36.70You Save: $11.30 (31%)Product Specifications- Other Name: Seal Front Main Crankshaft
- Position: Front
- Replaced by: 5179633AA
- Item Weight: 0.30 Pounds
- Item Dimensions: 0.3 x 2.2 x 2.2 inches
- Condition: New
- Fitment Type: Direct Replacement
- SKU: 5072670AA
- Warranty: This genuine part is guaranteed by Mopar's factory warranty.
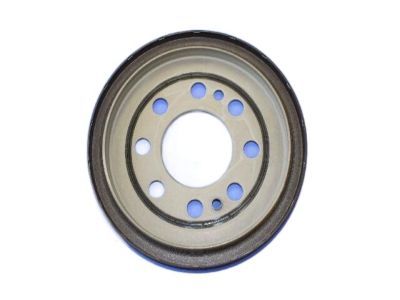
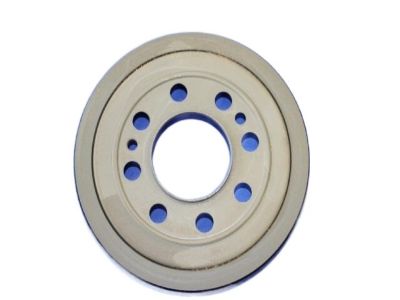
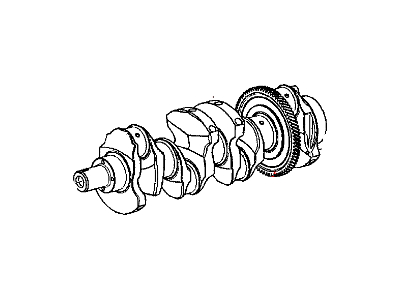
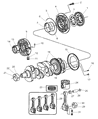
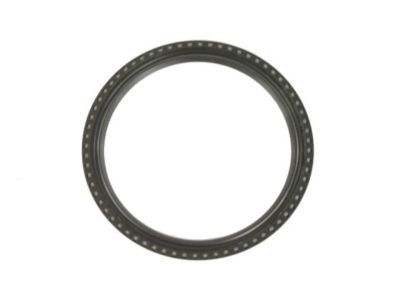
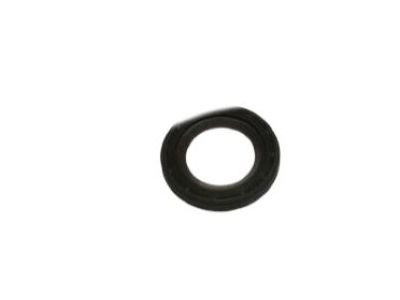
2006 Jeep Liberty Crankshaft Oil Seal
Part Number: 5066756AA$91.52 MSRP: $116.46You Save: $24.94 (22%)Product Specifications- Other Name: Seal Crankshaft Oil Rear; Rear Main Seal
- Item Weight: 0.80 Pounds
- Item Dimensions: 5.9 x 6.0 x 0.9 inches
- Condition: New
- SKU: 5066756AA
- Warranty: This genuine part is guaranteed by Mopar's factory warranty.
2006 Jeep Liberty Crankshaft Seal
On our website, we proudly offer genuine 2006 Jeep Liberty Crankshaft Seal at the market's great competitive prices. We are confident that choosing brand new OEM 2006 Jeep Liberty Crankshaft Seal from our site will save you both trouble and money.
2006 Jeep Liberty Crankshaft Seal Parts Questions & Experts Answers
- Q:What Steps Are Involved in Replacing the Crankshaft Seal in a Four Cylinder Engine on 2006 Jeep Liberty?A:The camshafts should not be rotated when the timing belt is off or the engine will be most likely to be ruined. This is a definite requirement for the new crankshaft sprocket to be fitted to the same depth at which the crankshaft was fitted before, otherwise the timing belt will not sit right. Use of a factory tool, part number 6792, is suggested but if unavailable, measure with a tape from the back of sprocket to the engine before removing crank sprocket then use this measurement when replacing sprocket. First, disconnect the power steering pump and then, take out the timing belt and the timing belt covers. Withdraw the crankshaft sprocket from the crankshaft with the help of a bolt-type gear puller; there is no need to remove the Woodruff key. When fixing this crankshaft sprocket the crankshaft should be put back to the right position especially as far as the timing belt is concerned. When the sprocket is to be taken off, note the distance between the extremity of the crankshaft center and the location of the sprocket and it should be marked so as to regain the measured distance afterwards while reassembling the machinery. This is done by using a screwdriver or a seal removal tool and this must be done gently in order not to damage the oil pump assembly or the crankshaft or the seal bore. A. The seal bore and the sealing surface on the crankshaft claimed should be thoroughly cleaned, the slight unevenness of the surface should be removed with emery cloth. In some occasions when there is a groove formed on the crankshaft sealing surface due to the contact with the seal, a new seal will not solve the leakage problem. The new seal should be lubricated with engine oil, and it should then be hammered into place with the help of a hammer and a suitable socket. Before tightening the sprocket needed to be set to the required depth of 60mm by using a hammer and socket; crankshaft sprocket has an arrow mark or the writing "FRONT" should face outside and should be in its initial position on the crankshaft. The rest of the process is the reverse of installation and then the engine is started to look for any signs of oil leakage.
Related 2006 Jeep Liberty Parts
 2006 Jeep Liberty Cylinder Head Gasket
 2006 Jeep Liberty Crankshaft
 2006 Jeep Liberty Cylinder Head
 2006 Jeep Liberty Dipstick
 2006 Jeep Liberty Cylinder Head Bolts
 2006 Jeep Liberty Dipstick Tube
 2006 Jeep Liberty Crankcase Breather Hose
 2006 Jeep Liberty Crankshaft Thrust Washer Set
 2006 Jeep Liberty Crankshaft Timing Gear
 2006 Jeep Liberty Differential Bearing
 2006 Jeep Liberty Crankshaft Pulley