
My Garage
My Account
Cart
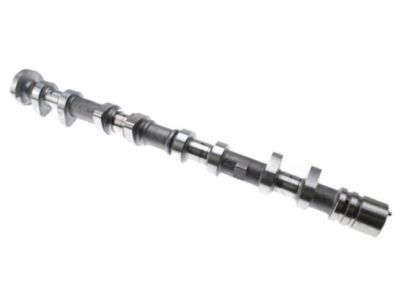
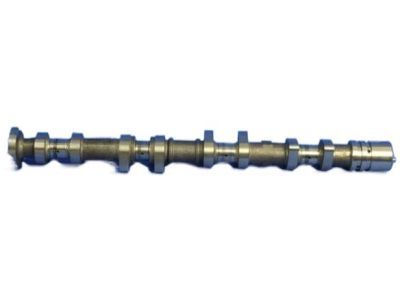
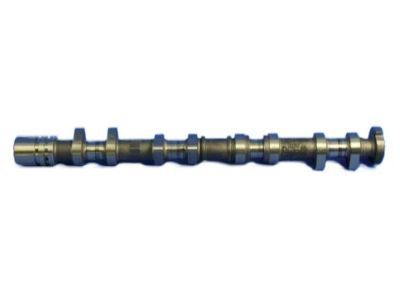
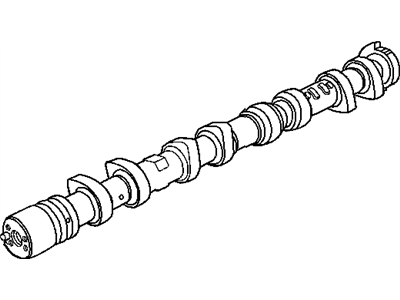
Genuine Chrysler Sebring Camshaft
Cam- Select Vehicle by Model
- Select Vehicle by VIN
Select Vehicle by Model
orMake
Model
Year
Select Vehicle by VIN
For the most accurate results, select vehicle by your VIN (Vehicle Identification Number).
36 Camshafts found
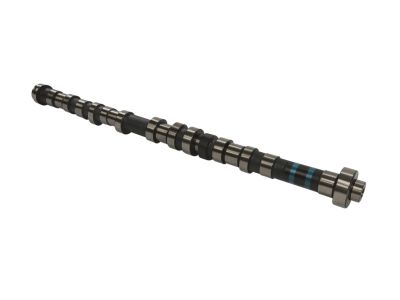
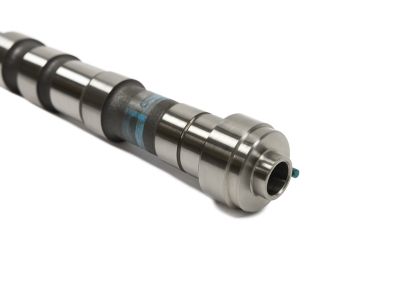
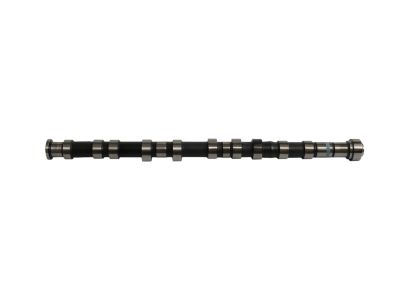
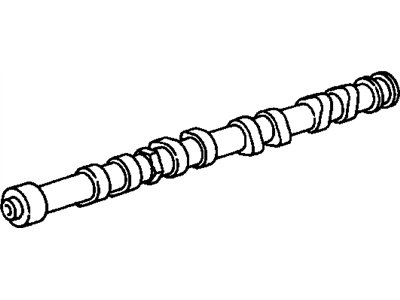
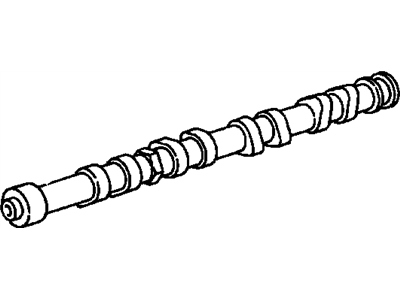
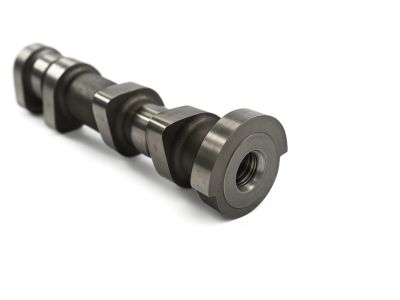
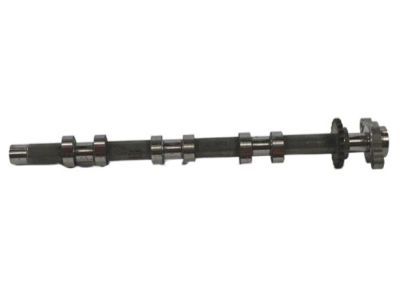
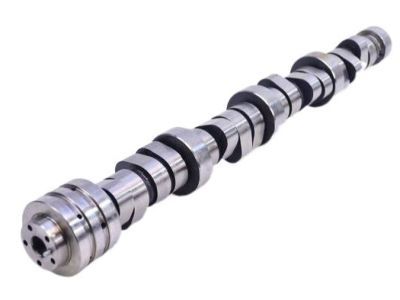
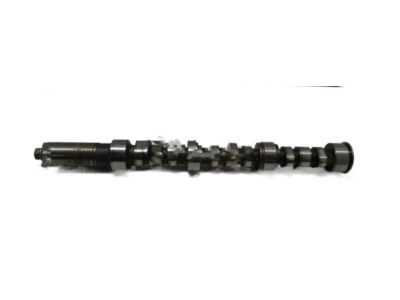
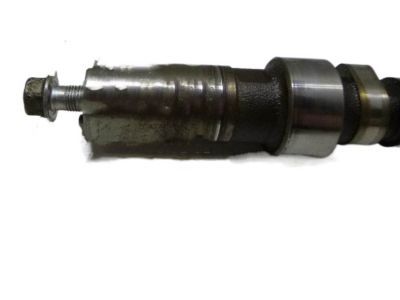
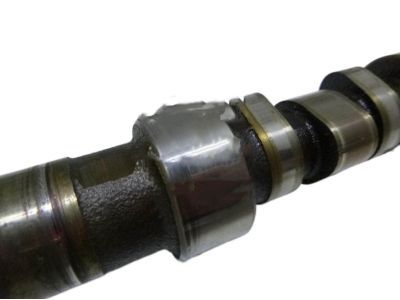
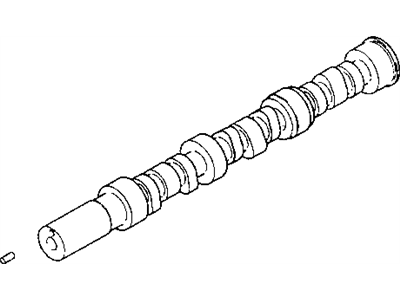
Chrysler Sebring Engine Exhaust Camshaft
Part Number: 4781679AB$224.27 MSRP: $467.00You Save: $242.73 (52%)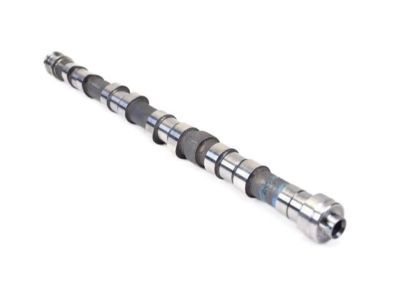
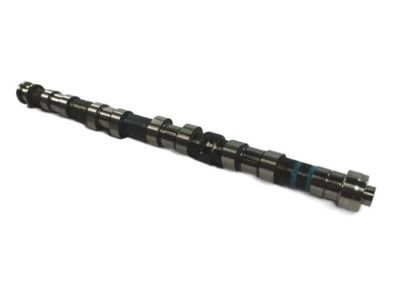
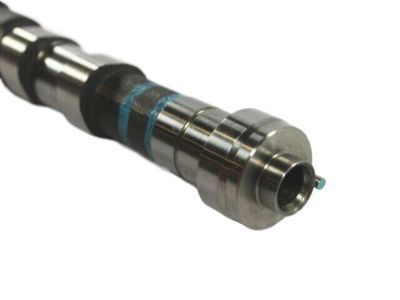
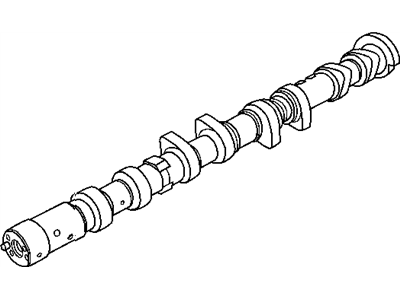
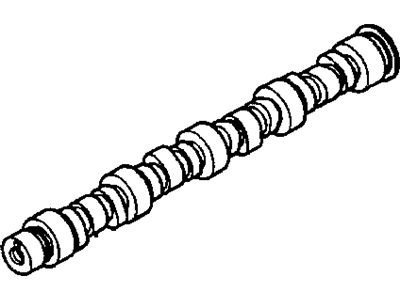
Chrysler Sebring Engine Exhaust Camshaft
Part Number: 4781679AA$224.27 MSRP: $467.00You Save: $242.73 (52%)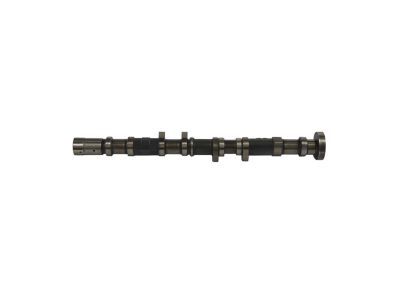
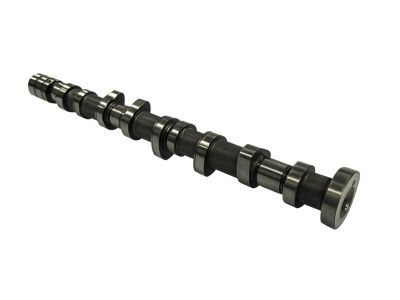
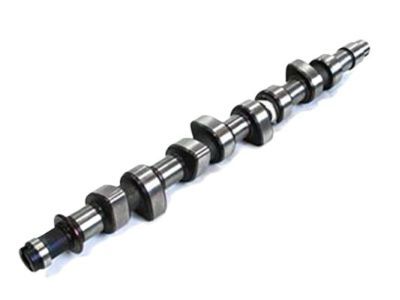
Chrysler Sebring Engine Intake Camshaft
Part Number: 4884735AC$225.08 MSRP: $469.00You Save: $243.92 (53%)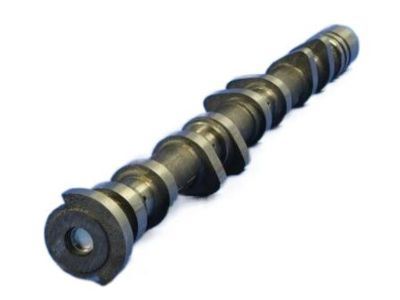
Chrysler Sebring Engine Exhaust Camshaft
Part Number: 4884736AC$307.38 MSRP: $467.00You Save: $159.62 (35%)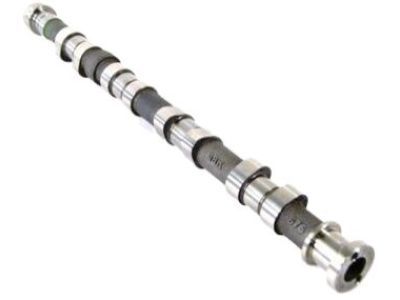
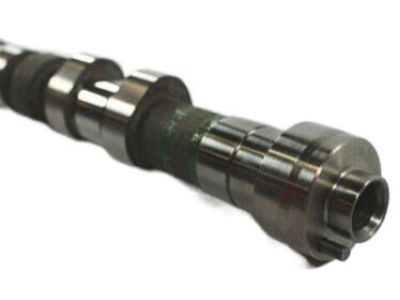
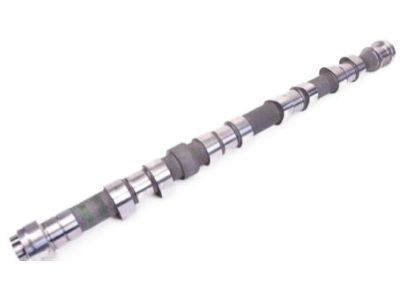
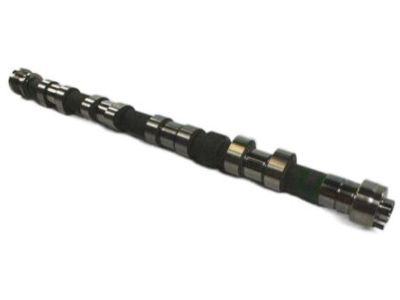
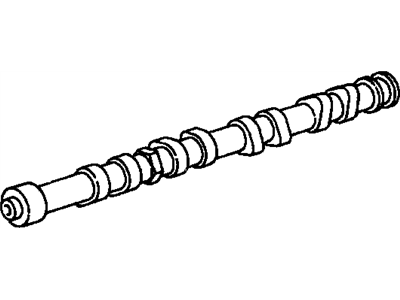
Chrysler Sebring Engine Intake Camshaft
Part Number: 4781681AB$308.86 MSRP: $467.00You Save: $158.14 (34%)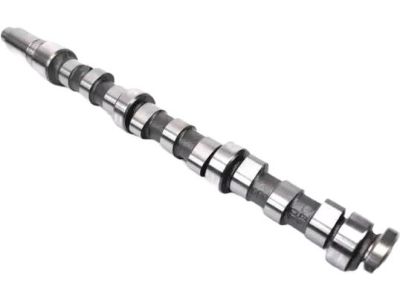
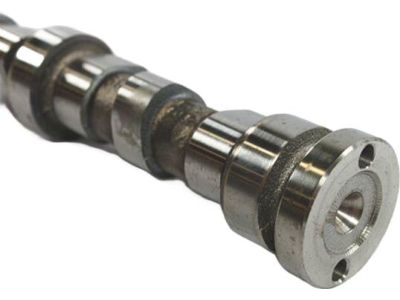
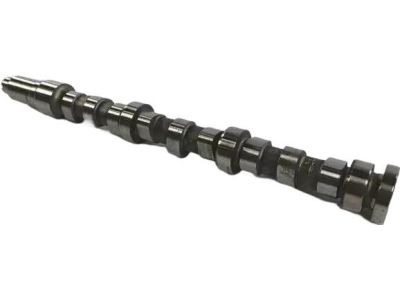
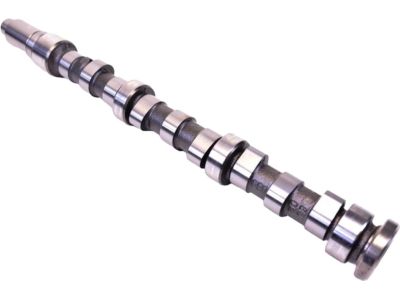
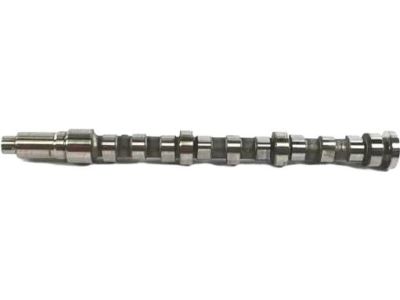
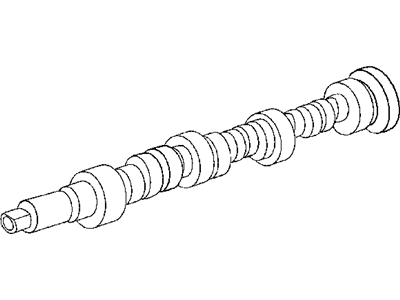
Chrysler Sebring Engine Camshaft
Part Number: 4792743AB$700.70 MSRP: $1075.00You Save: $374.30 (35%)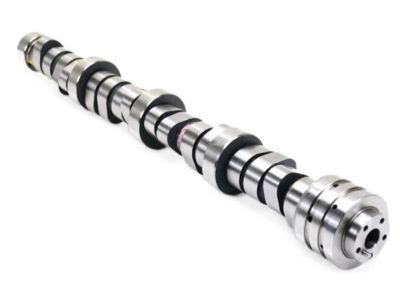
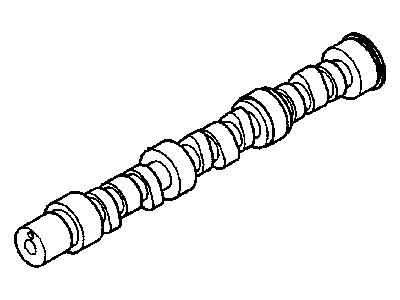
Chrysler Sebring Engine Camshaft Right
Part Number: MD350233$26.88 MSRP: $34.21You Save: $7.33 (22%)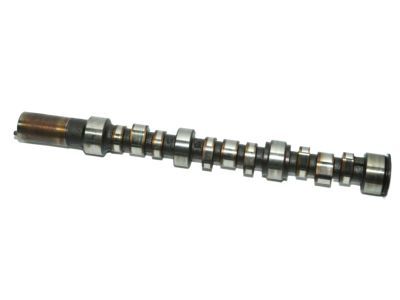
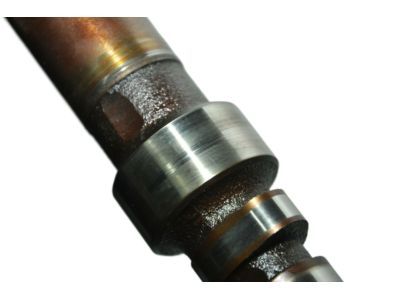
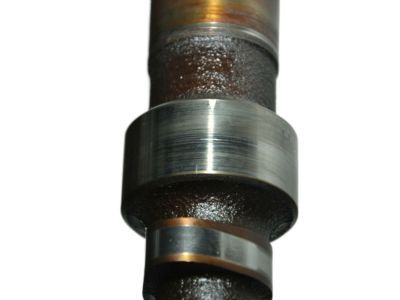
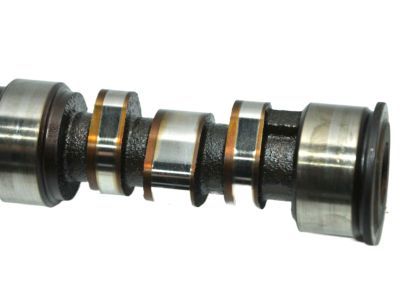
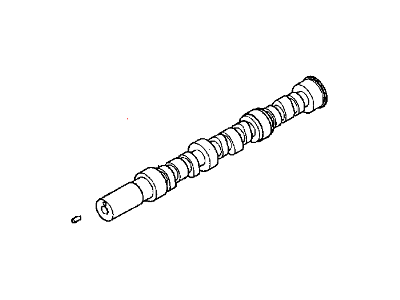
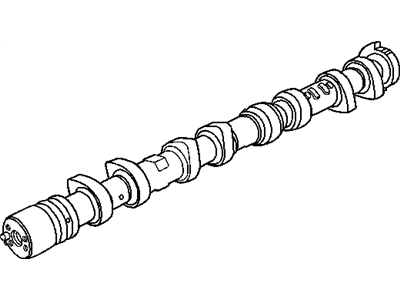
Chrysler Sebring Engine Exhaust Camshaft
Part Number: 4884736AB$224.27 MSRP: $467.00You Save: $242.73 (52%)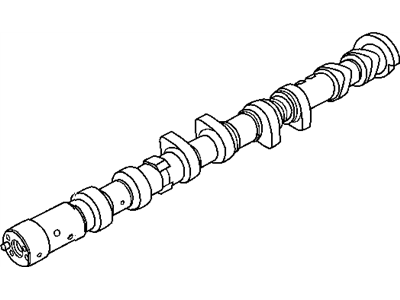
Chrysler Sebring Engine Intake Camshaft
Part Number: 4884735AB$225.08 MSRP: $469.00You Save: $243.92 (53%)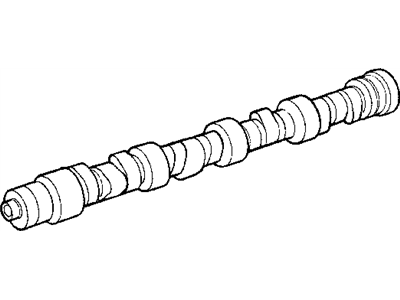
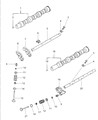
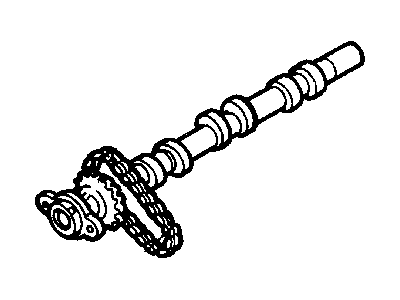
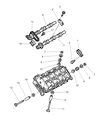
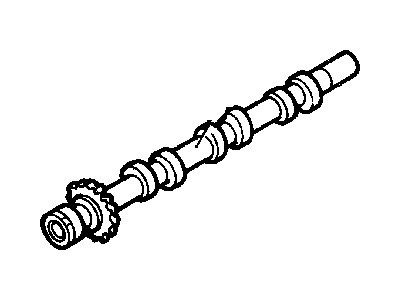
| Page 1 of 2 |Next >
1-20 of 36 Results
Chrysler Sebring Camshaft
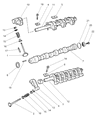
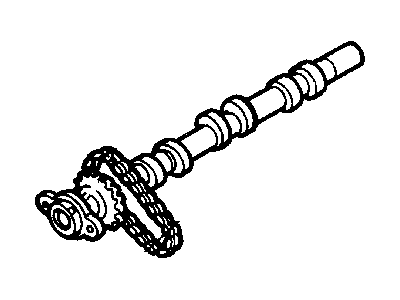
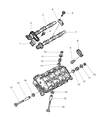
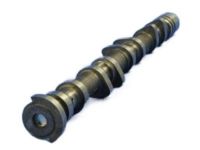
The camshaft in Chrysler Sebring vehicles is highly responsible for regulating the operations of the intake and exhaust valves in the engine thus allowing the passage of the air/fuel mixture and discharge of exhaust gases respectively. Usually made-up of iron or steel, the Chrysler Sebring camshaft functions in different ways, Over Head Valve (OHV), Single Over Head Cam (SOHC) together with Double Over Head Cam (DOHC) makes up the Chrysler Sebring camshaft. All of them impact the power output of the engine in their various manners, for instance, DOHC solutions enable the independent management of intake and exhaust camshafts. Camshafts in Chrysler Sebring models employ timing belts or chains using the crankshaft so as to arrive at the correct phase with pistons. High performance camshafts used in can improve power flow and efficiency as well as offers high lift and long duration for air flow. Other parameter define the camshaft, LSA or Lobe Separation Angle, thereby determining torque and idle quality.
Looking for affordable and high-quality auto parts? Then you have already arrived at the proper online shop. We offer all Chrysler Sebring Camshaft at great affordable prices. Moreover, all genuine Chrysler Sebring Camshaft come with a manufacturer's warranty. In the long run, you would realize you have saved a lot of trouble and money with OEM parts from here.
Chrysler Sebring Camshaft Parts Questions & Experts Answers
- Q:How to remove and install Camshaft in 3.6L V6 engine on Chrysler Sebring?A:However, it is pointed out that the timing system is intricate and mistakes resulting in extreme punishments to the engine and thus this procedure is recommended for expert personnel only and if there is any doubt, consult an expert. Much attention should be paid to reviewing all the work before starting the engine. When the valve covers are off, the timing wheels that are magnetic also are exposed and any contact with magnet or magnetic field will require that they be replaced. Each camshaft timing chain can be disconnected in isolation if one has the tools for it; otherwise, the timing chain cover plus all the chains must be removed first. Start with the removal of the negative terminal of the battery, followed by loosening of the lug nuts of the right front wheel, lifting of the vehicle on the jackstands and then the removal of the right front wheel along with the drivebelt splash. Remove all the engine oil and coolant, and the drivebelt, air filter housing, resonator, and Intake Manifolds; also unplug all the components that are connected to the cylinder heads by using hoses and wires, and it is recommendable that all these be tagged and removed. Remove the ignition coils, take out the spark plugs, and then it is advisable to tag the ignition coils. Pop off the valve covers to get access to the magnetic timing wheels, make sure that these do not come in contact with any magnet. Twist the crankshaft clockwise in order to position the #1 piston at the optimum position of TDC on the exhaust stroke, with regard to the camshaft phaser marks. Loosen and set reference marks on those camshaft phasers that are fastened to the timing chains for easy reinstallation later on; thereafter, employ the use of the special tool that would hold the tensioner in place to enable removal of the camshaft phasers. The oil control valves should be slackened and then removed together with the phasers from the camshafts and the camshafts should be rotated to a position that is neutral before the bearing cap bolts are released and the caps are also removed. Remove the rocker arms together with hydraulic lash adjusters, and examine the camshaft bearing surfaces as well as the lobes for damages; do not forget to replace the damaged ones. To install the hydraulic lash adjusters, before being put in place, should be immersed in clean engine oil, while the rocker arm contact points should be greased, the camshaft bearing journals should be lubricated and these hydraulic lash adjusters should be equally fitted properly and carefully into the cylinder head. Put and secure the bearing caps in that order by revolving it around the arrow and check that alignment holes are in the neutral position. Slide the phasers onto the camshafts and fit the oil control valves to the bores in the camshafts-make sure the camshafts do not rotate as you do this. Lastly, turn the engine for another two full turns ensuring that the alignment marks are in correct position before offering the last touches for the installation processes and this should be done in a reverse manner of the removal processes.
Related Chrysler Sebring Parts
 Chrysler Sebring Rocker Arm
 Chrysler Sebring Cylinder Head Gasket
 Chrysler Sebring Cam Gear
 Chrysler Sebring Crankshaft Pulley
 Chrysler Sebring Timing Cover
 Chrysler Sebring Cylinder Head
 Chrysler Sebring Crankshaft
 Chrysler Sebring Cylinder Head Bolts
 Chrysler Sebring Rocker Arm Pivot
 Chrysler Sebring Spool Valve