
My Garage
My Account
Cart
Genuine Jeep Grand Cherokee Engine Mount
Engine Motor Mount- Select Vehicle by Model
- Select Vehicle by VIN
Select Vehicle by Model
orMake
Model
Year
Select Vehicle by VIN
For the most accurate results, select vehicle by your VIN (Vehicle Identification Number).
72 Engine Mounts found
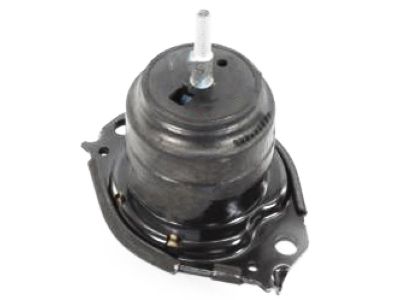
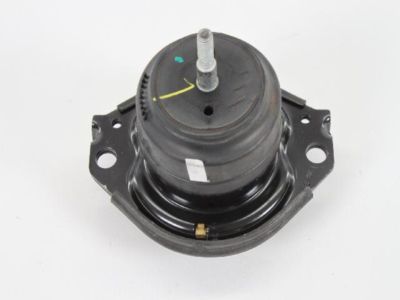
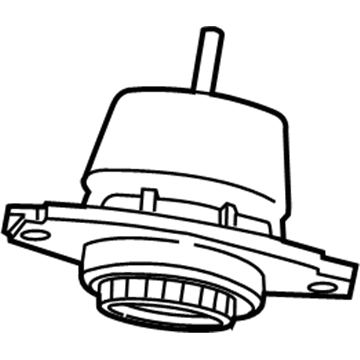
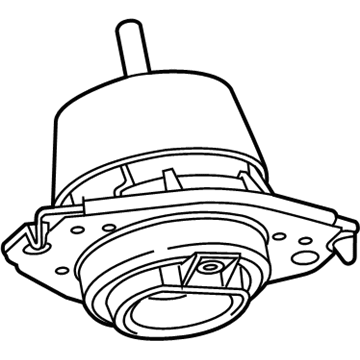
Jeep Grand Cherokee Engine Mount Insulator
Part Number: 68252518AA$80.11 MSRP: $129.00You Save: $48.89 (38%)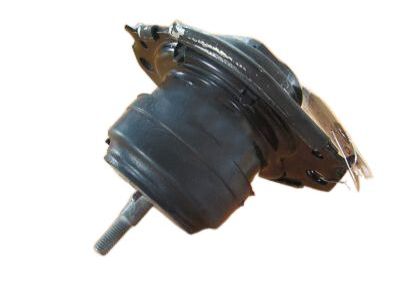
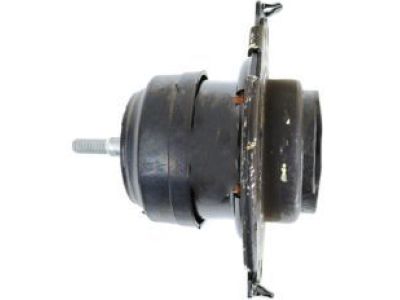
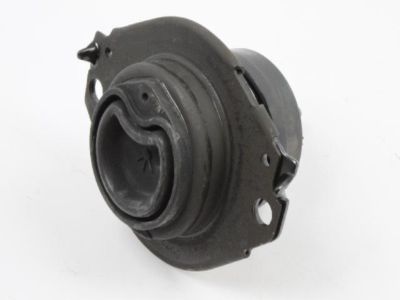
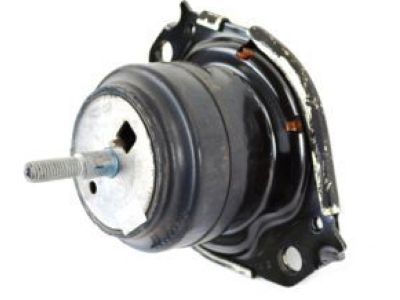
Jeep Grand Cherokee Engine Mount Insulator
Part Number: 68252522AA$109.21 MSRP: $163.00You Save: $53.79 (33%)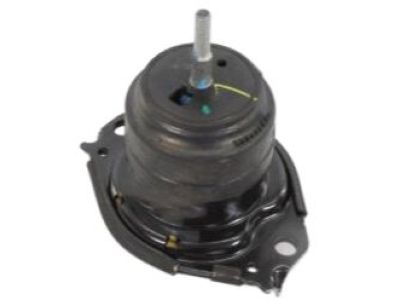
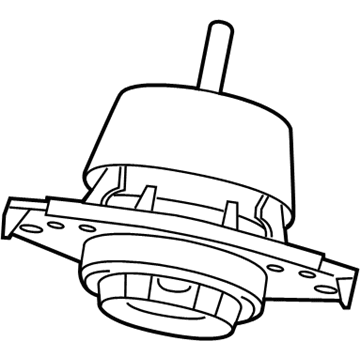
Jeep Grand Cherokee Engine Mount Insulator
Part Number: 68110950AC$80.11 MSRP: $129.00You Save: $48.89 (38%)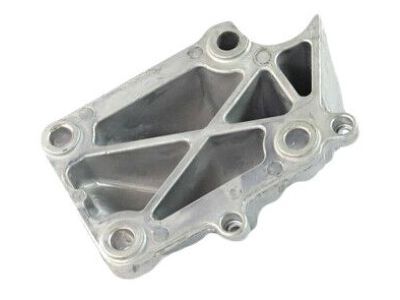
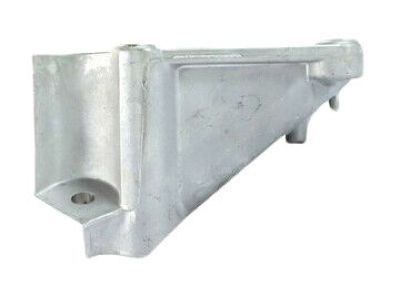
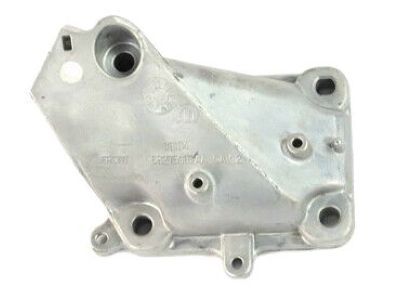
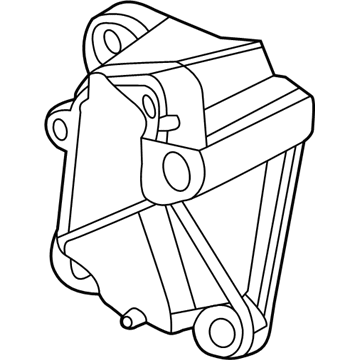
Jeep Grand Cherokee Engine Mount Bracket
Part Number: 68275987AA$112.75 MSRP: $173.00You Save: $60.25 (35%)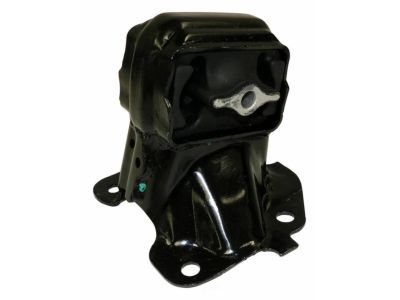
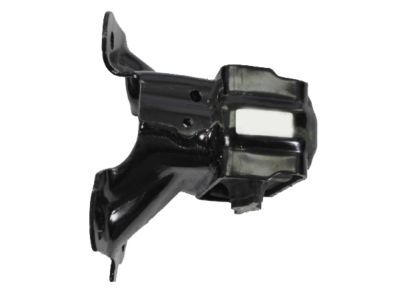
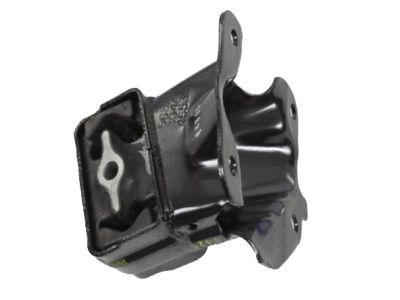
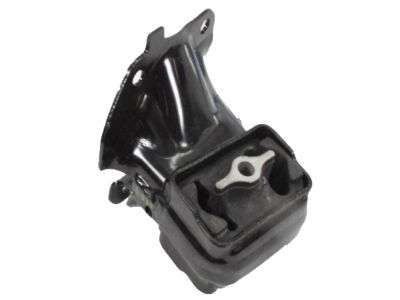
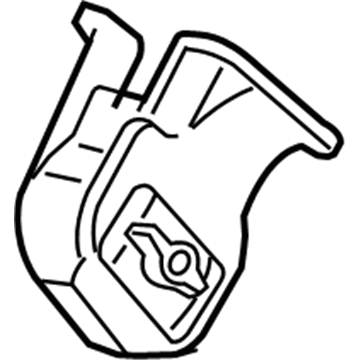
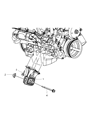
Jeep Grand Cherokee Bracket-Engine Mounting
Part Number: 52090304AG$182.25 MSRP: $273.00You Save: $90.75 (34%)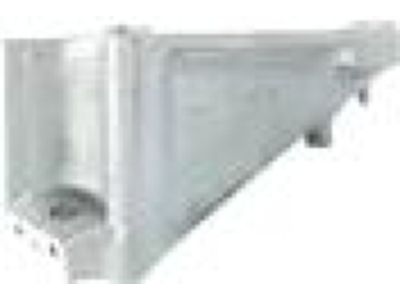
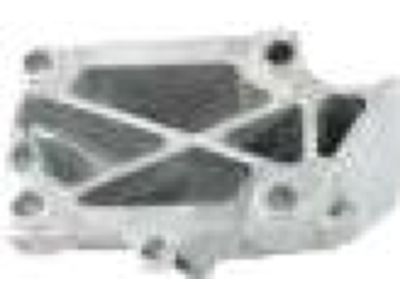
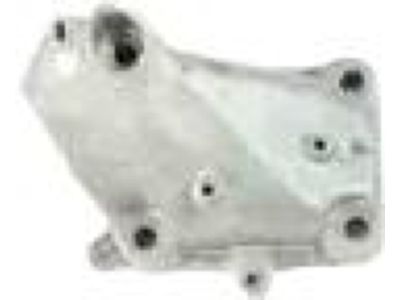
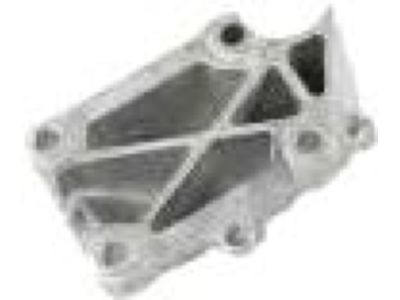

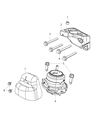
Jeep Grand Cherokee Engine Mount Bracket
Part Number: 52124989AD$84.34 MSRP: $173.00You Save: $88.66 (52%)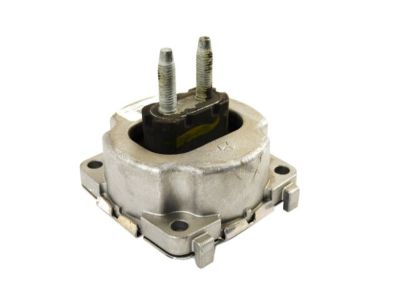
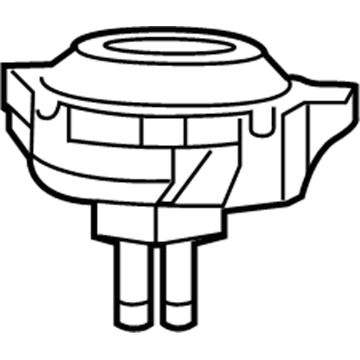
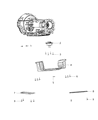
Jeep Grand Cherokee Transmission Mount
Part Number: 68110244AE$78.94 MSRP: $104.65You Save: $25.71 (25%)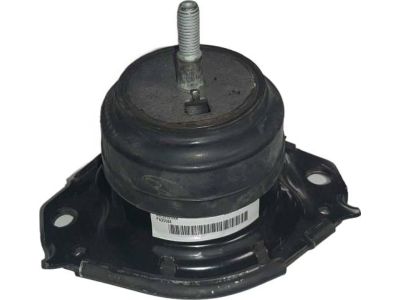
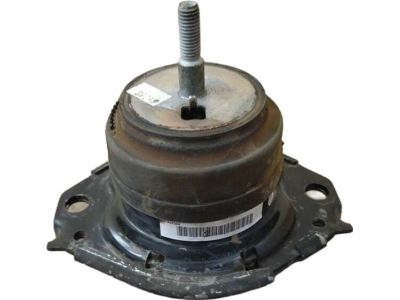
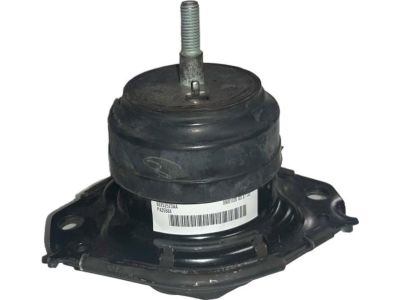
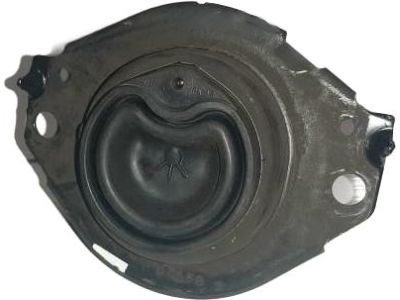
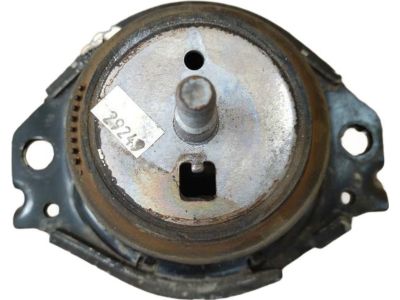
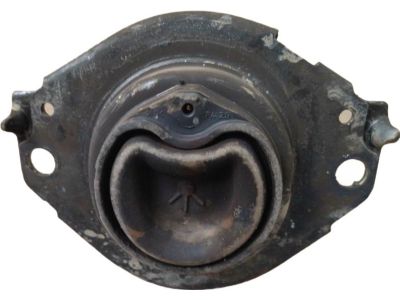
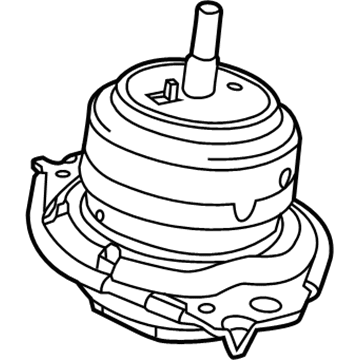
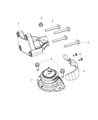
Jeep Grand Cherokee Engine Mount Insulator
Part Number: 68252523AA$88.99 MSRP: $133.65You Save: $44.66 (34%)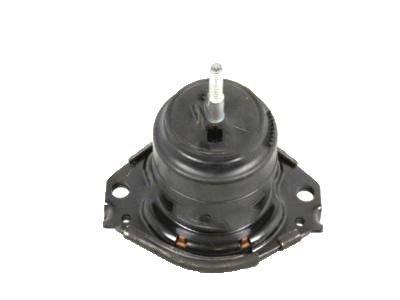
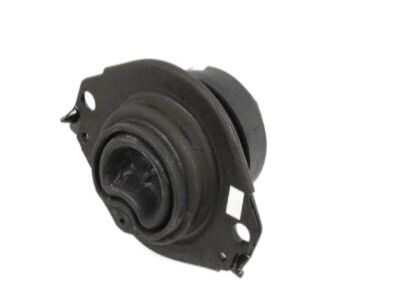
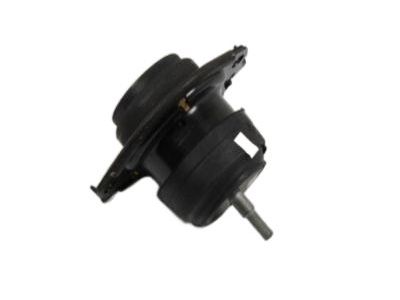
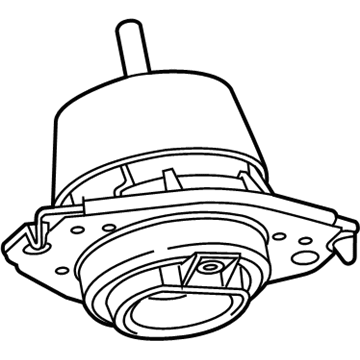
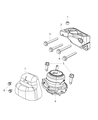
Jeep Grand Cherokee Engine Mount Isolator
Part Number: 5038548AC$199.13 MSRP: $295.00You Save: $95.87 (33%)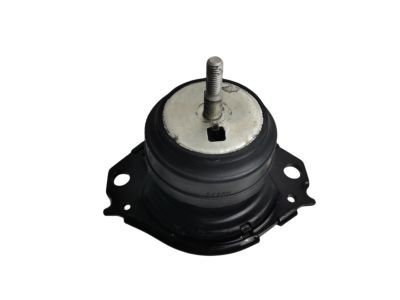
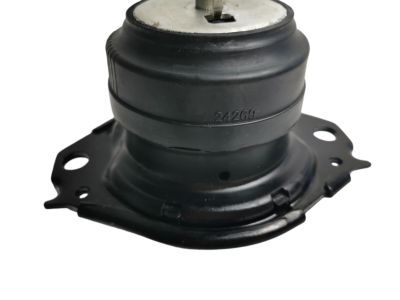
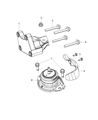
Jeep Grand Cherokee Engine Mount Insulator
Part Number: 68110950AB$84.15 MSRP: $129.00You Save: $44.85 (35%)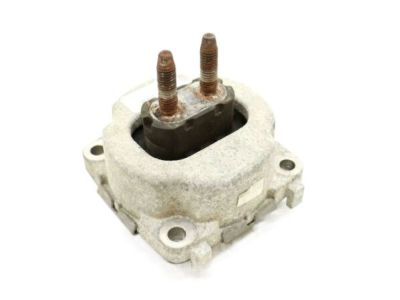
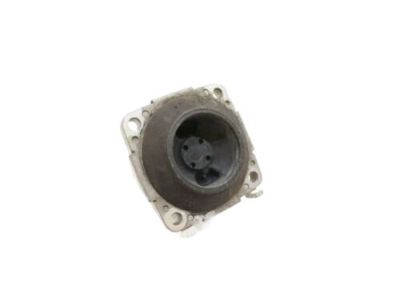
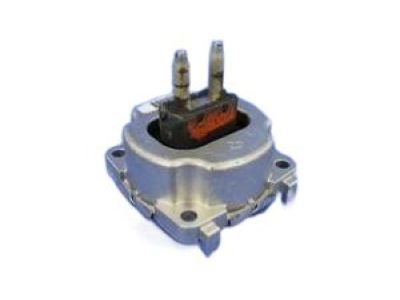
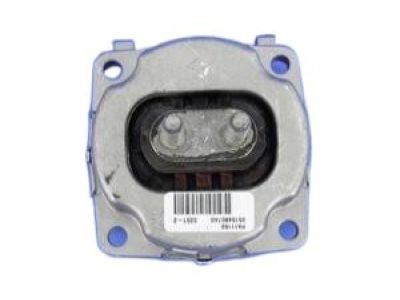
Jeep Grand Cherokee Transmission Mount Insulator
Part Number: 5154807AE$57.66 MSRP: $87.47You Save: $29.81 (35%)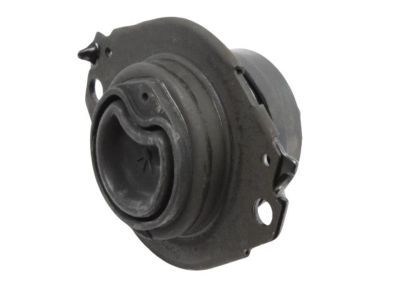
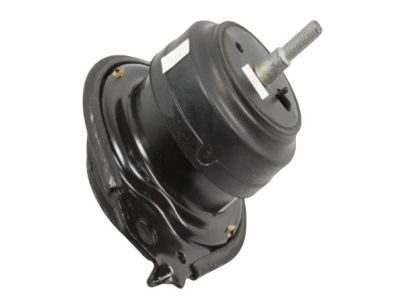
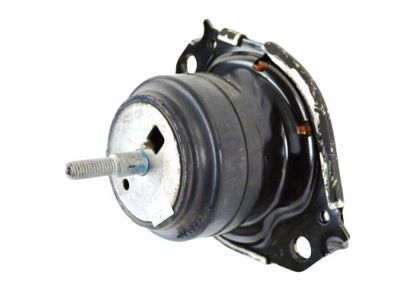
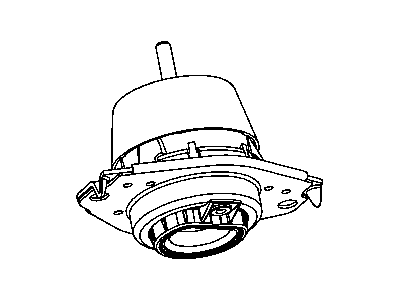
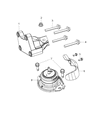
Jeep Grand Cherokee Engine Mount Insulator
Part Number: 68110951AC$107.49 MSRP: $163.00You Save: $55.51 (35%)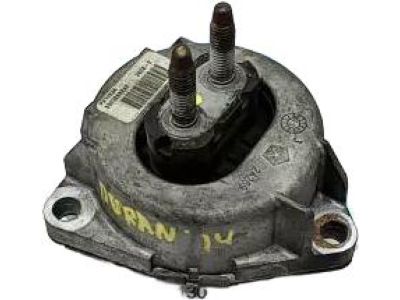
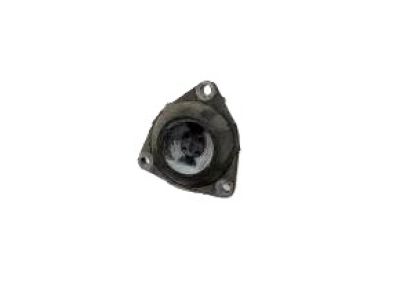
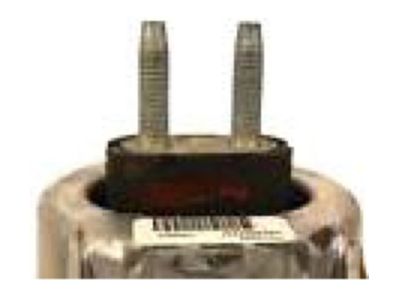
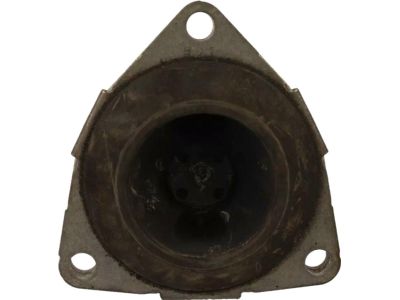
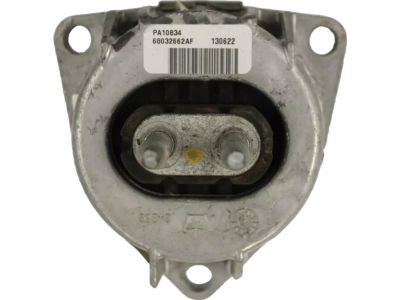
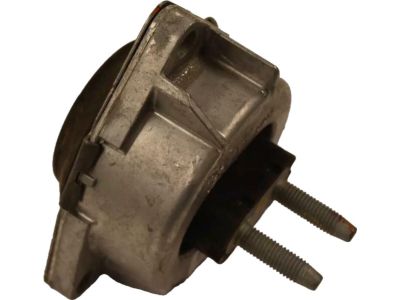
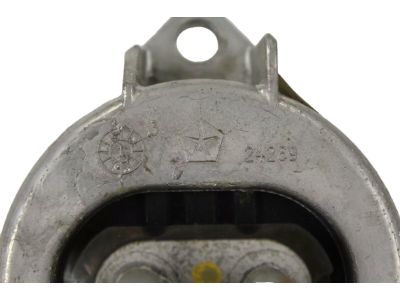
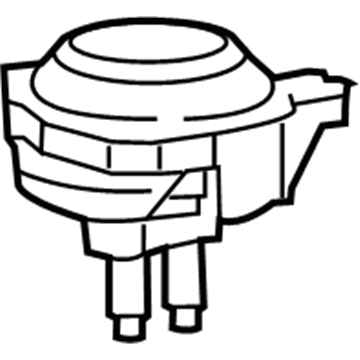
Jeep Grand Cherokee Transmission Mount
Part Number: 68032662AF$54.81 MSRP: $78.65You Save: $23.84 (31%)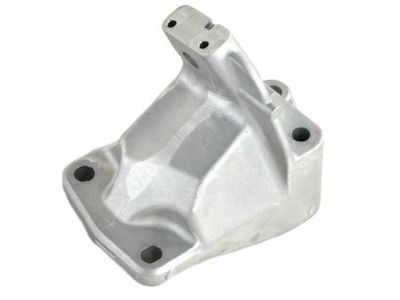
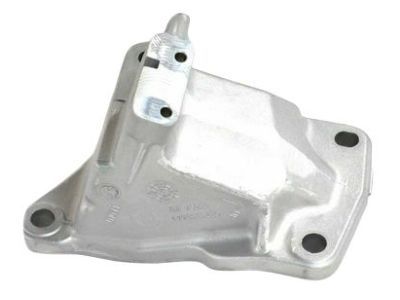
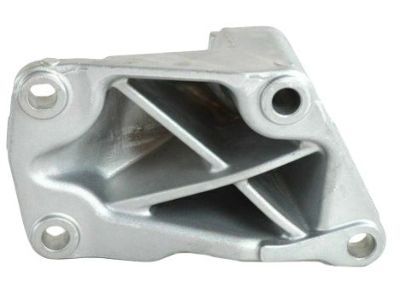
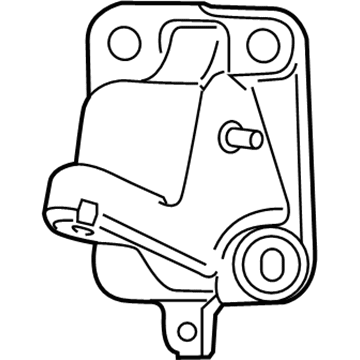
Jeep Grand Cherokee Engine Mount Bracket
Part Number: 68252524AA$50.21 MSRP: $72.25You Save: $22.04 (31%)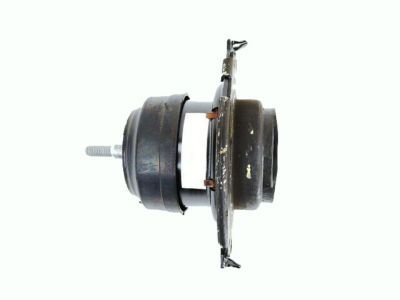
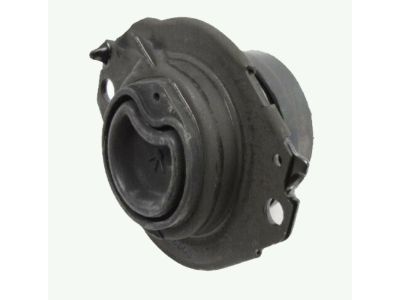
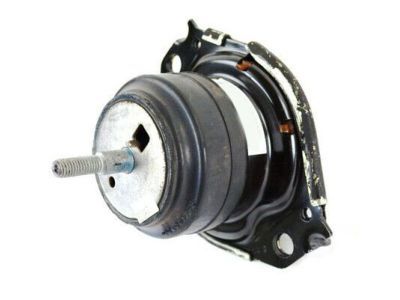
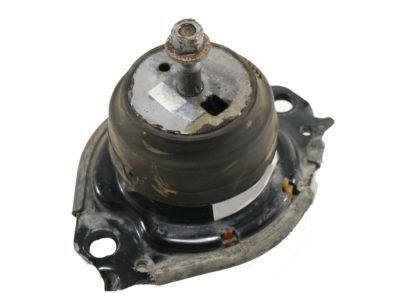
Jeep Grand Cherokee Engine Mount Isolator
Part Number: 52124675AG$107.49 MSRP: $163.00You Save: $55.51 (35%)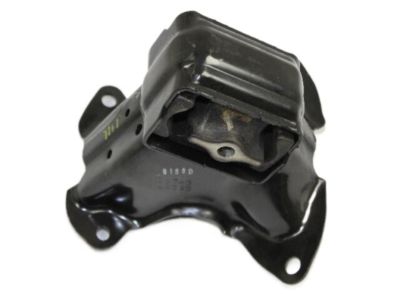
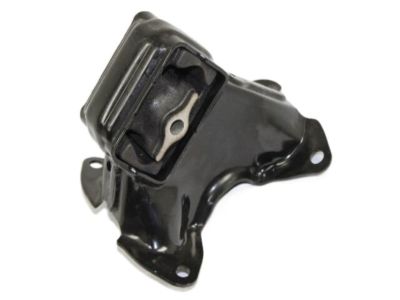
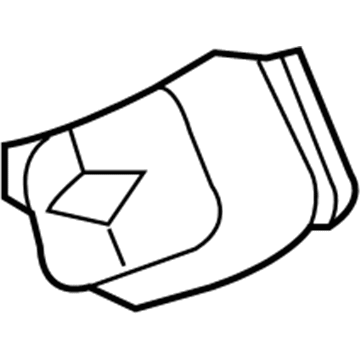
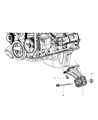
Jeep Grand Cherokee Engine Mount Bracket
Part Number: 52090297AG$126.00 MSRP: $189.48You Save: $63.48 (34%)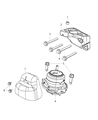
Jeep Grand Cherokee Engine Mount Bracket
Part Number: 52124989AC$84.34 MSRP: $173.00You Save: $88.66 (52%)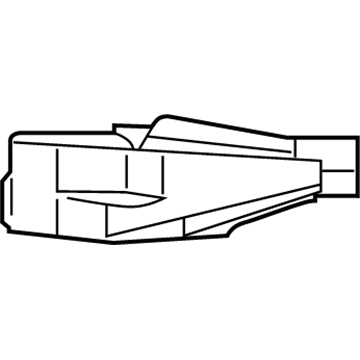
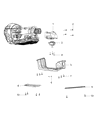
Jeep Grand Cherokee Transmission Mount Bracket
Part Number: 68275992AA$267.60 MSRP: $399.00You Save: $131.40 (33%)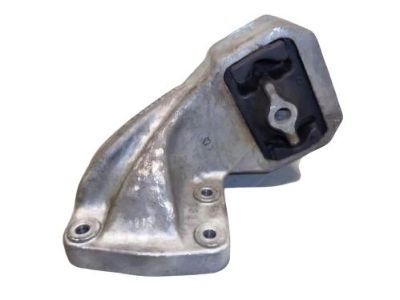
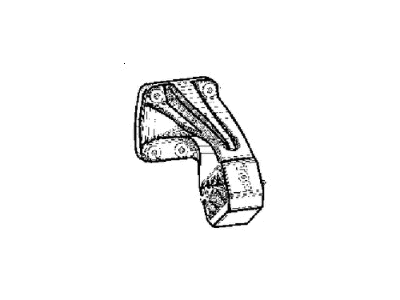
Jeep Grand Cherokee Bracket-Engine Mounting
Part Number: 52124579AA$69.54 MSRP: $104.00You Save: $34.46 (34%)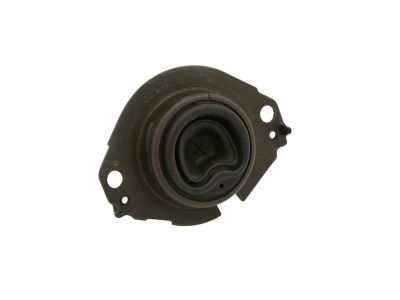
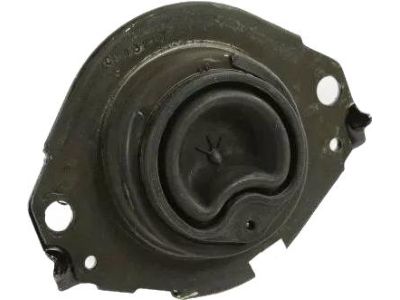
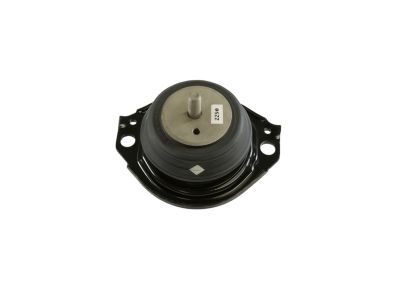
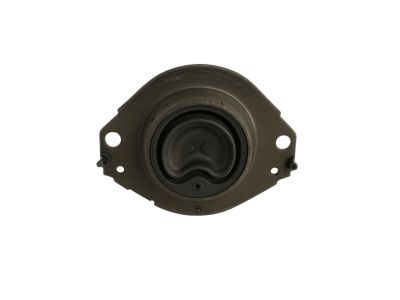
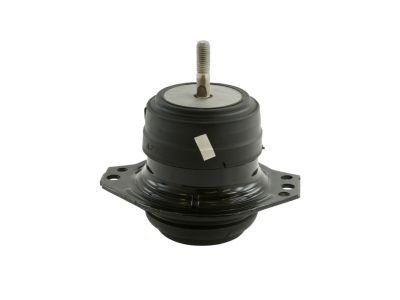
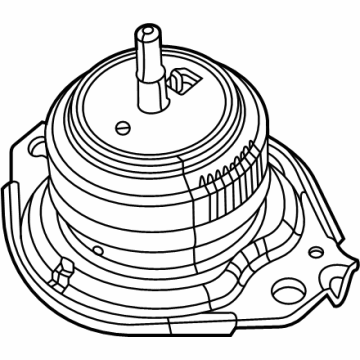
Jeep Grand Cherokee Engine Mount Isolator
Part Number: 5038830AB$113.93 MSRP: $171.00You Save: $57.07 (34%)
| Page 1 of 4 |Next >
1-20 of 72 Results
Jeep Grand Cherokee Engine Mount
The Engine Mount in Jeep Grand Cherokee vehicles serves two primary functions: it mutes the noise and vibration associated with the operation of the engine and fixes the engine and transaxle firmly in the chassis. This isolation is important for comfort while at the same time the position of the engine should be well secured for safety purposes and to avoid straining the various parts. Since its inception Jeep Grand Cherokee has incorporated different types of Engine Mounts such as rubber mounts, hydraulic fluid filled mounts, and the modern sophisticated active electronic type. The traditional mounts also have metallic parts whereby there are rubber spacers in between while the hydraulic mounts are more of vibration isolation. Current active mounts change their firmness according to revolutions per minute of the engine for the premier performance. Engine Mounts are known to degrade over time depending on the heat and fluids which are some of the causes for unnatural noise and shake and hence require inspection and replacement.
Looking for affordable and high-quality auto parts? Then you have already arrived at the proper online shop. We offer all Jeep Grand Cherokee Engine Mount at great affordable prices. Moreover, all genuine Jeep Grand Cherokee Engine Mount come with a manufacturer's warranty. In the long run, you would realize you have saved a lot of trouble and money with OEM parts from here.
Jeep Grand Cherokee Engine Mount Parts Questions & Experts Answers
- Q:How should engine mounts be inspected and replaced in 5.7L,6.1L V8 and 6.4L V8 hemi engine on Jeep Grand Cherokee?A:Engine mounts seldom require attention, but broken or deteriorated mounts should be replaced immediately to prevent damage or wear on driveline components. During the check, the engine must be raised slightly to remove the weight from the mounts. Raise the vehicle and support it securely on jackstands, then position a jack under the engine Oil Pan with a large wood block between the jack head and the oil pan, carefully raising the engine just enough to relieve the weight on the mounts. Ensure no part of your body is under the engine when it's supported only by a jack. Inspect the mount insulators for cracks, hardening, or separation from the metal center. Check for relative movement between the mount and the engine or frame using a large screwdriver or prybar. If movement is noted, lower the engine and tighten the mount fasteners. Disconnect the cable from the negative terminal of the battery, raise the vehicle, and support it securely on jackstands if not already done. For 2WD models, remove the through-bolts, raise the engine with the jack, unscrew the mount fasteners, and detach the mount. Install the new mount(s) in the correct position within the bracket, then install and securely tighten the fasteners. For 4WD models, remove the skidplate from below the engine compartment, the engine crossmember, and the engine oil filter. Install an engine hoist and raise the engine slightly to relieve the weight on the engine mounts, then use a floor jack to support the front axle. Remove the engine mount through-bolts and the bolts attaching the engine mounts to the front axle assembly, lower the front axle slightly, and remove the engine mount(s) from the vehicle. Finally, install the new mount(s) in the correct position within the bracket, then install and securely tighten the fasteners.
Related Jeep Grand Cherokee Parts
 Jeep Grand Cherokee Exhaust Manifold
 Jeep Grand Cherokee Engine Cover
 Jeep Grand Cherokee Exhaust Manifold Gasket
 Jeep Grand Cherokee Engine Cooling Fan
 Jeep Grand Cherokee Engine Mount Bracket
 Jeep Grand Cherokee Exhaust Clamp
 Jeep Grand Cherokee Exhaust Hanger
 Jeep Grand Cherokee Exhaust Heat Shield
 Jeep Grand Cherokee Exhaust Manifold Clamp
 Jeep Grand Cherokee Exhaust Nut
 Jeep Grand Cherokee Exhaust Flange Gasket
Browse by Year
2025 Engine Mount 2024 Engine Mount 2023 Engine Mount 2022 Engine Mount 2021 Engine Mount 2020 Engine Mount 2019 Engine Mount 2018 Engine Mount 2017 Engine Mount 2016 Engine Mount 2015 Engine Mount 2014 Engine Mount 2013 Engine Mount 2012 Engine Mount 2011 Engine Mount 2010 Engine Mount 2009 Engine Mount 2008 Engine Mount 2007 Engine Mount 2004 Engine Mount 2003 Engine Mount 2002 Engine Mount 2001 Engine Mount 2000 Engine Mount 1999 Engine Mount 1998 Engine Mount 1997 Engine Mount 1996 Engine Mount 1995 Engine Mount 1994 Engine Mount 1993 Engine Mount