My Garage
My Account
Cart
Genuine Jeep Liberty Hood
Engine Hood- Select Vehicle by Model
- Select Vehicle by VIN
Select Vehicle by Model
orMake
Model
Year
Select Vehicle by VIN
For the most accurate results, select vehicle by your VIN (Vehicle Identification Number).
7 Hoods found
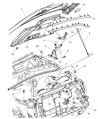
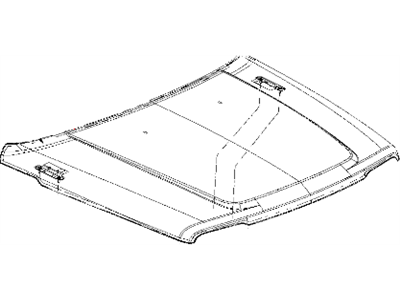
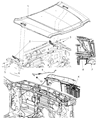
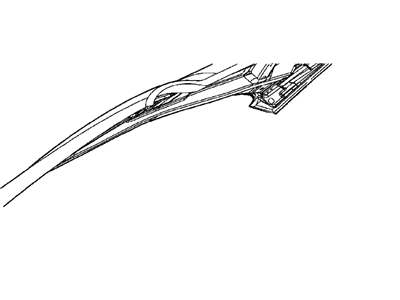
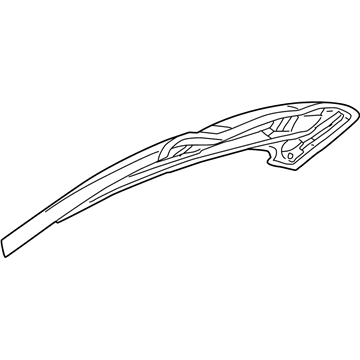
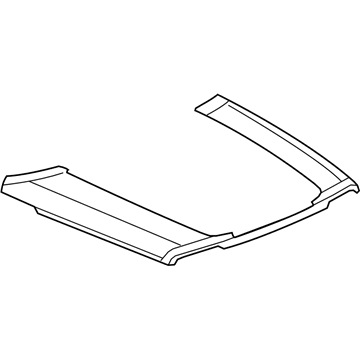
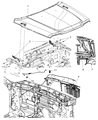
Jeep Liberty Hood
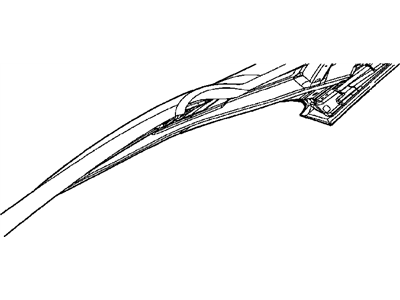
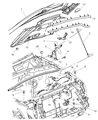
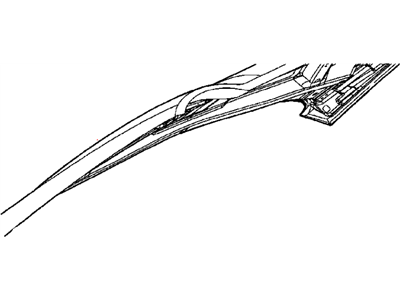
Jeep Liberty Hood protects the vital engine components while allowing for easy access to such components for repairs. The flanks sit over the fenders similar to other Jeep models, which results in the panel aligning with the body fluently. This styling cue also prevents road muck from sneaking into the bay. The engineers picked cold rolled 19 to 22 gauge sheet metal to keep weight down, which will help Liberty conserve fuel and will not sacrifice strength. This construction allows the Hood to crumple in a crash and absorb the impact meant for the cabin. Over the years, the SUV retained one primary Hood layout, though renegade special editions featured distinctive decals or trim that differentiated each Liberty while the basic sheet metal geometry remained unchanged. The Hood has an edgy profile thanks to the Jeep sheet. Every Jeep owner enjoys that solid feel. Whether it's in the mud or on the freeway, the Hood locks conveniently with a central latch. It then lifts on hinges, so owners can reach filters, belts, and fluid caps in seconds, maintaining the Liberty's confident stance.
Looking for affordable and high-quality auto parts? Then you have already arrived at the proper online shop. We offer all Jeep Liberty Hood at great affordable prices. Moreover, all genuine Jeep Liberty Hood come with a manufacturer's warranty. In the long run, you would realize you have saved a lot of trouble and money with OEM parts from here.
Jeep Liberty Hood Parts Questions & Experts Answers
- Q:How should the hood be removed and installed to ensure proper alignment and protection of the body on Jeep Liberty?A:The hood is heavy and somewhat awkward to remove and install, so at least two people should perform this procedure. Begin by using blankets or pads to cover the cowl area and Fenders to protect the body and paint during the hood removal. Scribe alignment marks around the hinge plates to ensure proper alignment during installation, using paint or a permanent-type felt-tip marker. Have an assistant support one side of the hood while you support the other, and simultaneously remove the hinge-to-hood bolts before lifting off the hood. For installation, reverse the removal steps. To adjust the hood, move it in relation to the hinge plates after loosening the bolts, and scribe or trace a line around the hinge plate for reference. Loosen the bolts, adjust the hood into correct alignment, and tighten the hinge bolts, checking the alignment by carefully lowering the hood. If the rear of the hood is too low compared to the fenders, install washers between the hinges and the hood. If necessary, adjust the entire Hood Latch assembly up-and-down and side-to-side on the radiator support to ensure the hood closes securely and flush with the fenders, marking the latch position for reference before repositioning and retightening. Finally, adjust the hood bumpers on the radiator support to ensure the hood is flush with the fenders when closed, making fine adjustments by twisting the bumper stop. Periodically lubricate the hood latch assembly and hinges with white lithium-base grease to prevent sticking and wear.