
My Garage
My Account
Cart
Genuine Jeep Wrangler Brake Pad
Disc Brake Pad Set- Select Vehicle by Model
- Select Vehicle by VIN
Select Vehicle by Model
orMake
Model
Year
Select Vehicle by VIN
For the most accurate results, select vehicle by your VIN (Vehicle Identification Number).
39 Brake Pads found
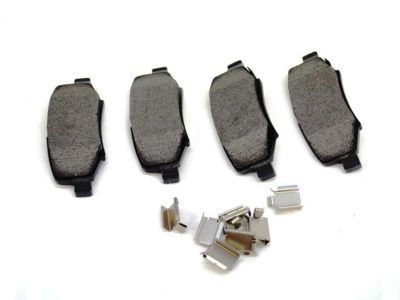
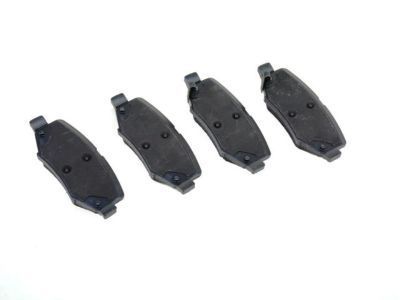
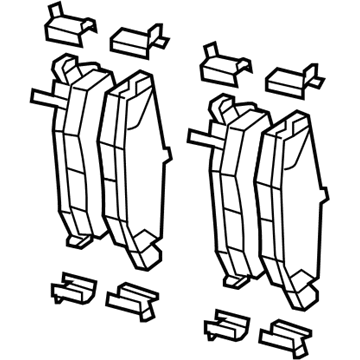
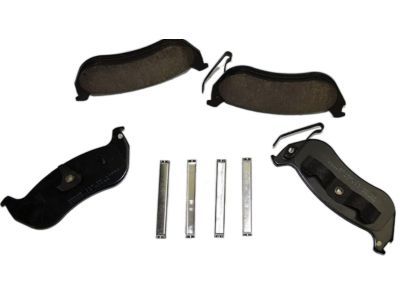
Jeep Wrangler Rear Disc Brake Pad Kit
Part Number: 68003776AA$81.28 MSRP: $121.00You Save: $39.72 (33%)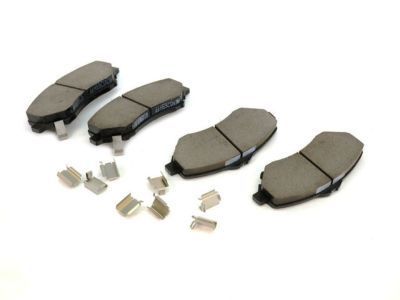
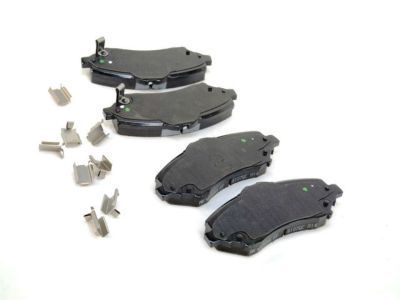
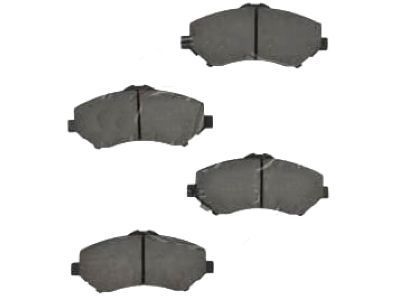
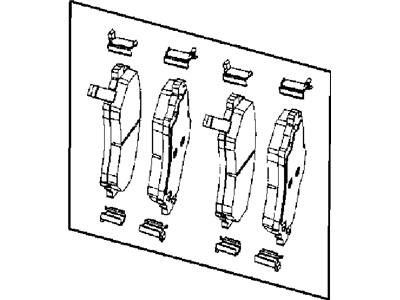
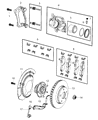
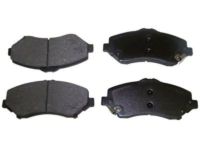
Jeep Wrangler Front Disc Brake Pad Kit
Part Number: 68003701AB$144.00 MSRP: $214.00You Save: $70.00 (33%)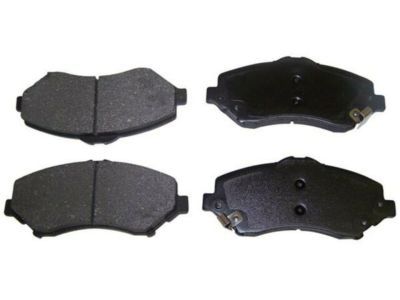
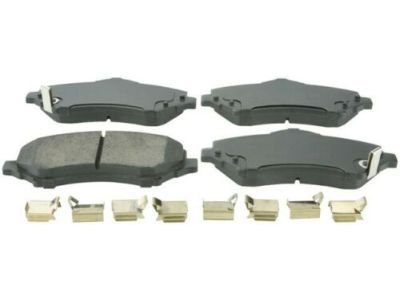
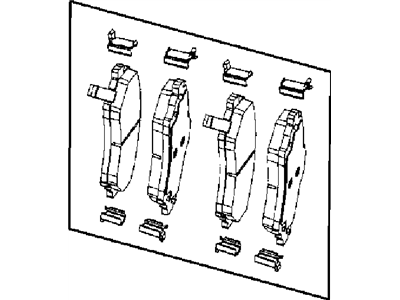
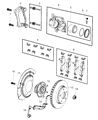
Jeep Wrangler Brake Pad Set Replaces
Part Number: 68003701AA$144.00 MSRP: $214.00You Save: $70.00 (33%)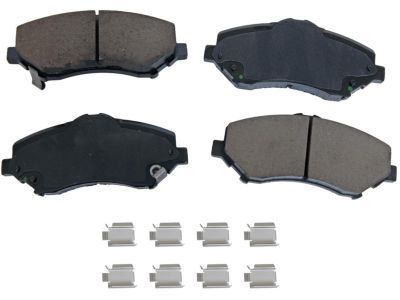
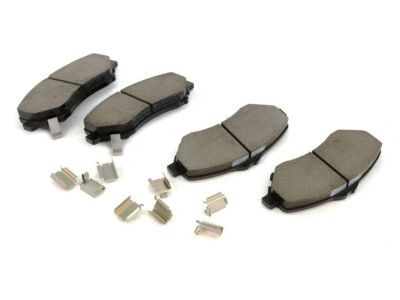
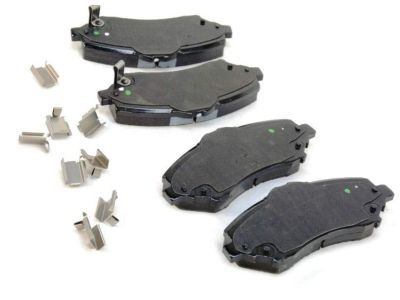
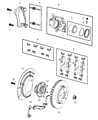
Jeep Wrangler Front Disc Brake Pad Set
Part Number: 68003701AC$144.00 MSRP: $214.00You Save: $70.00 (33%)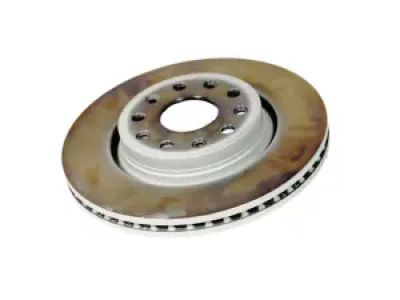
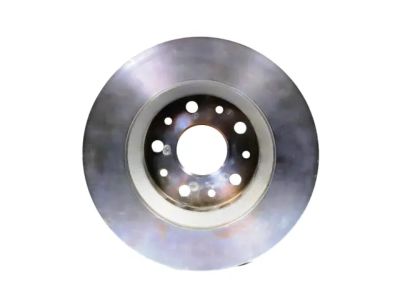
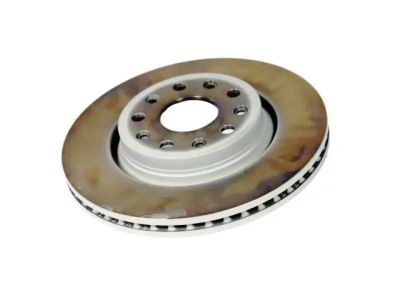
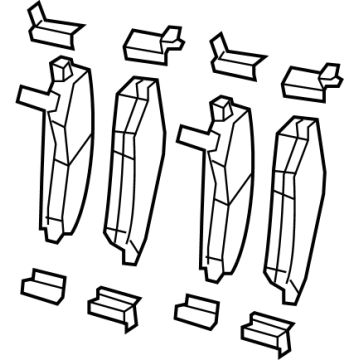
Jeep Wrangler Front Disc Brake Pad Kit
Part Number: 68635837AA$123.75 MSRP: $184.00You Save: $60.25 (33%)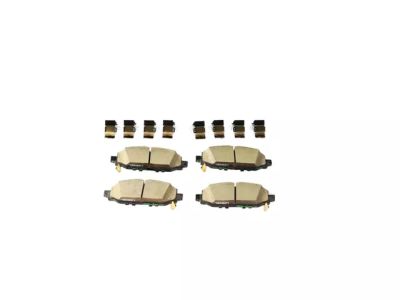
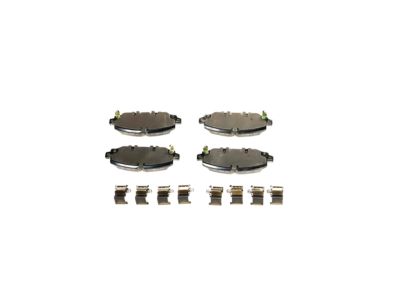
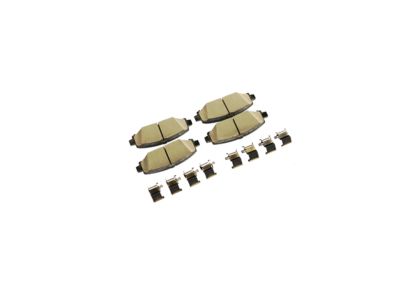
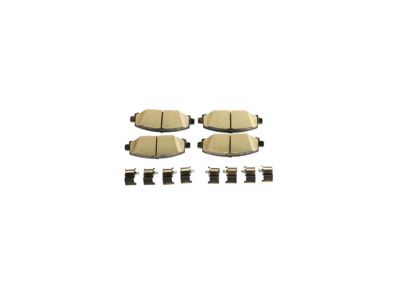
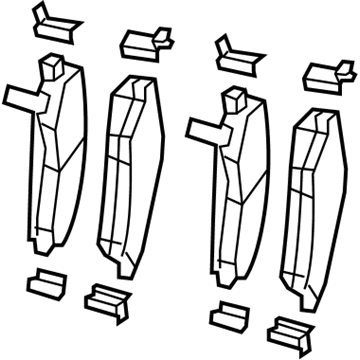
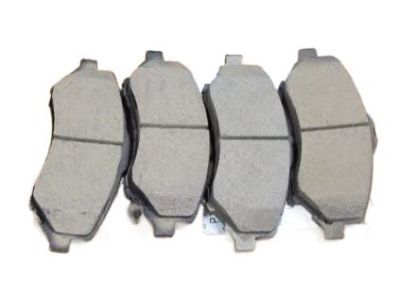
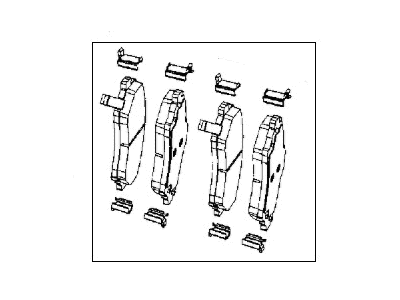
Jeep Wrangler Front Disc Brake Pad Kit
Part Number: V1013701AA$63.28 MSRP: $75.00You Save: $11.72 (16%)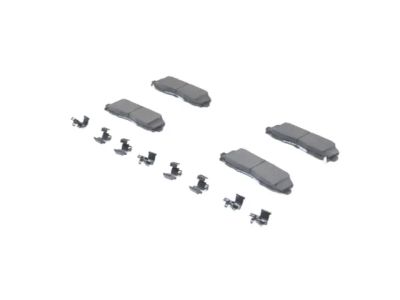
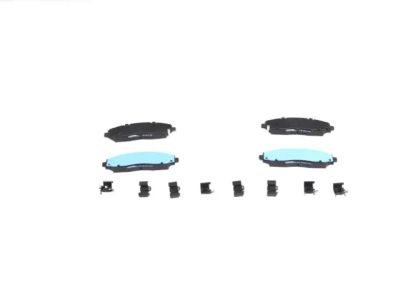
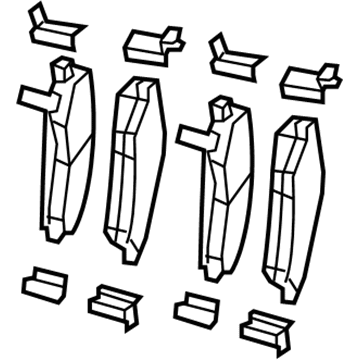
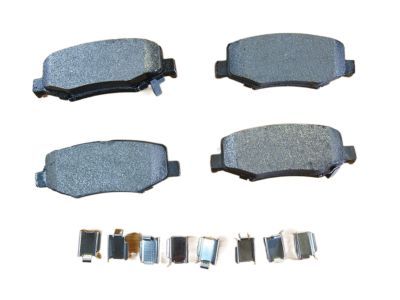
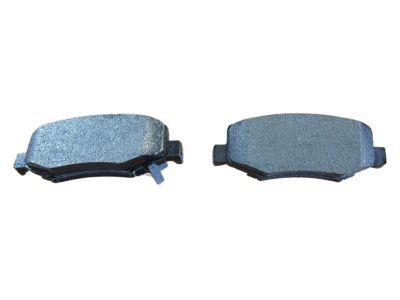
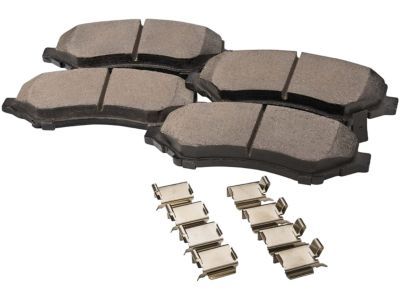
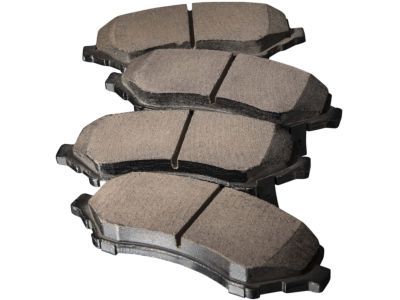
Jeep Wrangler Rear Disc Brake Pad Set
Part Number: 2AMV2776AA$63.28 MSRP: $75.00You Save: $11.72 (16%)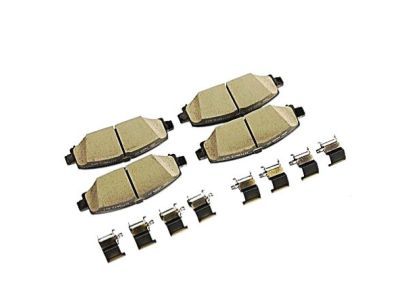
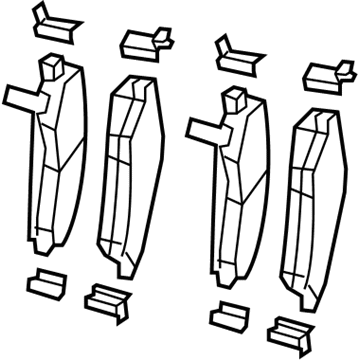
Jeep Wrangler Rear Disc Brake Pad Kit
Part Number: 68386838AB$189.80 MSRP: $292.00You Save: $102.20 (35%)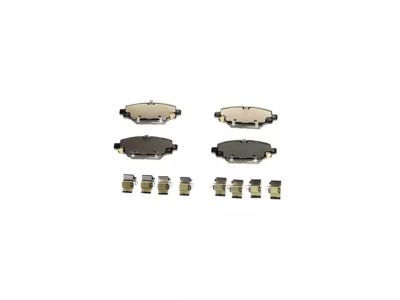
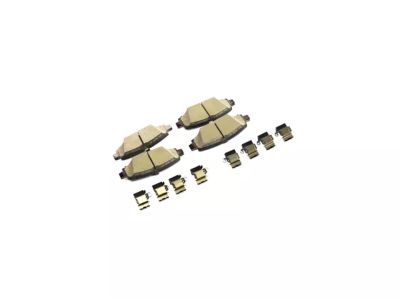
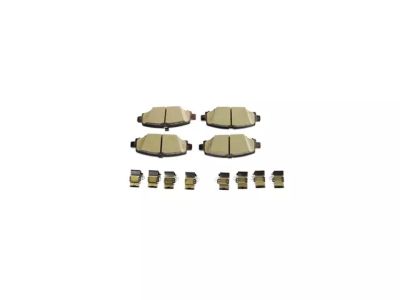
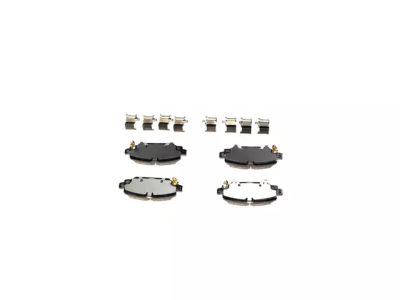
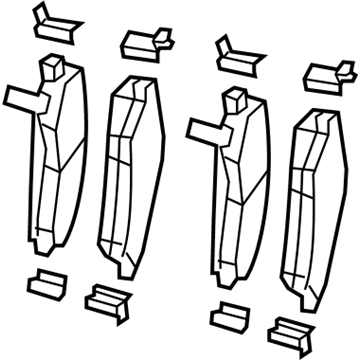
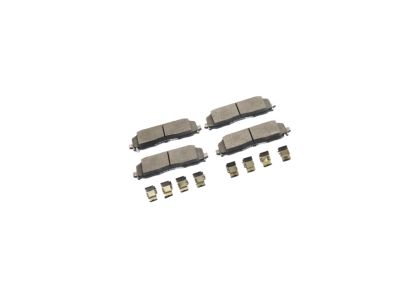
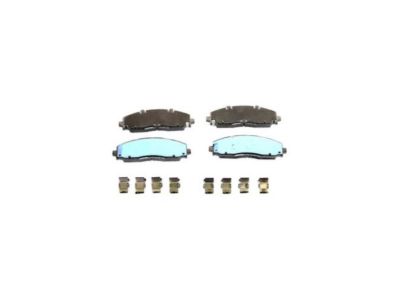
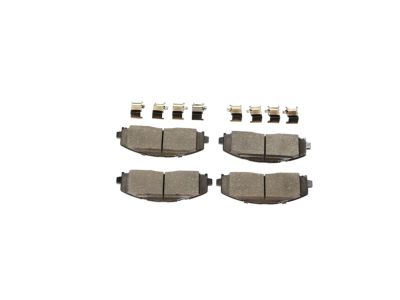
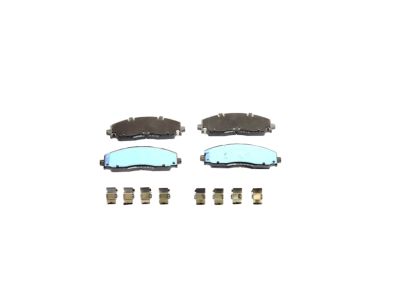
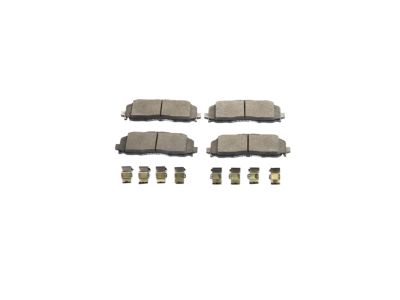
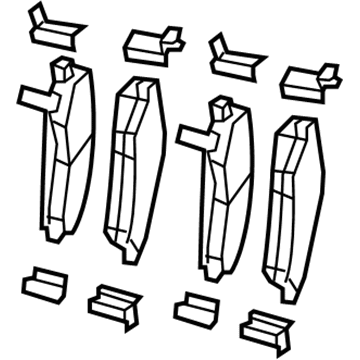
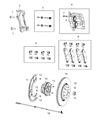
Jeep Wrangler Front Disc Brake Pad Kit
Part Number: 68409860AA$123.75 MSRP: $184.00You Save: $60.25 (33%)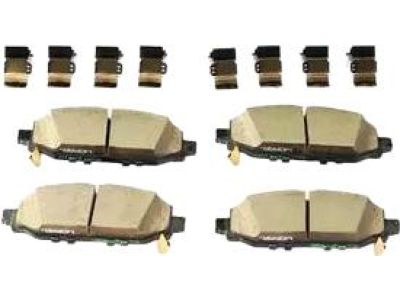
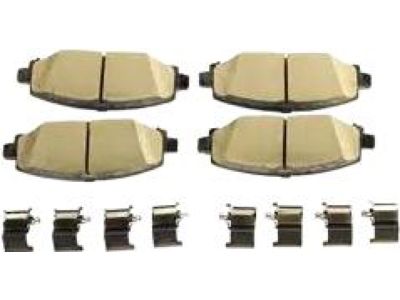
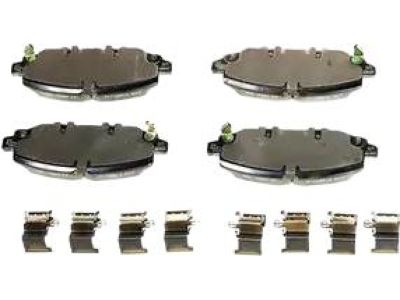
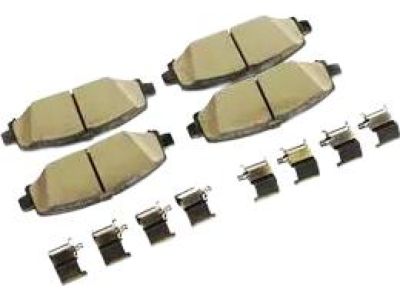
Jeep Wrangler Rear Disc Brake Pad Kit
Part Number: 68386838AC$189.80 MSRP: $292.00You Save: $102.20 (35%)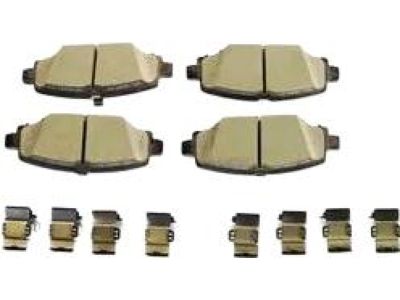
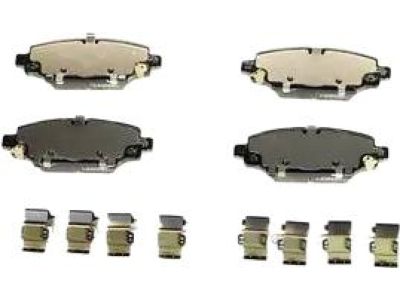
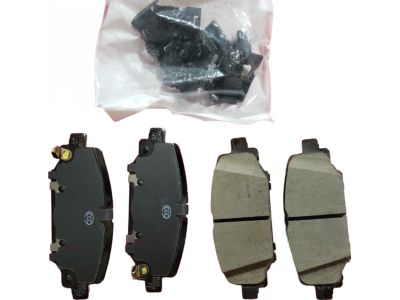
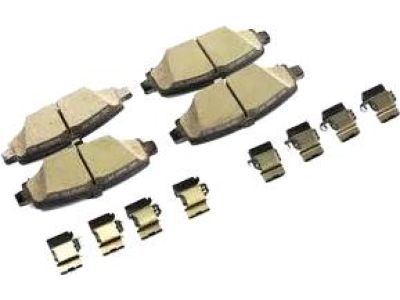
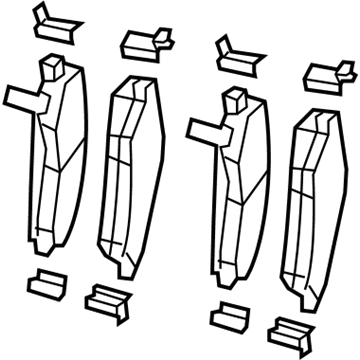
Jeep Wrangler Rear Disc Brake Pad Kit
Part Number: 68385238AB$75.77 MSRP: $112.68You Save: $36.91 (33%)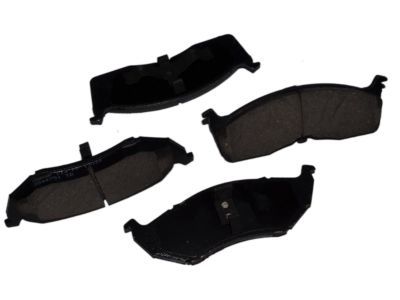
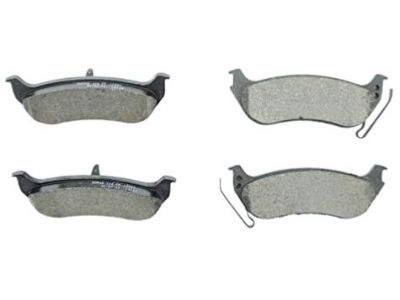
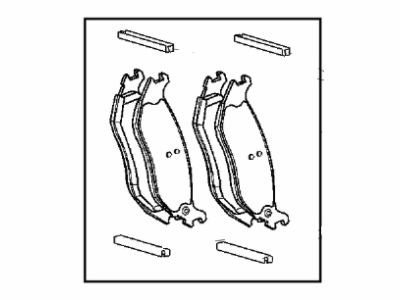
Jeep Wrangler Rear Disc Brake Pad Kit
Part Number: V2013882$25.49 MSRP: $73.20You Save: $47.71 (66%)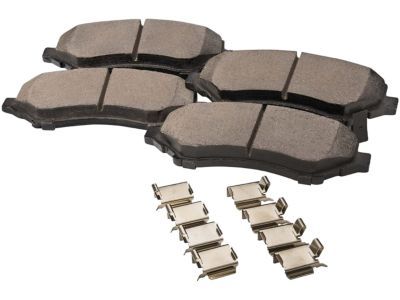
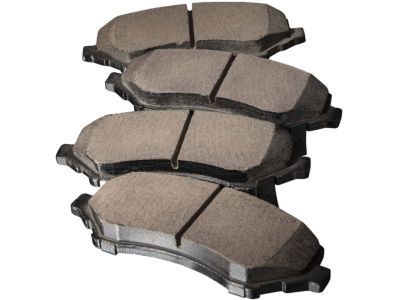
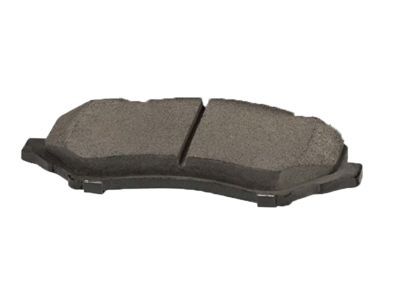
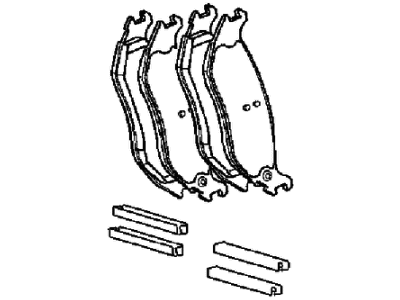
Jeep Wrangler Rear Disc Brake Pad Kit
Part Number: 2AMV4882AA$25.49 MSRP: $73.20You Save: $47.71 (66%)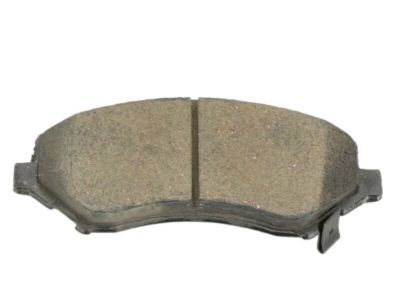
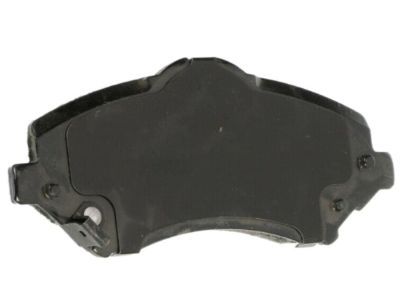
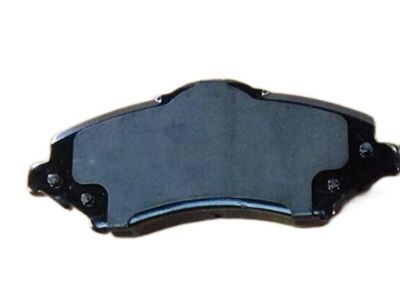
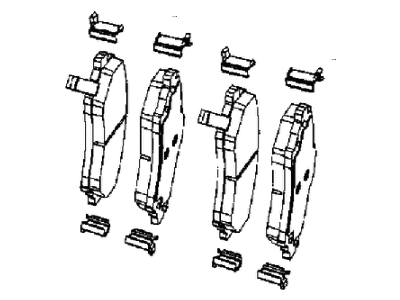
Jeep Wrangler Front Disc Brake Pad Kit
Part Number: 2AMV3701AA$63.28 MSRP: $75.00You Save: $11.72 (16%)
Jeep Wrangler Front Disc Brake Pad Kit
Part Number: 68386838AA$189.80 MSRP: $292.00You Save: $102.20 (35%)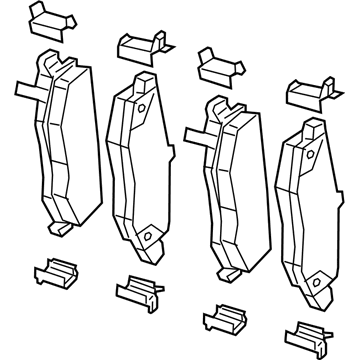
Jeep Wrangler Rear Disc Brake Pad Kit
Part Number: 68376749AF$66.66 MSRP: $98.75You Save: $32.09 (33%)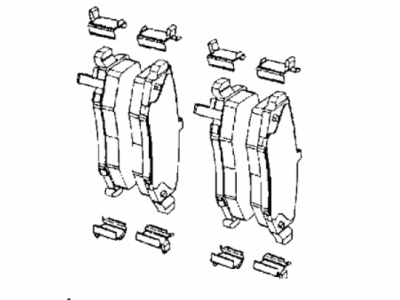
| Page 1 of 2 |Next >
1-20 of 39 Results
Jeep Wrangler Brake Pad
Jeep Wrangler brake pads are safeguard vital components of the car's braking system and their role is to stop a car by creating friction with brake rotors. They use kinetic energy to produce thermal energy, thus reducing the speed of the automobile. Jeep Wrangler brake pads comes in many forms and can be made of metals and synthetic material the pads can heat up to 400 degrees fahreinheit in normal use. In Jeep Wrangler automobiles, various forms of brake pads have been used in the past, the non-metallic, the semi-metallic one, the fully metallic one and the ceramic. One type of material is suited to giving low levels of friction, another material type is useful where wear resistance is paramount and a third type of material provides benefits in terms of noise reduction. Brake pads measure 50,000 mile in terms of longevity and wear indicators play the role of signaling to the driver to change the pads. New brake pads should be installed properly along with the required hardware to guarantee the efficiency of brake pads as well as its durability of components.
Looking for affordable and high-quality auto parts? Then you have already arrived at the proper online shop. We offer all Jeep Wrangler Brake Pad at great affordable prices. Moreover, all genuine Jeep Wrangler Brake Pad come with a manufacturer's warranty. In the long run, you would realize you have saved a lot of trouble and money with OEM parts from here.
Jeep Wrangler Brake Pad Parts Questions & Experts Answers
- Q:How to Service Disc Brakes and Replace Brake Pads on Jeep Wrangler?A:When servicing the disc brakes, use only high quality, nationally recognized name brand pads. Begin by removing the cover or cap from the brake fluid reservoir. Loosen the wheel lug nuts, raise the front of the vehicle, and support it securely on jackstands. Remove the front wheels, working on one brake assembly at a time, using the assembled brake for reference if necessary. Inspect the Brake Disc carefully; if machining is necessary, remove the disc to also take out the pads from the calipers. Push the piston back into the bore to provide room for the new brake pads, using an AC-clamp for 1995 and earlier models and 2007 and later models, or a large C-clamp for 1987 through 1995 or 2007 and later models, ensuring one end of the clamp is on the flat area on the backside of the caliper while the other end presses against the outer brake pad. For 1997 through 2006 models, use a screwdriver to lever the piston into its bore, as an AC-clamp is difficult to use on those calipers. As the piston is depressed, the fluid in the master cylinder will rise, so ensure it doesn't overflow and siphon off some fluid if necessary. Before removing the caliper, wash off all traces of brake dust with brake system cleaner. When reinstalling the caliper, tighten the mounting pins or bolts to the specified torque. After completing the job, firmly depress the brake pedal a few times to bring the pads into contact with the disc. Install the wheels and lug nuts, lower the vehicle, and tighten the lug nuts to the specified torque. Finally, check the brake fluid level, adding as necessary, and check for fluid leakage while ensuring the brakes operate normally before driving in traffic.
Related Jeep Wrangler Parts


Browse by Year
2025 Brake Pad 2024 Brake Pad 2023 Brake Pad 2022 Brake Pad 2021 Brake Pad 2020 Brake Pad 2019 Brake Pad 2018 Brake Pad 2017 Brake Pad 2016 Brake Pad 2015 Brake Pad 2014 Brake Pad 2013 Brake Pad 2012 Brake Pad 2011 Brake Pad 2010 Brake Pad 2009 Brake Pad 2008 Brake Pad 2007 Brake Pad 2006 Brake Pad 2005 Brake Pad 2004 Brake Pad 2003 Brake Pad 2002 Brake Pad 2001 Brake Pad 2000 Brake Pad 1999 Brake Pad 1998 Brake Pad 1997 Brake Pad 1995 Brake Pad 1994 Brake Pad 1993 Brake Pad 1992 Brake Pad 1991 Brake Pad 1990 Brake Pad 1989 Brake Pad 1988 Brake Pad 1987 Brake Pad