
My Garage
My Account
Cart
Genuine Jeep Wrangler Piston Ring Set
Piston Ring- Select Vehicle by Model
- Select Vehicle by VIN
Select Vehicle by Model
orMake
Model
Year
Select Vehicle by VIN
For the most accurate results, select vehicle by your VIN (Vehicle Identification Number).
13 Piston Ring Sets found
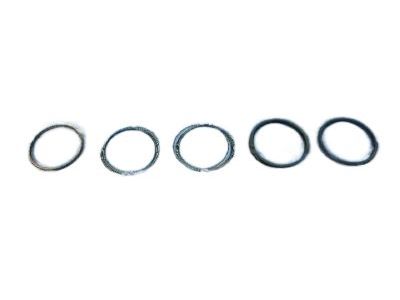
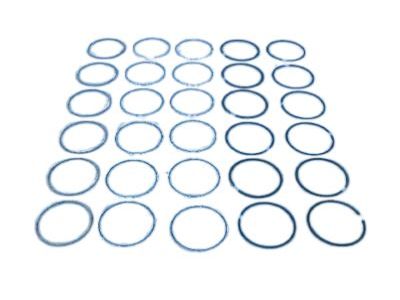
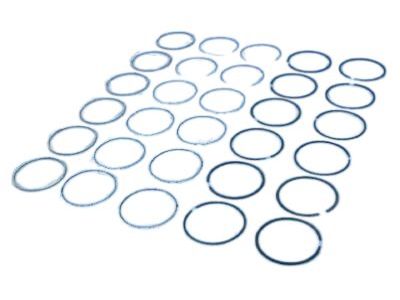
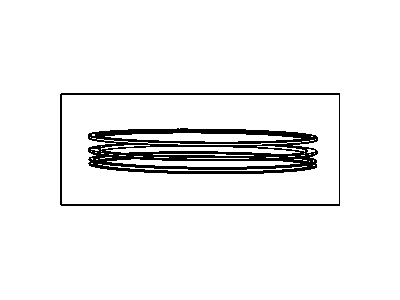
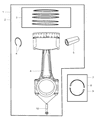
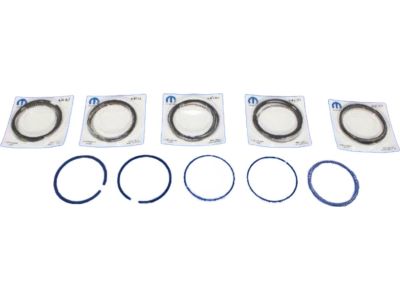
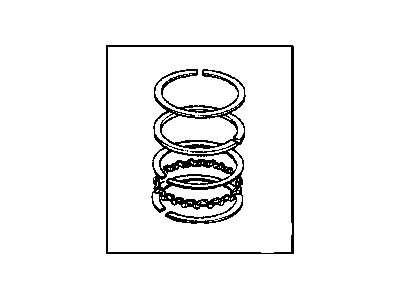
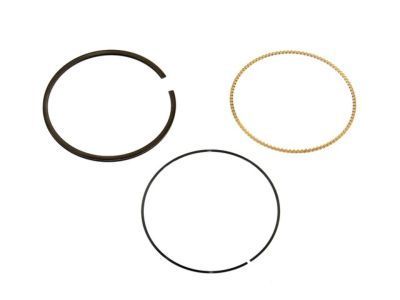
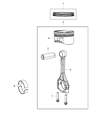
Jeep Wrangler Ring Pkg-Complete Engine
Part Number: 68078776AA$178.88 MSRP: $269.00You Save: $90.12 (34%)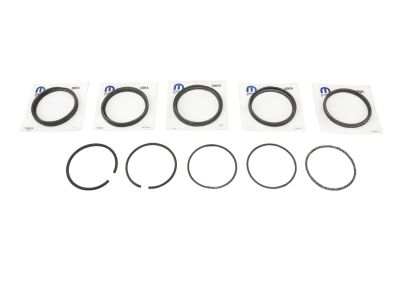
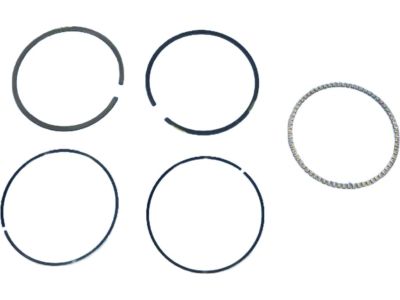
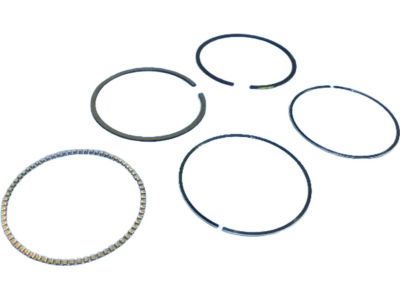
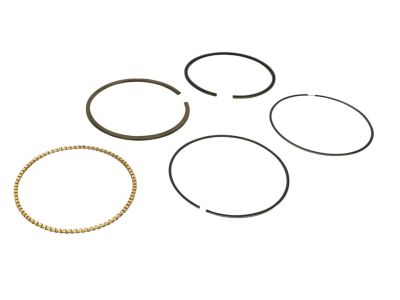
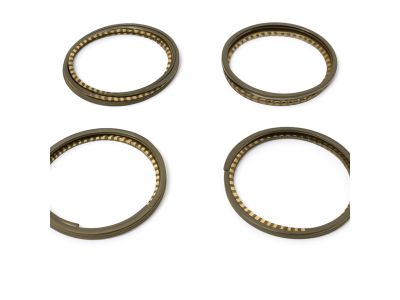
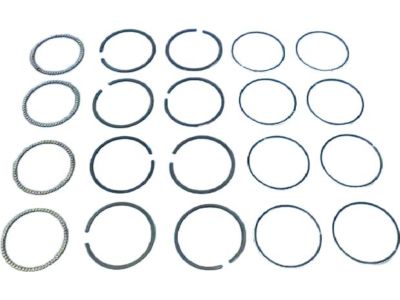
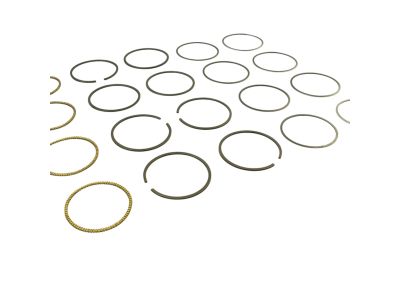
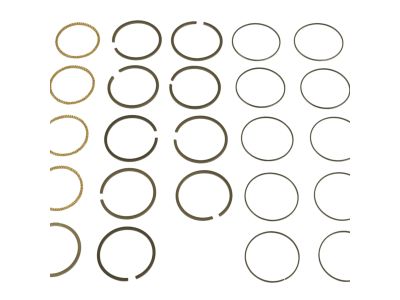
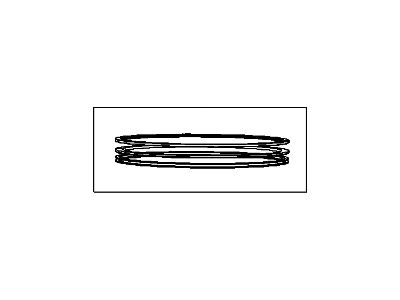
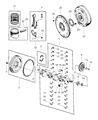
Jeep Wrangler Ring-Complete Engine
Part Number: 5073524AA$154.13 MSRP: $229.00You Save: $74.87 (33%)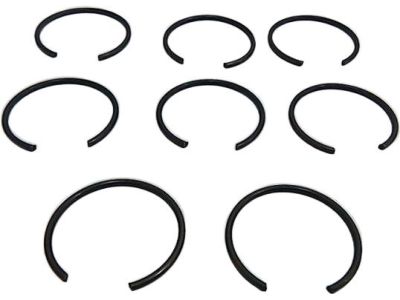
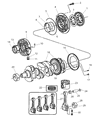
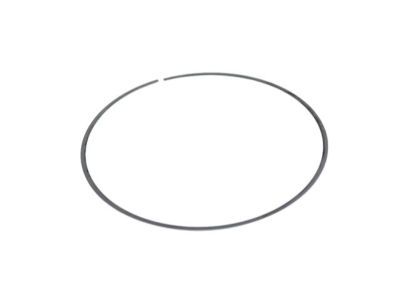
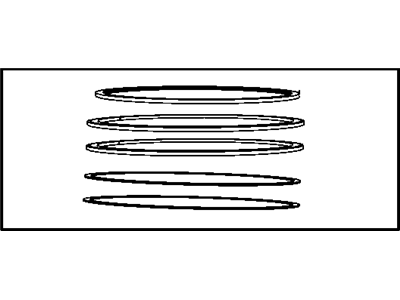
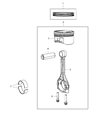
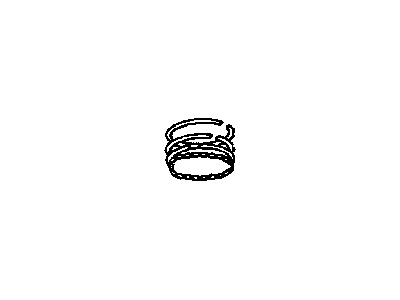
Jeep Wrangler Ring Pkg-Complete Engine
Part Number: 68214841AA$102.94 MSRP: $156.00You Save: $53.06 (35%)
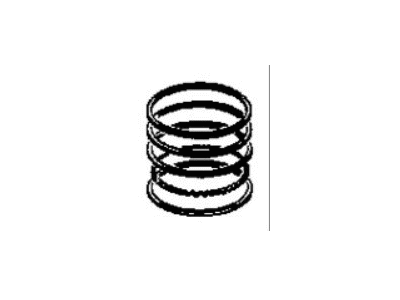
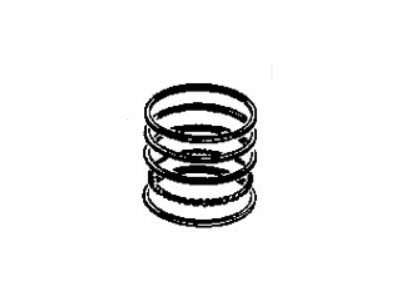
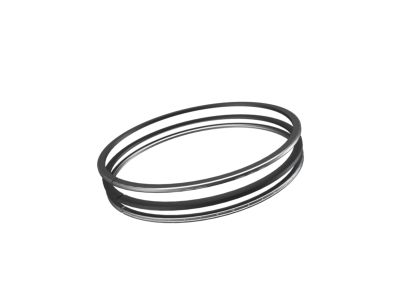
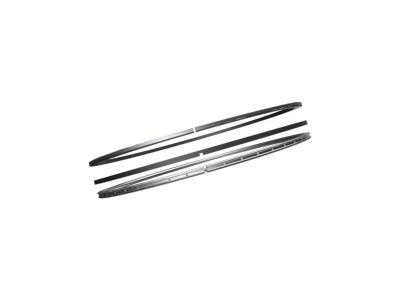
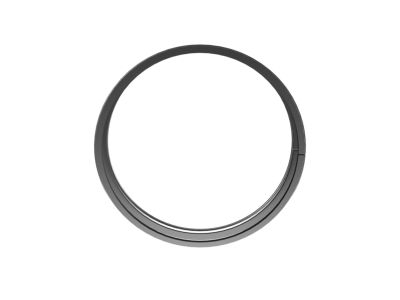
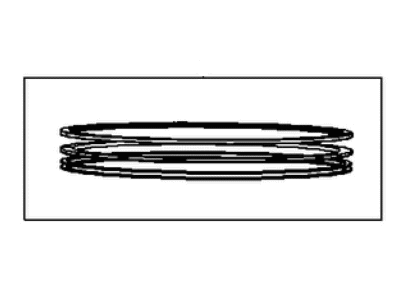
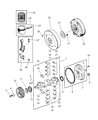
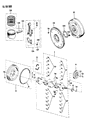
Jeep Wrangler Piston Ring Set
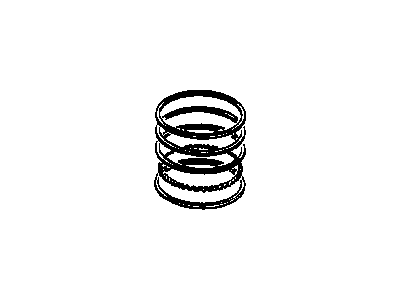
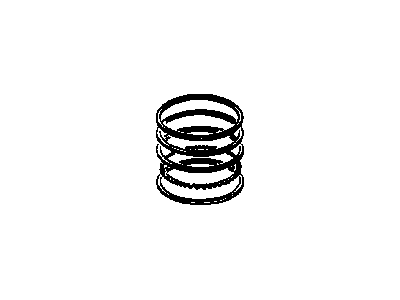
The Jeep Wrangler Piston Ring Set effectively maintains a tight combustion pressure seal, ensuring power output directs to the wheels. Every Piston Ring Set installs three rings on the piston, two compression rings and one oil control ring which bears on the cylinder wall to seal explosive gases inside, scrape excess oil downward and transfer heat to the block. Early Jeep models employed cast-iron rings featuring thick 1.5 to 2 mm profiles. Later Wrangler engines were equipped with slimmer and narrower steel or ductile iron bands having plasma-moly or chromium faces. The Piston Ring Set design uses modern materials to lessen friction, bend readily to match cylinder bores and sharpen oil control so energy losses that once reached a quarter of engine drag are reduced. The updated Piston Ring Set, although thinner, uses its own spring tension to oppose binding from carbon buildup by clinging to the bore. Selecting the appropriate Piston Ring Set hence safeguards the iconic Jeep torque curve, allows a Wrangler to rev freely and ensures long-lasting reliability across every Jeep and Wrangler generation.
Looking for affordable and high-quality auto parts? Then you have already arrived at the proper online shop. We offer all Jeep Wrangler Piston Ring Set at great affordable prices. Moreover, all genuine Jeep Wrangler Piston Ring Set come with a manufacturer's warranty. In the long run, you would realize you have saved a lot of trouble and money with OEM parts from here.
Jeep Wrangler Piston Ring Set Parts Questions & Experts Answers
- Q:How to check and install a Piston Ring Set before engine assembly on Jeep Wrangler?A:Before installing new Piston rings, check the ring end gaps. Lay out the piston/connecting rod assemblies and new ring sets to match them with the corresponding piston and cylinder during end gap measurement and engine assembly. Insert the top ring into the first cylinder, ensuring it is square with the cylinder walls by pushing it in with the top of the piston, positioning it near the bottom of the cylinder. To measure the end gap, use feeler gauges between the ends of the ring until the correct gauge is found, ensuring the ring is square in the cylinder bore. The feeler gauge should slide between the ring ends with slight drag; compare this measurement to the specifications. If the gap is too small, it must be enlarged to prevent the ring ends from contacting each other during operation, which can cause serious engine damage. Carefully file the ring ends from the outside in to increase the end gap. Excess end gap is not critical unless it exceeds 0.040-inch, so double-check the rings for correctness. Repeat this process for each ring in the first cylinder and the remaining cylinders, keeping rings, pistons, and cylinders matched. Once the end gaps are checked and corrected, install the rings on the pistons, starting with the oil control ring, which consists of three components. Insert the spacer/expander into the groove, ensuring any anti-rotation tang is in place, then install the lower side rail without using a piston ring installation tool to avoid damage. Place one end of the side rail into the groove and slide it into place with a finger. Install the upper side rail similarly and check that both side rails turn smoothly in the groove. Next, install the middle ring, ensuring the identification mark faces up, and use a piston ring installation tool to slide it into the middle groove without expanding it excessively. Finally, install the top ring in the same manner, ensuring the mark is facing up, and repeat the procedure for the remaining pistons and rings.
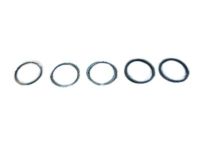
Related Jeep Wrangler Parts
 Jeep Wrangler Rod Bearing
 Jeep Wrangler Oil Pan
 Jeep Wrangler Crankshaft Pulley
 Jeep Wrangler Oil Pan Gasket
 Jeep Wrangler Oil Pump
 Jeep Wrangler Crankshaft
 Jeep Wrangler Oil Pump Gasket
 Jeep Wrangler Crankshaft Thrust Washer Set
Browse by Year
2025 Piston Ring Set 2024 Piston Ring Set 2023 Piston Ring Set 2022 Piston Ring Set 2021 Piston Ring Set 2020 Piston Ring Set 2019 Piston Ring Set 2018 Piston Ring Set 2017 Piston Ring Set 2016 Piston Ring Set 2015 Piston Ring Set 2014 Piston Ring Set 2013 Piston Ring Set 2012 Piston Ring Set 2011 Piston Ring Set 2010 Piston Ring Set 2009 Piston Ring Set 2008 Piston Ring Set 2007 Piston Ring Set 2006 Piston Ring Set 2005 Piston Ring Set 2004 Piston Ring Set 2003 Piston Ring Set 2002 Piston Ring Set 2001 Piston Ring Set 2000 Piston Ring Set 1999 Piston Ring Set 1998 Piston Ring Set 1997 Piston Ring Set 1995 Piston Ring Set 1994 Piston Ring Set 1990 Piston Ring Set 1989 Piston Ring Set 1988 Piston Ring Set 1987 Piston Ring Set