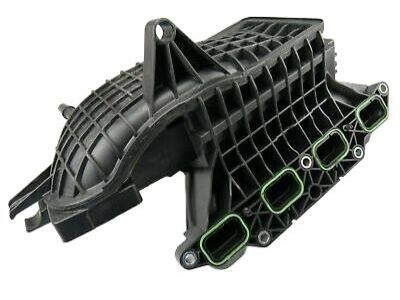
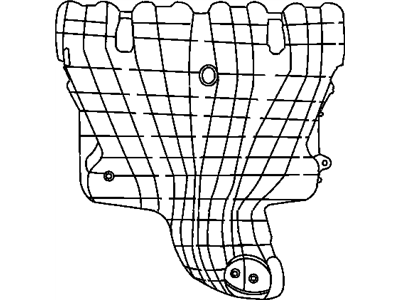
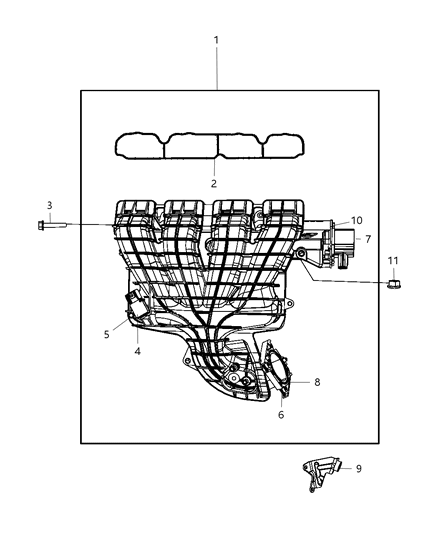
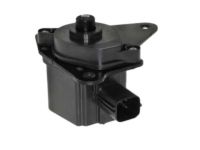
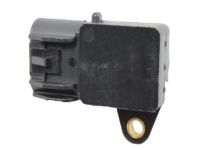
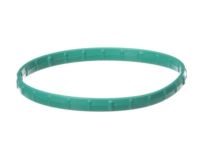
On 2014 and earlier models, the intake manifold is mounted to the front side of the cylinder head, while on 2015 and later models, it is mounted at the rear. To begin removal, relieve the fuel system pressure and disconnect the negative battery cable. For 2014 and earlier models, remove the engine cover, air inlet resonator, ignition coil pack, and fuel rail assembly. Disconnect the oil temperature sensor and unplug the electrical connectors from the VVT solenoid, MAP sensor, and CMP sensor, moving the electrical harness out of the way. Disconnect the throttle body electrical connector, remove fasteners from the throttle body support bracket, and label then disconnect the vacuum lines to the manifold. If replacing the intake manifold, remove the throttle body; otherwise, it can remain attached. Remove the intake manifold fasteners and gasket. For 2015 and later models, raise the front of the vehicle and support it securely, then remove the front suspension subframe and right driveaxle. Unscrew the intake manifold lower bracket, remove the intake tube, and loosen the upper support bracket bolts. Remove the throttle body bracket and throttle body, cut through the fuel injector foam silencing pad, disconnect the VVAA solenoid electrical connectors, and remove the intake manifold silencer cover. Disconnect the fuel injector electrical connectors and various vacuum hoses, labeling them as necessary. Disconnect the MAP sensor electrical connector, release the wiring harness clips, and remove the intake manifold bolts and nuts. Inspect the intake manifold mating surface for warpage, and if necessary, resurface or replace it. Clean all gasket surfaces before installing the new manifold with a new gasket, tightening the fasteners gradually and evenly in the specified sequence, and complete the installation in reverse order of removal.
Posted by MoparPartsGiant Specialist 
