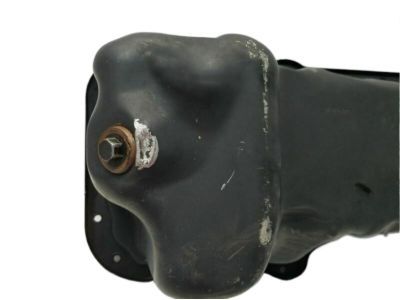
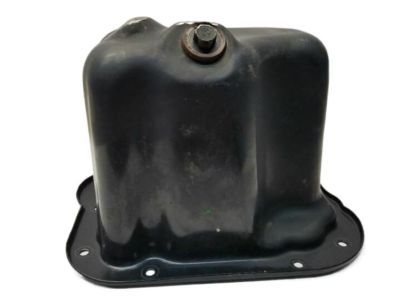
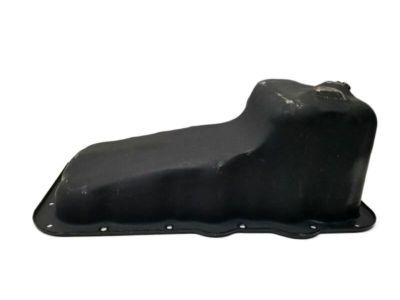
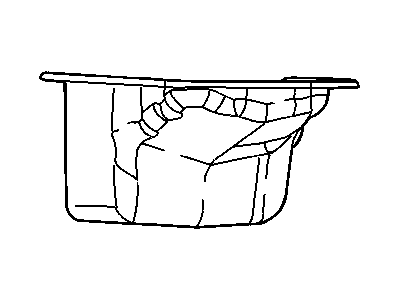
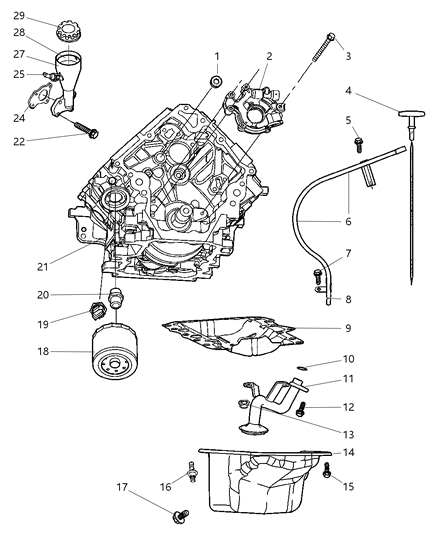
To remove the engine, first disconnect the cable from the negative terminal of the battery, then drain the cooling system. Raise the vehicle and support it securely on jackstands, followed by draining the engine oil and replacing the oil filter while removing the engine oil dipstick. Next, remove the crossmember beneath the oil pan by taking out the front crossmember mounting bolts and separating it from the chassis, then remove the brace between the oil pan and transmission. Take out the engine cooling fan and shroud, supporting the engine from above with an engine hoist or support fixture, taking a little weight off the engine mounts, and removing the through-bolts from the engine mounts before raising the engine further. For 4WD models, unbolt the steering gear and lower the assembly without disconnecting the power steering fluid lines, then remove the front driveshaft. Support the front axle using floor jacks and unbolt the mounts before carefully lowering the front axle. For all models, remove all oil pan bolts and lower the pan from the engine, striking it with a rubber mallet if it sticks. Ensure all bolts are removed before using force, and slide the oil pan out to the rear. Remove the windage tray from the engine block, noting that the windage tray and gasket assembly must be replaced with new parts whenever the oil pan is removed. For installation, install a new gasket and windage tray, wash out the oil pan with solvent, and clean the mounting surfaces of old gasket material and sealer. If the oil pan is distorted, straighten the flange by supporting it from below and tapping the bolt holes. Apply RTV sealant to the corners where the timing chain cover meets the block and at the rear where the rear main oil seal retainer meets the block, then attach the one-piece oil pan gasket to the engine block with gasket adhesive. Ensure the alignment studs are correctly installed, lift the pan into position, and install several bolts finger tight. Check that the gasket isn't sticking out around the block's perimeter, then install the oil pan nuts onto the studs. Starting at the center and alternating from side to side towards the ends, tighten the fasteners to the specified torque. Install the transmission brace, tightening the bolts to the specified inch-pounds and foot-pounds. The remainder of the installation procedure follows the reverse order of removal. Finally, add the proper type and quantity of oil along with a new oil filter, start the engine, and check for leaks before placing the vehicle back in service.