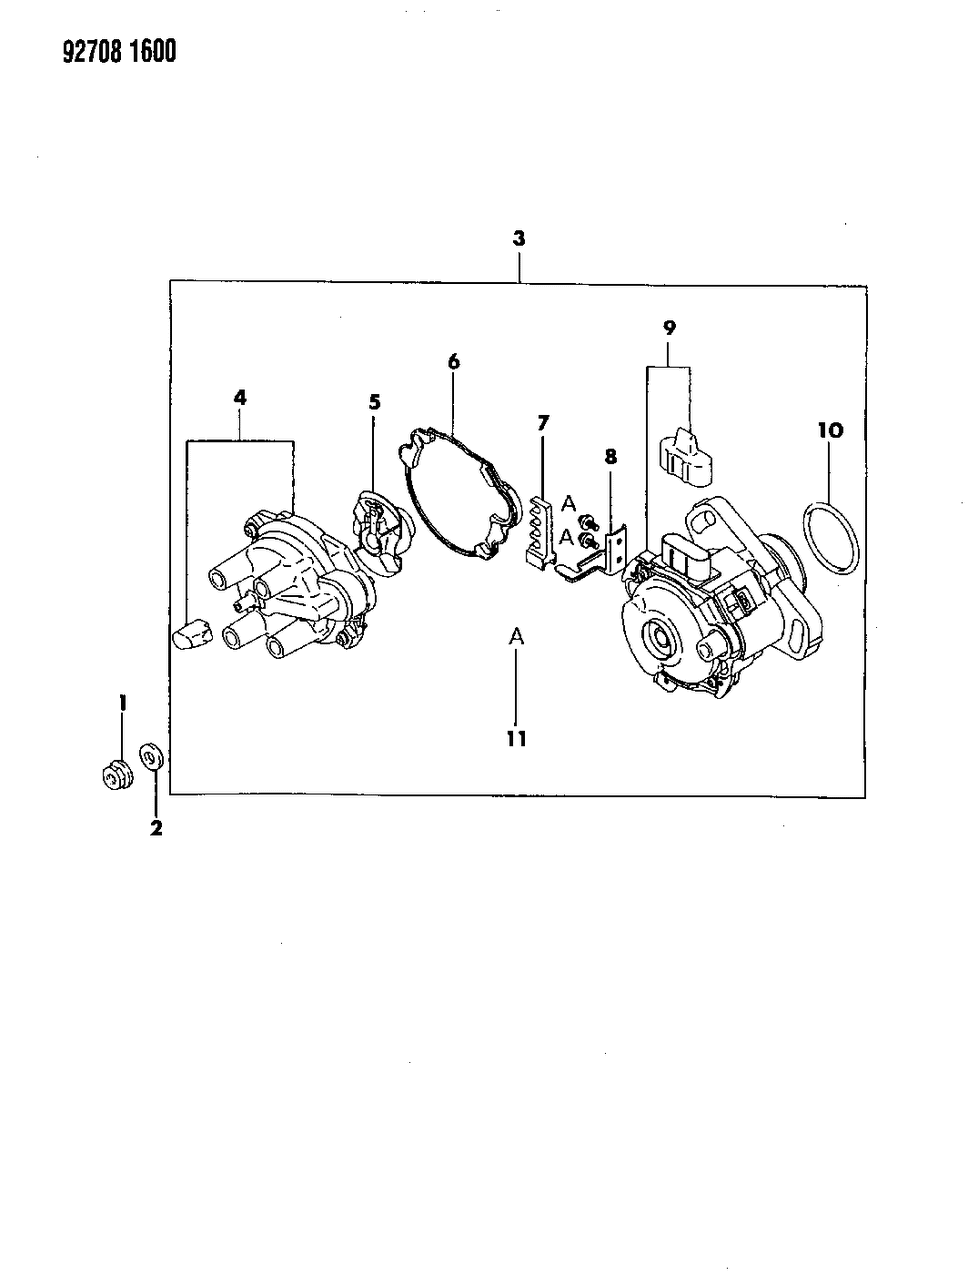
If the distributor has worn out in a manner that the shaft of the distributor moves sidewise within the body then it would be advisable to get a new one with the same serial number as the original one in order to maintain the ignition advance curves of the engine. The relatively smaller parts can usually be purchased as replacements and the parts of the electrical assembly can be removed by pulling out the distributor from the engine, unscrewing the top and then detaching the rotor. Third, reduce the tension of the LT terminal nut, and then slide the E clip on the push rod of the moving contact breaker arm and then remove the moving contact. Pull off the two fixing screws which allows the withdrawal of the fixed contact along with the internal leads. Remove the vacuum advance unit securing screws and detach the link by pulling out the E clip; you also have to remove the base plate which is also fastened by two screws. The cam assembly can be easily withdrawn by pulling out a screw that is provided at the top of the distributor shaft. When disassembling the cam assembly, one needs to take into consideration the positions of the counterweight and springs with regards to the cam so that, as a rule, one can paint them using quick drying paint or tag them using numbered masking tape. Before driving out the lock pin mark the position of the driven gear to the distributor shaft. Worn part should also be replaced, such as oil seal on the idler and O-ring, as a maintenance routine. In reassembly, only a dab of clean engine oil should be applied to the shaft and the friction surfaces. Finally, check the cap and rotor arm for cracks and replace them if eroded, and it is usual to renew the condenser and points during major overhauls even if they are in good condition if they have recently not been renewed.