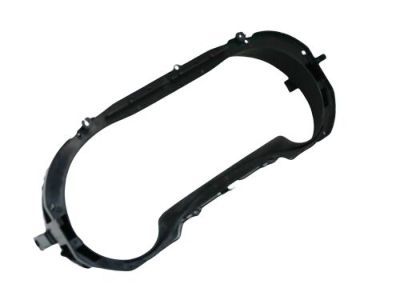
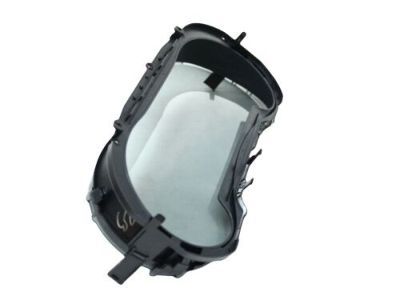
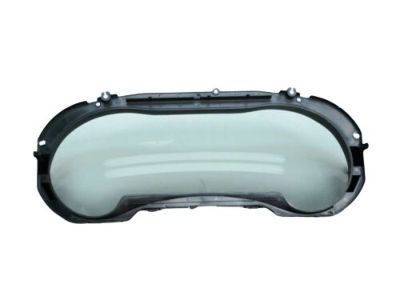
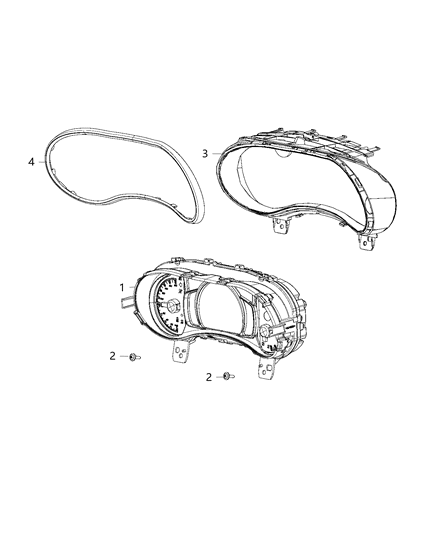
Starting with the front wheels alignment to the straight ahead position and fix the steering column, using the jumper cables, disconnect the negative terminal on the battery, and then disable the air bag system. Next, pull vertically down the right and left side cowl trim panels; with the front end of the door sill plates popped up, follower also exposed the rear screw on each kick panel; and last, insert a flat blade and carefully pop of the instrument panel end caps. When a glove box, instrument cluster bezel, bolster and knee bolster reinforcement, and the instrument cluster can be removed. Continue to the removal of the steering column covers and lower the steering column as you obtain more room to work with if you move the front seats back or even fully remove the driver seat. At the driver's side of the instrument panel, you are required to remove the large electrical bulkhead centre screw plus two other large connectors on each side. Tag and disconnect all other electrical connectors while under the instrument panel being careful of grounds straps. Pull the parking brake rod out of the release lever, then delete the brake light switch, and at the back of the pedal support bracket, there are 3 bolts. Some of the steps include the following, the center console and the A-pillar trim are to be detached usually by the elimination of the bolts that are used in this case, it is also necessary to pull out fasteners that are located in the A-pillar support. Before then, gently remove the defroster grilles and it's possible to get access to the nuts below. Remove all the wiring connections that are still plugged in, then unbolt all the licensed instrument retaining fasteners that are there behind the center instrument bezel and from behind the glove box. The radio and the two HVAC bolts need to be unbolted from the radio opening and then the instrument panel needs to be unbolted from the car. Installation is done in reverse order as removal is done.