
My Garage
My Account
Cart
Genuine Jeep Instrument Cluster
Speedometer Instrument Cluster- Select Vehicle by Model
- Select Vehicle by VIN
Select Vehicle by Model
orMake
Model
Year
Select Vehicle by VIN
For the most accurate results, select vehicle by your VIN (Vehicle Identification Number).
908 Instrument Clusters found
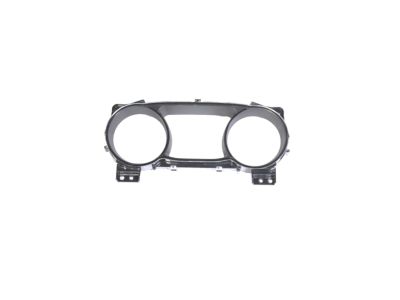
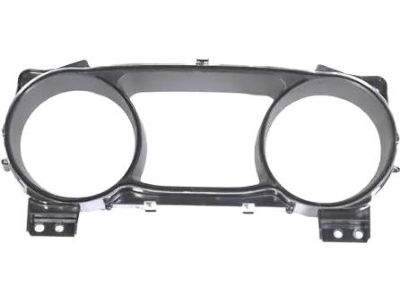
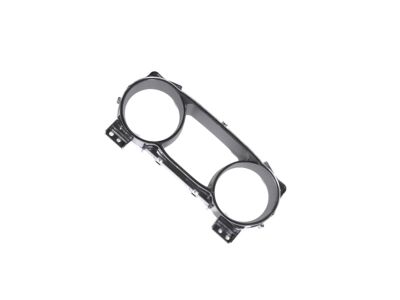
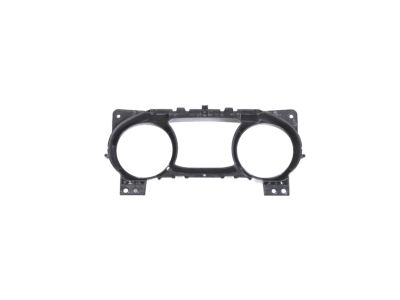
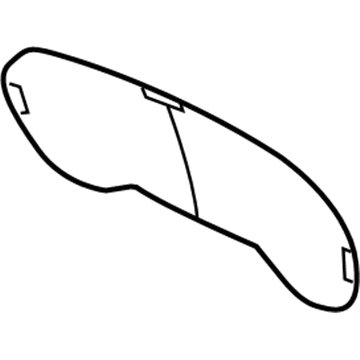
 Product Specifications
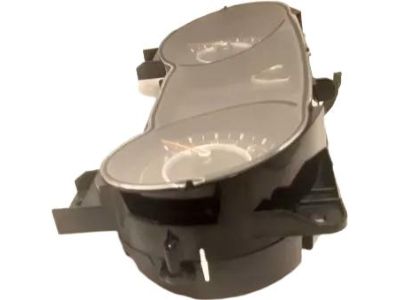
- Other Name: Lens-Instrument Cluster; Cluster Lens
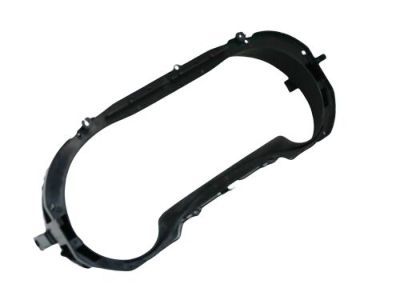
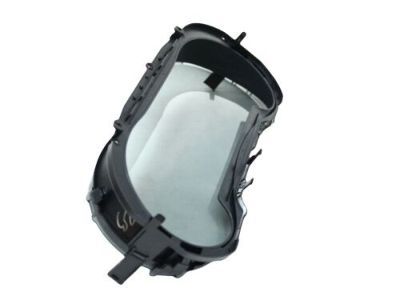
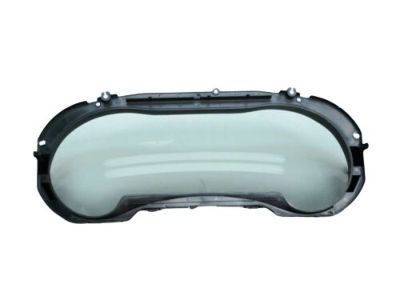
 Product Specifications
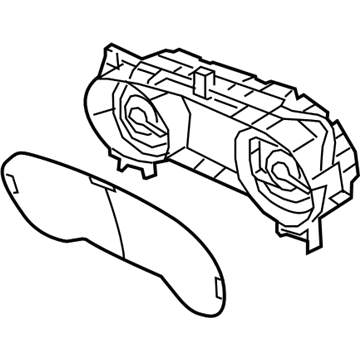
- Other Name: Mask And Lens Instrument Cluster; Cluster Lens, Lens
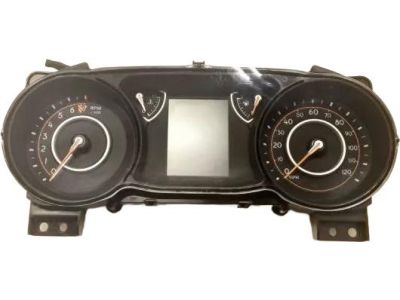
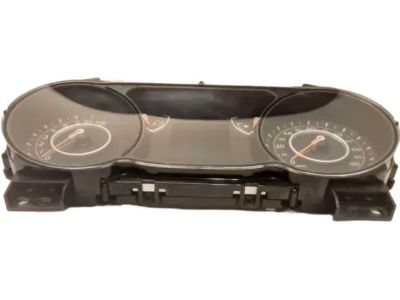
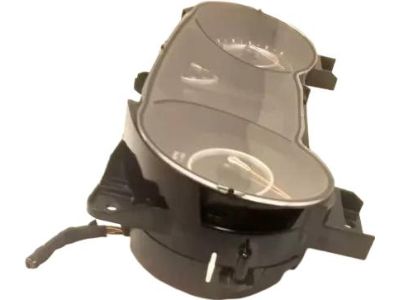
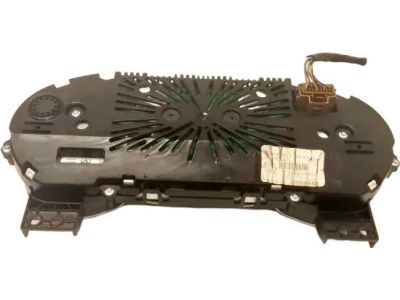
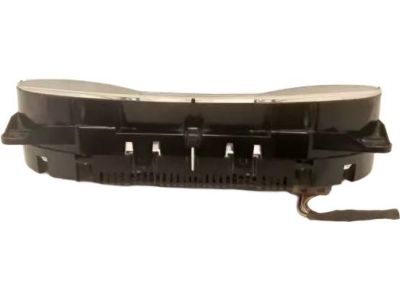
 Product Specifications
- Replaced by: 68377779AG
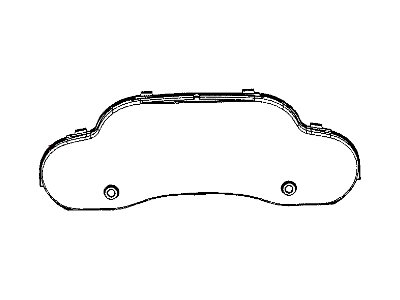
 Product Specifications
- Other Name: Mask And Lens Instrument Cluster
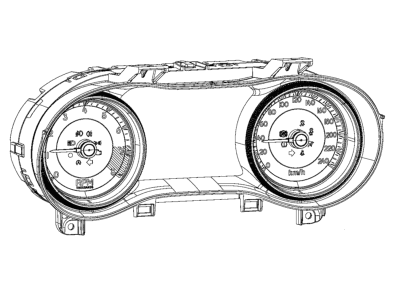
 Product Specifications
- Other Name: CLUSTER-INSTRUMENT PANEL
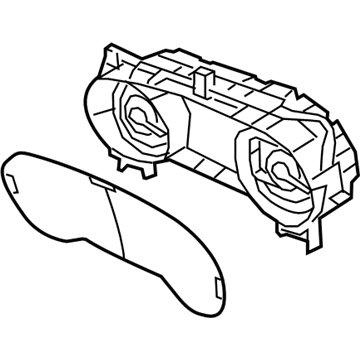
 Product Specifications
- Other Name: CLUSTER-INSTRUMENT PANEL; Cluster Assembly, Instrument Cluster
- Replaces: 68492413AE, 68492413AC, 68492413AB, 68492413AD
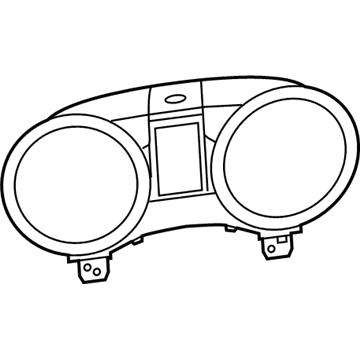
 Product Specifications
- Other Name: Cluster-Instrument Panel; Cluster Assembly, Instrument Cluster
- Replaces: 68516650AA
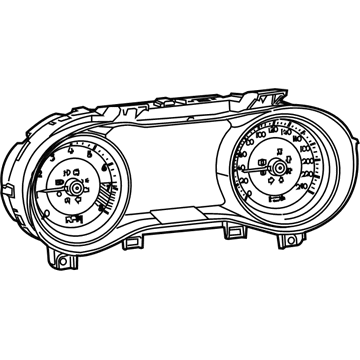
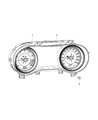 Product Specifications
- Other Name: Mask And Lens Instrument Cluster; Cluster Assembly, Lens
- Replaces: 68226541AA
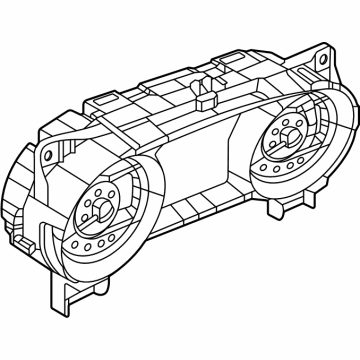
 Product Specifications
- Other Name: CLUSTER-INSTRUMENT PANEL; Cluster Assembly, Instrument Cluster
- Replaces: 68614601AC, 68614601AB, 68614601AD
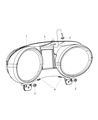 Product Specifications
- Other Name: Cluster-Instrument Panel; Cluster Assembly, Instrument Cluster
- Replaces: 68331511AB
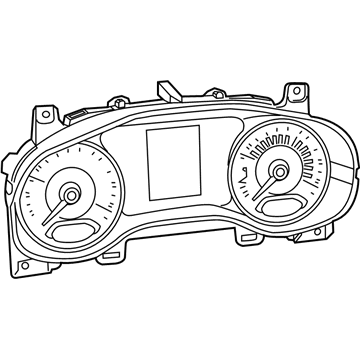
 Product Specifications
- Other Name: Cluster Instrument Panel
- Replaced by: 6RU96KXHAA
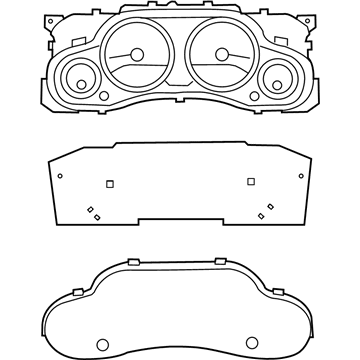
 Product Specifications
- Other Name: Cluster Instrument Panel; Cluster Assembly, Instrument Cluster
- Replaces: 56054392AB, 56054392AD, 56054392AC, 56054392AE

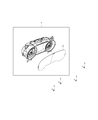 Product Specifications
- Other Name: CLUSTER-INSTRUMENT PANEL; Cluster Assembly, Instrument Cluster
- Replaced by: 68492413AF
- Product Specifications
- Other Name: Cluster Instrument Panel
- Replaced by: 68274080AC
- Product Specifications
- Other Name: CLUSTER-INSTRUMENT PANEL; Cluster Assembly, Instrument Cluster
- Replaces: 68492412AD, 68492412AE, 68492412AB, 68492412AC
 Product Specifications
- Other Name: CLUSTER-INSTRUMENT PANEL; Cluster Assembly
- Replaces: 68580560AD, 68580560AC, 68580560AA, 68580560AB
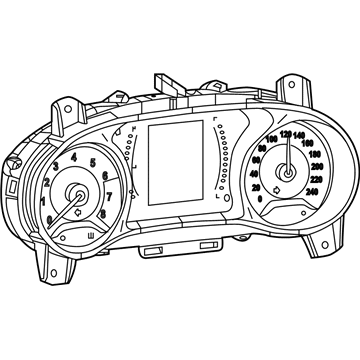
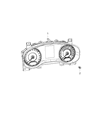 Product Specifications
- Other Name: Cluster-Instrument Panel
- Replaced by: 6RX36DX9AL
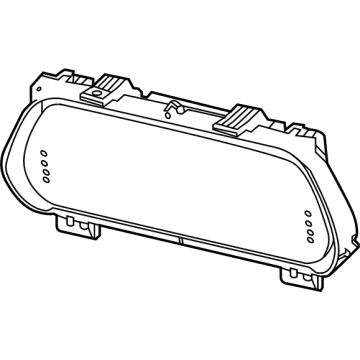
 Product Specifications
- Other Name: CLUSTER-INSTRUMENT PANEL; Cluster Assembly, Instrument Cluster
- Replaces: 68525326AE, 68525326AF, 68525326AH, 68525326AI, 68525326AJ, 68525326AD, 68525326AK, 68525326AG
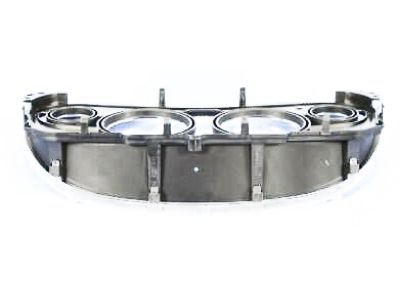
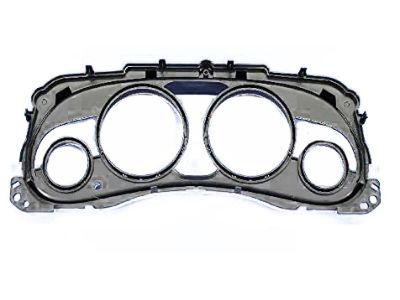
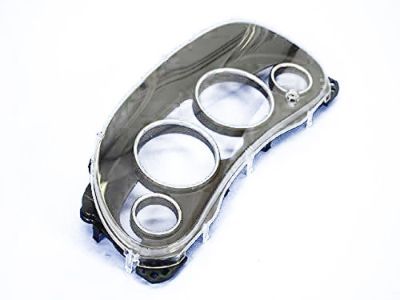
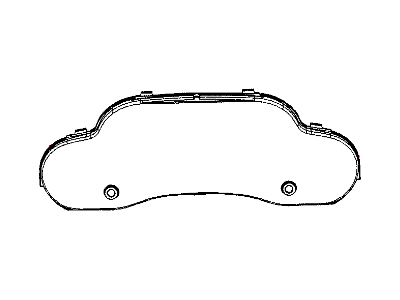
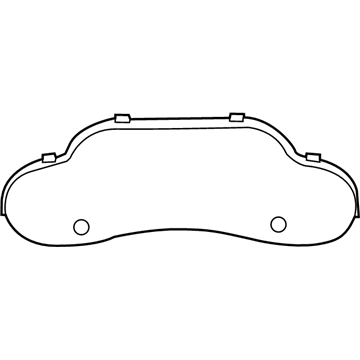 Product Specifications
- Other Name: Mask And Lens Instrument Cluster; Cluster Lens, Lens
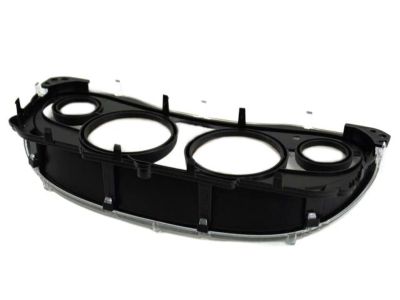
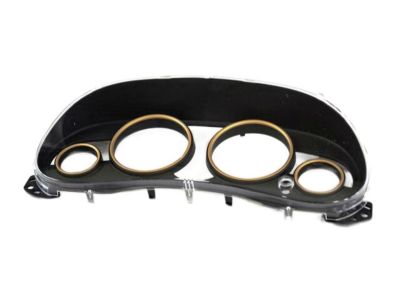
 Product Specifications
- Other Name: Mask And Lens Instrument Cluster
| Page 1 of 46 |Next >
1-20 of 908 Results
Jeep Instrument Cluster
Welcome to your ultimate destination for affordable OEM Jeep Instrument Clusters. Here at our website, we not only provide genuine Jeep Instrument Clusters at unbeatable prices, but also guarantee their quality with the manufacturer's warranty. Coupled with our dedicated customer service and swift delivery, we're confident you won't find a better deal anywhere else.
Jeep Instrument Cluster Parts Questions & Experts Answers
- Q:How to Remove the Instrument Cluster on Jeep Cherokee?A:Disconnect the negative cable at the battery. For 1984 through 1996 models, remove all the dashboard panels. Remove the parking brake release handle (if equipped) and the lower heater/air conditioning duct below the steering column. Loosen the mounting bolts and rotate the instrument panel back to disconnect the tubes, wires, cables, and harnesses. Lift the instrument panel from the vehicle. For 1997 and later models, place the wheels in the straight-ahead position. Disconnect the cable from the negative battery terminal and wait at least two minutes. Remove the sill trim plates, fuse panel access door, and cowl side trim panels. Remove the airbag module and steering wheel. Remove the knee blocker cover, instrument panel center bezel, and instrument panel top cover. Remove the center console and peel back the carpet from the front of the transmission tunnel. Remove the upper bracket nuts and lower nuts to detach the instrument panel center support bracket. Turn the ignition key to the On position and remove the ignition key lock cylinder. Remove the lower steering column cover and steering coupler bolt. Lower the steering column and remove the upper steering column cover. Detach the wiring harness and, if applicable, disconnect the brake/transmission shift interlock cable. Remove the steering column. Remove the electrical connectors near the left cowl side inner panel and the instrument panel-to-floor electrical connector on top of the transmission tunnel. Open the glove box and slide the rubber bumpers downward. Roll the glove box downward and unplug the vacuum harness connector for the heater/air conditioning system. Unplug the coaxial cable connector for the radio antenna and disconnect the temperature control cable and blend-air door crank arm from the heater/air conditioning system control assembly. Loosen the instrument panel cowl side roll down screws and remove the screws and nuts attaching the top of the instrument panel to the dash panel. Lift the top of the instrument panel assembly off the dash panel studs and pull the lower part of the instrument panel to the rear to clear the cowl side roll down screws. Remove the instrument panel assembly.
- Q:How to Remove the Instrument Cluster on Jeep Grand Cherokee?A:Starting with the front wheels alignment to the straight ahead position and fix the steering column, using the jumper cables, disconnect the negative terminal on the battery, and then disable the air bag system. Next, pull vertically down the right and left side cowl trim panels; with the front end of the door sill plates popped up, follower also exposed the rear screw on each kick panel; and last, insert a flat blade and carefully pop of the instrument panel end caps. When a glove box, instrument cluster bezel, bolster and knee bolster reinforcement, and the instrument cluster can be removed. Continue to the removal of the steering column covers and lower the steering column as you obtain more room to work with if you move the front seats back or even fully remove the driver seat. At the driver's side of the instrument panel, you are required to remove the large electrical bulkhead centre screw plus two other large connectors on each side. Tag and disconnect all other electrical connectors while under the instrument panel being careful of grounds straps. Pull the parking brake rod out of the release lever, then delete the brake light switch, and at the back of the pedal support bracket, there are 3 bolts. Some of the steps include the following, the center console and the A-pillar trim are to be detached usually by the elimination of the bolts that are used in this case, it is also necessary to pull out fasteners that are located in the A-pillar support. Before then, gently remove the defroster grilles and it's possible to get access to the nuts below. Remove all the wiring connections that are still plugged in, then unbolt all the licensed instrument retaining fasteners that are there behind the center instrument bezel and from behind the glove box. The radio and the two HVAC bolts need to be unbolted from the radio opening and then the instrument panel needs to be unbolted from the car. Installation is done in reverse order as removal is done.
- Q:How to Remove the Instrument Cluster on Jeep Wrangler?A:On models prior to 1995, begin with disconnecting the negative battery cable, then, taking out screws situated at the instrument panel, jerk out the individual panels at the top to come off the dash, while the process of installation is just the reverse of the mentioned process. For the models from 1997 to 2010, it is difficult to accomplish this procedure because of the concealed fasteners and electrical connectors; Pop the nut on the negative terminal of the battery, raise the tilt steering Wheeler if installed, and take out the headlight switch knob and coverscrews. Pull the cover of the steering column back, unscrew the knee blocker screws, and turn the key to 'On'. On the 2006 and earlier models, it is necessary to take out the lock cylinder using a pin punch; after that, it is possible to separate the covers of the steering column and disconnect the electrical connectors. It is, therefore, recommended that the steering wheel is unbolted and disposed to avoid spoiling the airbag, and the seat position fixed using cable ties. Disconnect the heater control cable, then take off the pinch bolt and nuts of the steering column mounts. Lift the glove box upward and pull it with its hooks, then separate it, then disconnect the air bag module bracket nuts and take off the instrument panel top cover. On the 2007 models, remove or unplug the antenna lead, and electrical connectors on the HVAC or you can take the screws out of the instrument panel. In the case with the 2011 and later models pay attention to the process of removing the air outlets and the main trim panel INSTALLING THE STEERING WHEEL and disconnecting diverse wires and components. Lastly, do not forget to label all connections, and before doing this, disconnect all connections, and to remove the instrument panel, reverse the steps involved, and also ensure the use of torque wrench whenever tightening or loosening any fasteners.
Related Jeep Parts
 Jeep Antenna
 Jeep Antenna Mast
 Jeep Dome Light
 Jeep Cigarette Lighter
 Jeep Ashtray
 Jeep Car Speakers
 Jeep Cup Holder
 Jeep Antenna Cable
 Jeep Glove Box
 Jeep Tachometer
Browse by Model
Cherokee Instrument Cluster Commander Instrument Cluster Compass Instrument Cluster Gladiator Instrument Cluster Grand Cherokee Instrument Cluster Grand Cherokee L Instrument Cluster Grand Cherokee WK Instrument Cluster Grand Wagoneer Instrument Cluster Grand Wagoneer L Instrument Cluster Liberty Instrument Cluster Patriot Instrument Cluster Renegade Instrument Cluster Wagoneer Instrument Cluster Wagoneer L Instrument Cluster Wrangler Instrument Cluster