My Garage
My Account
Cart
Genuine Dodge Nitro Drive Shaft
Axle Shaft- Select Vehicle by Model
- Select Vehicle by VIN
Select Vehicle by Model
orMake
Model
Year
Select Vehicle by VIN
For the most accurate results, select vehicle by your VIN (Vehicle Identification Number).
18 Drive Shafts found
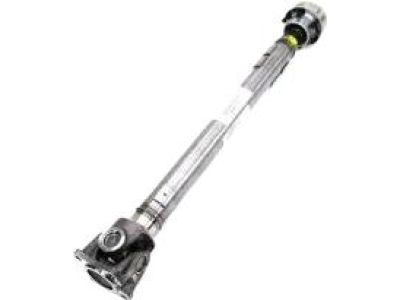
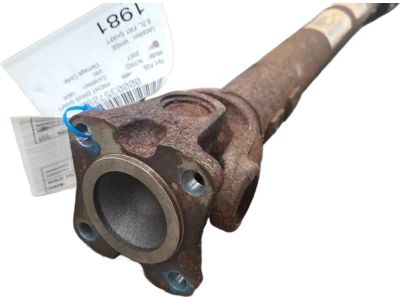
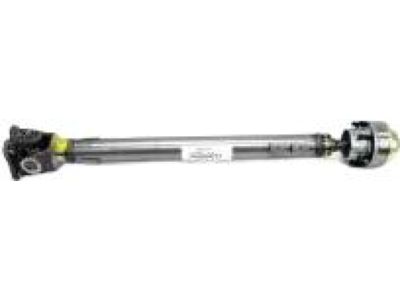
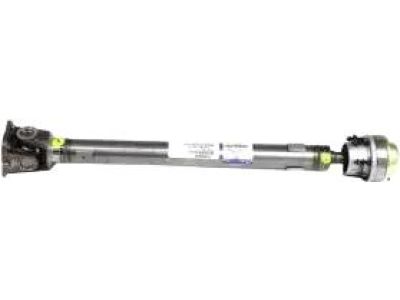
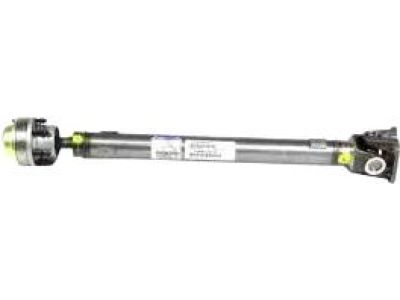
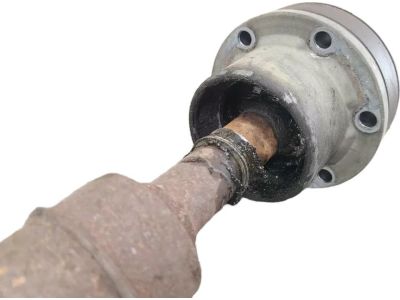
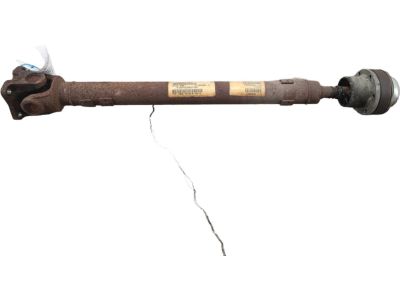
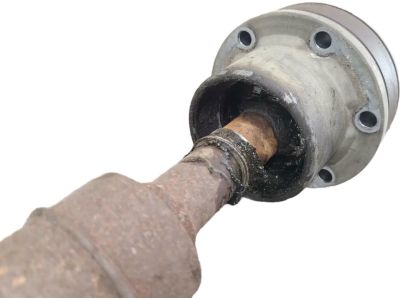
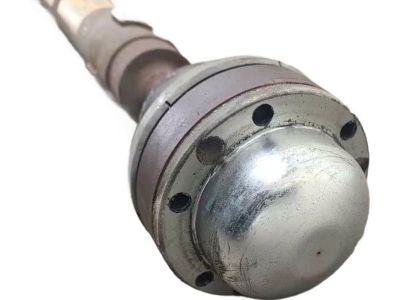
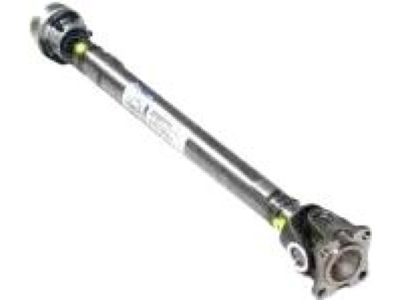
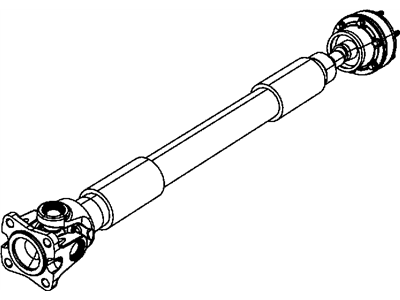
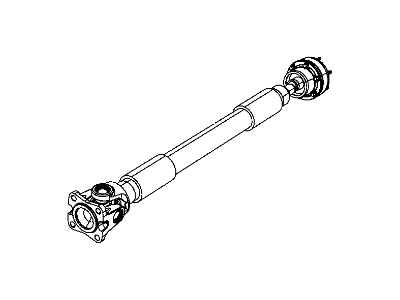
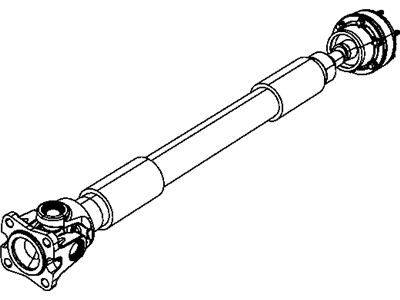
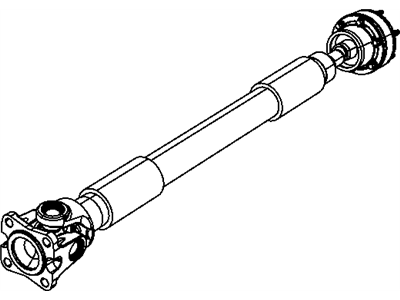
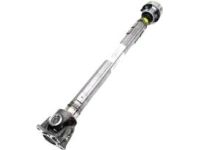
Dodge Nitro Propeller Shaft Front Cv Joint Repair Kit
Part Number: 52853364AE$979.71 MSRP: $1465.00You Save: $485.29 (34%)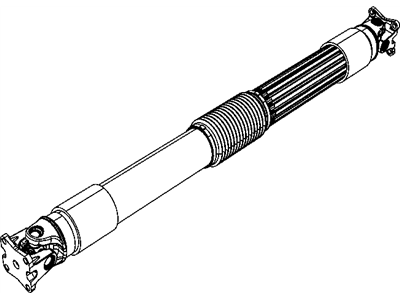
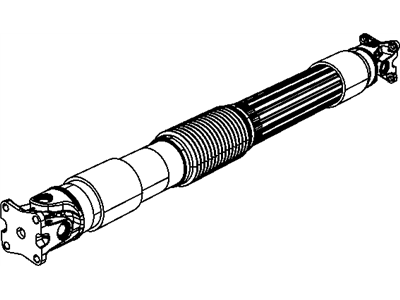
Dodge Nitro Drive Shaft
Drive Shaft as a complex mechanical system in the Dodge Nitro cars transmits mechanical power and torque necessary for proper functioning of the car from the engine or the transmission to the drive wheels. This component should be able to support torsion and shear stress and at the same time it has to be as light as possible to minimize inertia. The Dodge Nitro comes equipped with a sturdy Drive Shaft which consist of Universal joints or Splined joints so as to overcome the problem of alignment differences between the engine crankshaft and the rear axle assembly. There are Discrepancies in the form of Dodge Nitro Drive Shafts which people may come across in the market, and they include the single shaft and the double shaft. This is important since different types of Drive Shaft affect performance and safety especially in situations where the application is in 4 wheel and all wheel drives which require several Drive Shafts to deliver power appropriately between the front and rear differentials. All together, the assembly of Drive Shaft guarantees powerful transfer of force throughout the Dodge Nitro as well as solid stability while driving.
Looking for affordable and high-quality auto parts? Then you have already arrived at the proper online shop. We offer all Dodge Nitro Drive Shaft at great affordable prices. Moreover, all genuine Dodge Nitro Drive Shaft come with a manufacturer's warranty. In the long run, you would realize you have saved a lot of trouble and money with OEM parts from here.
Dodge Nitro Drive Shaft Parts Questions & Experts Answers
- Q:How to remove and install a drive shaft on Dodge Nitro?A:To remove the rear driveshaft, raise the vehicle and secure it with jack stands. Place the transmission in Neutral and release the parking brake. Pry open the dust boot clamp on the driveshaft yoke and mark the relationship of the driveshaft to the differential yoke. Remove the rear universal joint bolts and straps, and lower the rear of the driveshaft before sliding the front out of the transmission. To install, slide the front of the driveshaft into the transmission, raise the rear into position, and align the marks. Install new straps and bolts, and tighten them to the specified torque. If there is a dust boot, use a special tool to tighten the clamp. Finally, remove the jack stands and lower the vehicle. For the front driveshaft on 4WD models, mark the CV joints and companion flanges before removing the CV-joint mounting bolts. Unbolt the front and rear driveshaft CV-joints from the companion flanges, detach the rear CV-joint from the transfer case companion flange, and detach the front CV-joint from the differential companion flange. Tilt the front of the driveshaft downward, pull it forward, and remove it from the vehicle. During installation, clean the bolt threads and apply Loctite 242 before tightening all fasteners to the specified torque.